The Roasted Broccoli and Carrots That Sparked My Passion for Flavor and Fire
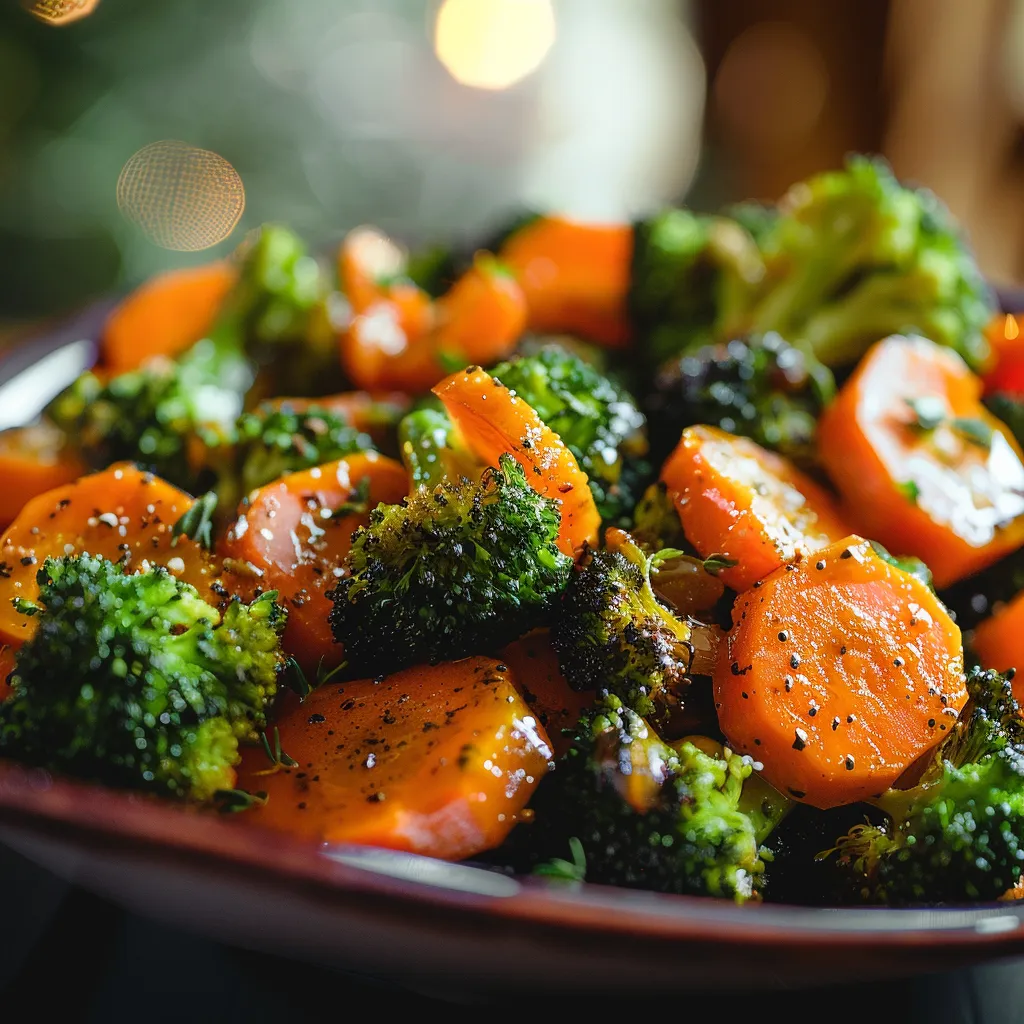
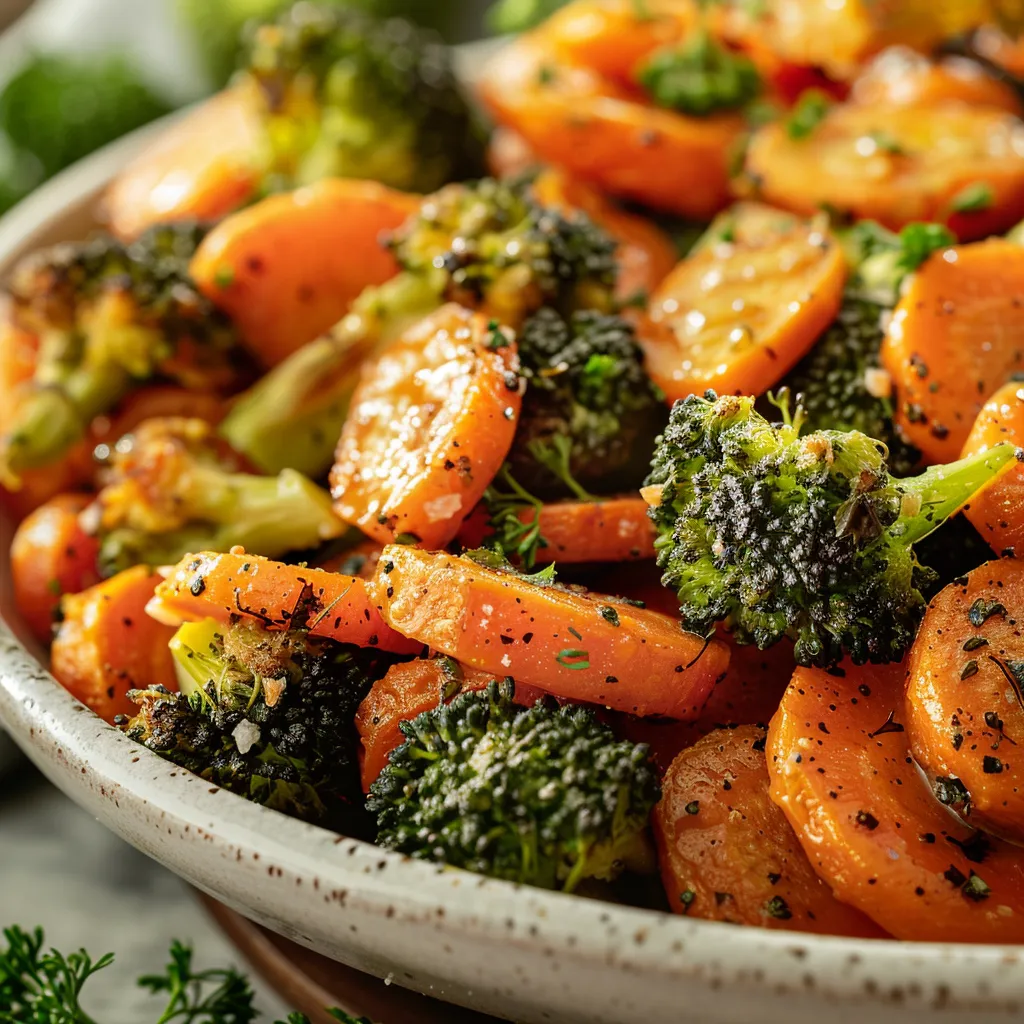
Ah, roasted broccoli and carrots—two humble vegetables that, when treated with the right love and fire, can transform a simple meal into a bold culinary adventure! Growing up in San Antonio, Texas, my journey in the kitchen was always ignited by my fascination with spice, texture, and the sizzling sounds of perfectly roasted vegetables. Roasting is a magical process; it caramelizes the natural sugars in vegetables, enhancing their flavors and turning them into something extraordinary. Let me take you through this recipe that not only celebrates these beautiful veggies but also embodies my passion for cooking with heat.
Why You’ll Love Roasted Broccoli and Carrots
When it comes to roasted veggie dishes, this recipe for Roasted Broccoli and Carrots is a standout for several reasons:
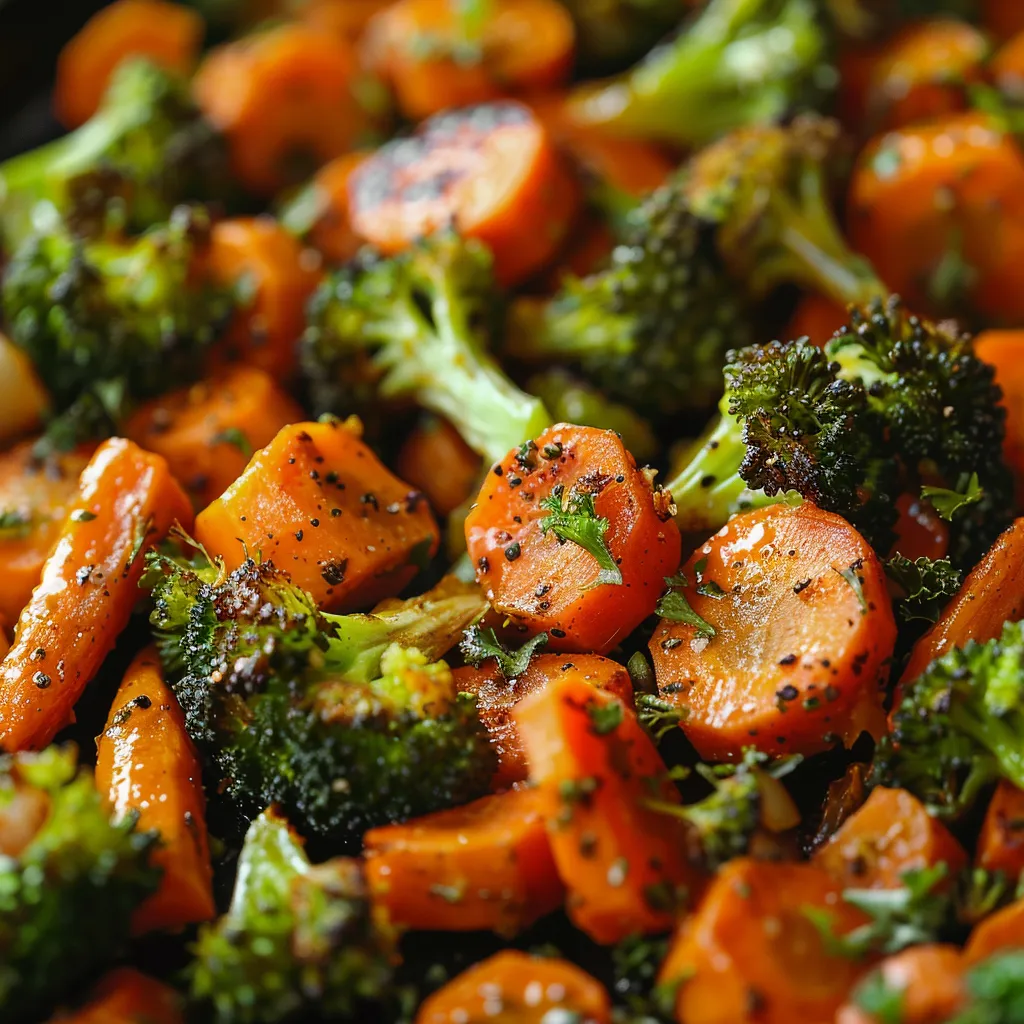
- Flavor Explosion: The roasting process brings out rich, sweet notes while maintaining a delightful crunch. The broccoli takes on a slightly smoky flavor, while the carrots become tender and caramelized.
- Health Benefits: Packed with vitamins A, C, and K, these veggies are not just good for your taste buds; they’re also a powerhouse of nutrients, making it an ideal addition to your meals.
- Ease and Convenience: With just a few ingredients and minimal prep time, this dish fits perfectly into any lunch ideas with vegetables or weeknight dinners.
- Versatility: Whether serving with grilled meats, pasta, or as part of a hearty vegetarian feast, roasted broccoli and carrots are the perfect sidekick for any main dish.
Ingredients: What You’ll Need
Before diving into the cooking process, let’s gather our ingredients. Here’s what you’ll need to make this delicious roasted dish:
- 1 head of broccoli, cut into florets
- 2 large carrots, sliced
- 2 tablespoons olive oil
- Salt and pepper to taste
- 1 teaspoon garlic powder (optional)
- 1 teaspoon lemon juice (optional)
Let’s Get Cooking: Steps to Roasted Perfection
Ready to roast? Let’s turn up the heat and get started with this flavorful recipe!
Step 1: Preheat Your Oven
First things first, preheat your oven to 400°F (200°C). A hot oven is essential for achieving that perfect crispiness.
Step 2: Prepare the Vegetables
In a large bowl, toss the broccoli florets and sliced carrots with olive oil, salt, pepper, and garlic powder if you’re feeling adventurous. This is where you can start experimenting with flavors—add a pinch of cayenne for heat or a sprinkle of smoked paprika for depth.
Step 3: Spread and Roast
Spread the seasoned vegetables evenly on a baking sheet lined with parchment paper. This step ensures that the veggies roast rather than steam. Now, pop them into your preheated oven and roast for 20-25 minutes, or until they are tender and slightly caramelized. Make sure to toss them halfway through to encourage even browning.
Step 4: Finish with a Zing
Once the veggies are roasted to your liking, remove them from the oven. For an extra burst of flavor, drizzle with lemon juice before serving. The acidity of the lemon will brighten up the dish and elevate all those lovely roasted flavors!
Serving Suggestions: Elevate Your Meal
These roasted broccoli and carrots are incredibly versatile. Here are a few ways to serve them:
- As a Side Dish: Pair them with roasted chicken or grilled steak for a comforting dinner.
- Over Pasta: Toss these veggies with your favorite pasta and a drizzle of olive oil for a quick and satisfying meal.
- With Rice: Serve them over a bed of rice, perhaps with a sprinkle of sesame seeds for added texture.
Tips for Roasting Success
Here are some of my favorite tips to ensure you get the most out of your roasted veggies:
- Don’t Overcrowd: Give your veggies enough space on the baking sheet. Overcrowding can trap moisture and lead to steaming rather than roasting.
- Experiment with Seasonings: Don’t be afraid to mix it up! Fresh herbs, a dash of balsamic vinegar, or a sprinkle of cheese can add delightful twists.
- Prepping Ahead: You can chop your vegetables ahead of time and store them in the fridge. Just toss with oil and seasonings before roasting.
Variations: Make It Your Own
This recipe is just the beginning. Here are a few variations to inspire your creativity:
- Add Other Vegetables: Feel free to incorporate other veggies like bell peppers, zucchini, or Brussels sprouts for a colorful mix.
- Spice It Up: Want a little kick? Add red pepper flakes or your favorite hot sauce to the mix.
- Cheesy Goodness: Sprinkle some Parmesan cheese over the veggies during the last five minutes of roasting for a melty, savory finish.
Storage and Freezing: Keep the Flavor Alive
Leftovers can be just as delicious! Here’s how to store and freeze your roasted veggies:
Storage
Store any leftover roasted broccoli and carrots in an airtight container in the fridge for up to three days. Reheat in the oven or on the stovetop to maintain that crispy texture.
Freezing
While it’s best to enjoy these veggies fresh, you can freeze them if needed. Allow them to cool completely, then place in a freezer-safe container for up to two months. When you’re ready to enjoy, reheat directly from frozen.
FAQs: Common Questions Answered
1. Can I use other vegetables?
Absolutely! This recipe is flexible. Feel free to substitute with your favorite veggies like cauliflower or sweet potatoes.
2. How do I make these veggies crispy?
The key to crispy roasted vegetables is ensuring they have enough space on the baking sheet. Also, high heat is essential for that golden-brown finish.
3. Can I use frozen vegetables?
Fresh vegetables work best for roasting, but if you only have frozen, be sure to thaw and pat them dry to prevent sogginess.
4. Can I add cheese?
Yes! Adding cheese towards the end of the roasting process can give your veggies a deliciously cheesy finish.
5. Can I make this ahead of time?
While roasted veggies are best served fresh, you can prep them in advance and roast just before serving.
Embrace the Adventure of Cooking!
This roasted broccoli and carrots recipe is not just about the food; it’s about the joy of cooking and the thrill of flavor. I encourage you to embrace the adventure in your kitchen, experiment with spices, and make this dish your own. Whether you serve it at a family dinner or as a delightful side at a gathering, it’s guaranteed to impress. So grab your skillet, turn up the heat, and let’s make cooking an exciting journey for you and your loved ones!
Happy roasting, my friends! If you enjoyed this recipe, check out my other articles like Everyday Delights and Joyful Bites of Bliss for more culinary inspiration!
Roasted Broccoli and Carrots - CookTune
Ingredients
Vegetables
- 1 head broccoli (cut into florets)
- 2 large carrots (sliced)
- 2 tablespoons olive oil
- to taste salt and pepper
- 1 teaspoon garlic powder (optional)
- 1 teaspoon lemon juice (optional)
Instructions
- Preheat oven to 400°F (200°C).
- Toss broccoli and carrots with olive oil, salt, pepper, and garlic powder.
- Spread on a baking sheet lined with parchment paper.
- Roast for 20-25 minutes until tender and caramelized.
- Drizzle with lemon juice if desired and serve warm.
Notes
Nutrition
Loved this recipe? Save it to your favorite Pinterest board so you can easily find it later! It’s the perfect way to keep all your sweet ideas in one place. ✨