Fire Up the Holiday: Unforgettable Christmas Dinner Ideas for 2020
Ah, the holiday season! It’s a time where joy fills the air and kitchens transform into workshops of love and flavor. Nothing quite compares to the warmth of a family gathering around a beautifully set table, each dish telling a story and igniting the spirit of togetherness. This Christmas, let’s turn up the heat and celebrate with a festive feast that’s not just delicious but unforgettable! We’re diving into a stunning Christmas Dinner 2020 that will have your guests raving long after the last bite has been savored. Are you ready to create a culinary masterpiece that will light up your holiday table? Let’s get started!
Why a Bold Christmas Dinner Matters
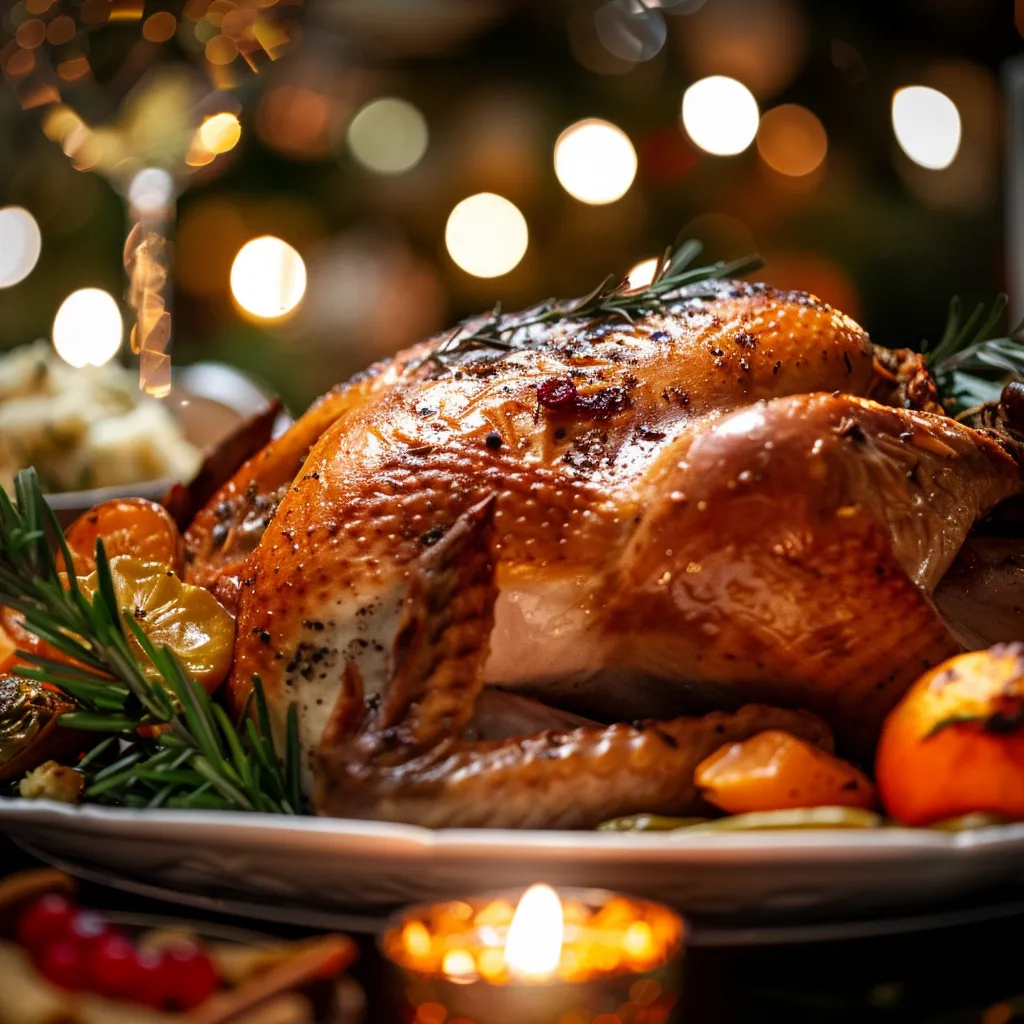
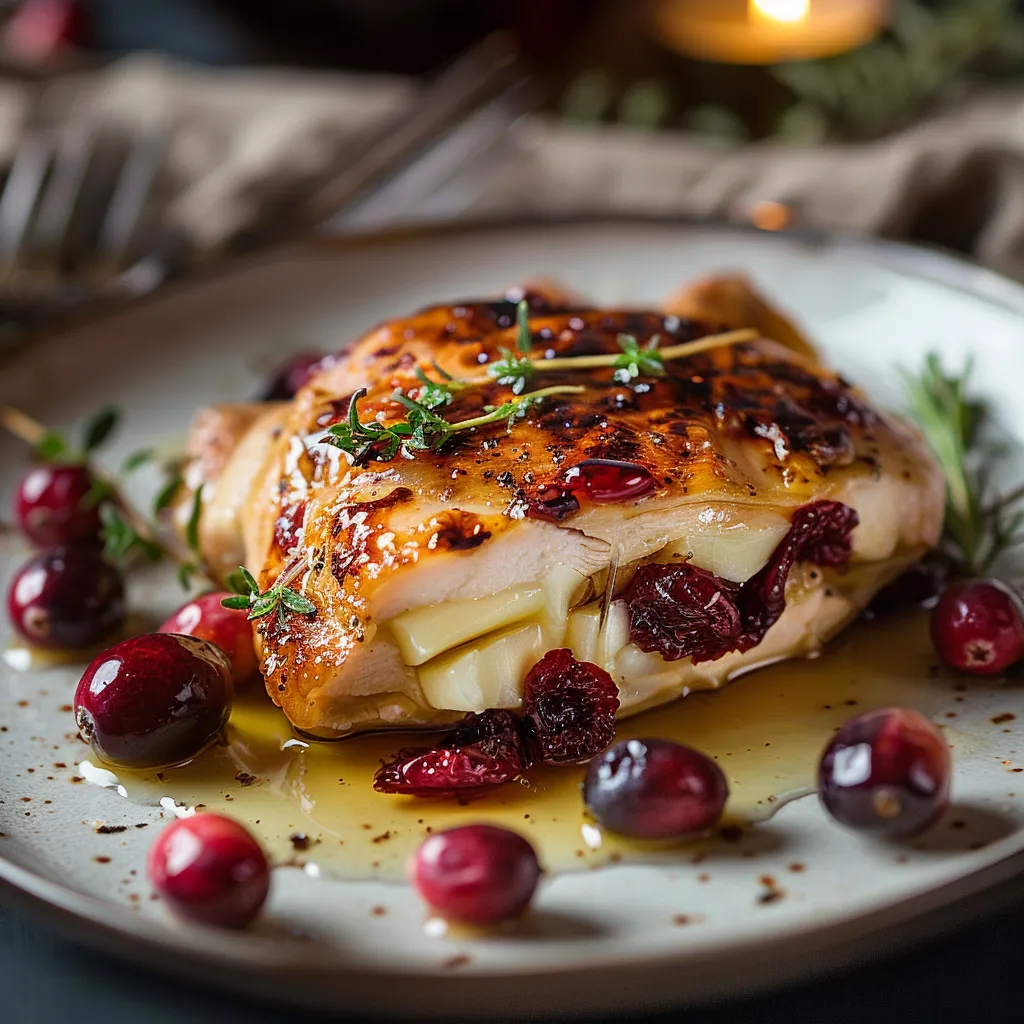
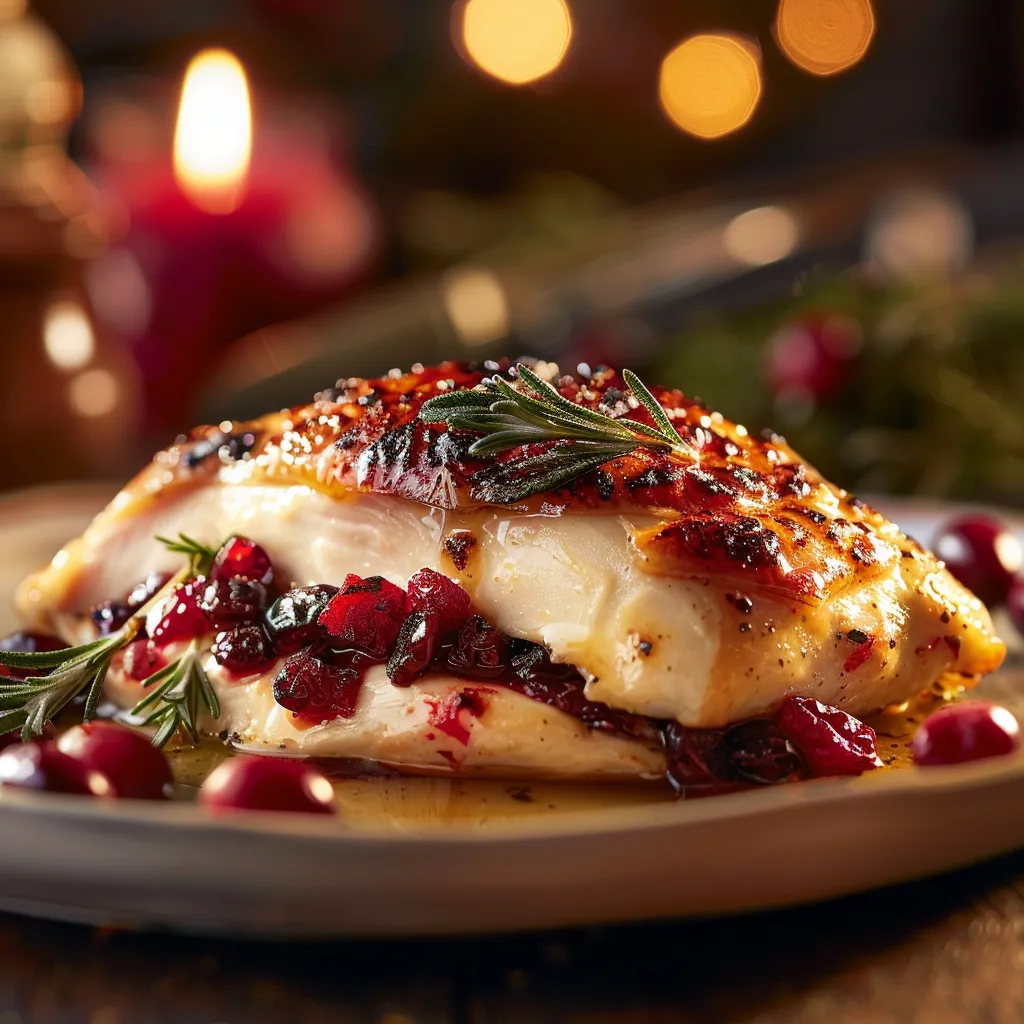
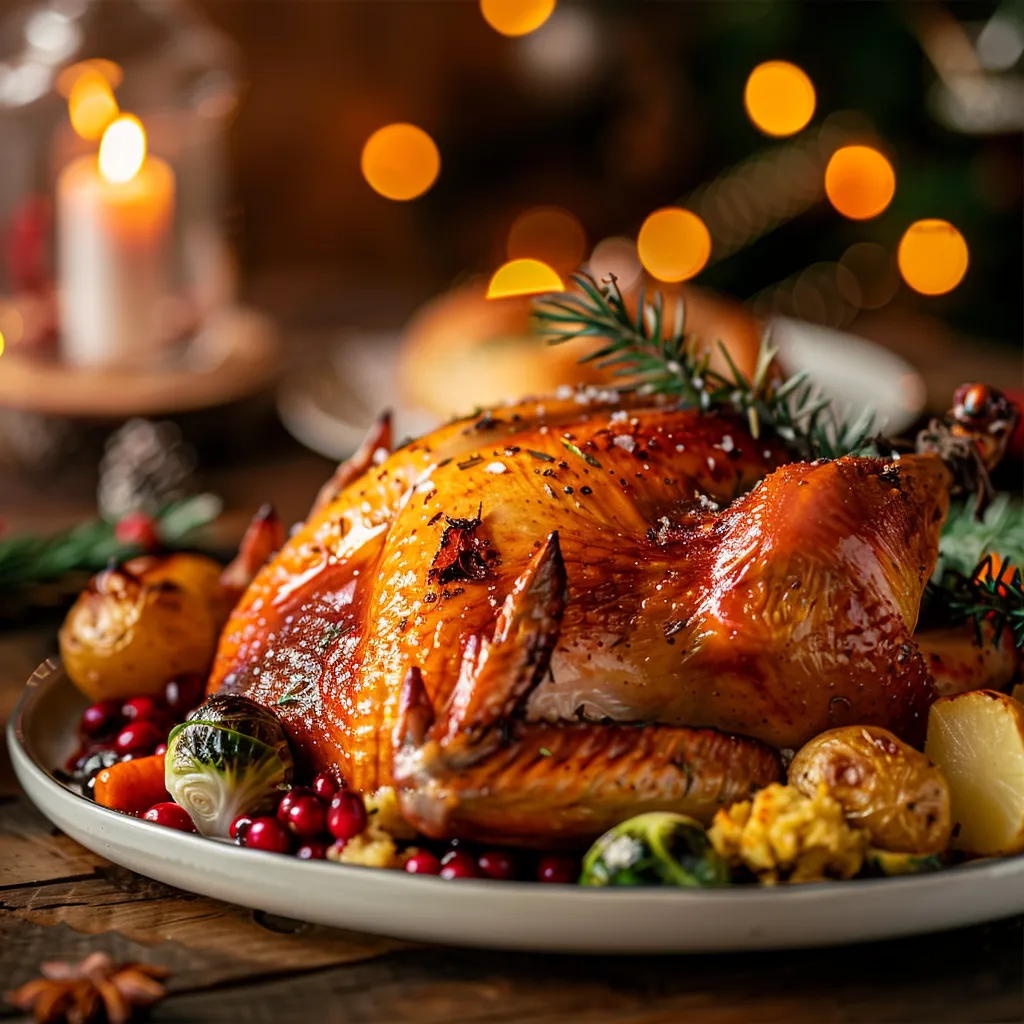
Christmas dinner is more than just a meal; it’s an experience. It’s about gathering with loved ones, sharing stories, and indulging in flavors that evoke memories. The heart of any holiday feast is the turkey—a golden brown centerpiece that beckons with its tantalizing aroma. But what’s a roast turkey without the perfect sides to complement its glory? The right combination of spices, textures, and colors can transform your meal from ordinary to extraordinary.
Ingredients for a Memorable Christmas Dinner

Before we roll up our sleeves, let’s gather our ingredients. Here’s what you’ll need to craft a Christmas dinner that will be the talk of the town:
- 1 roast turkey (12-14 pounds)
- Salt and black pepper to taste
- 2 tablespoons olive oil or melted butter
- Fresh rosemary and thyme sprigs
- 4 cups stuffing (your choice)
- 2 pounds potatoes (for mashed potatoes)
- 1/2 cup milk
- 4 tablespoons butter
- Salt to taste
- 1 cup cranberry sauce
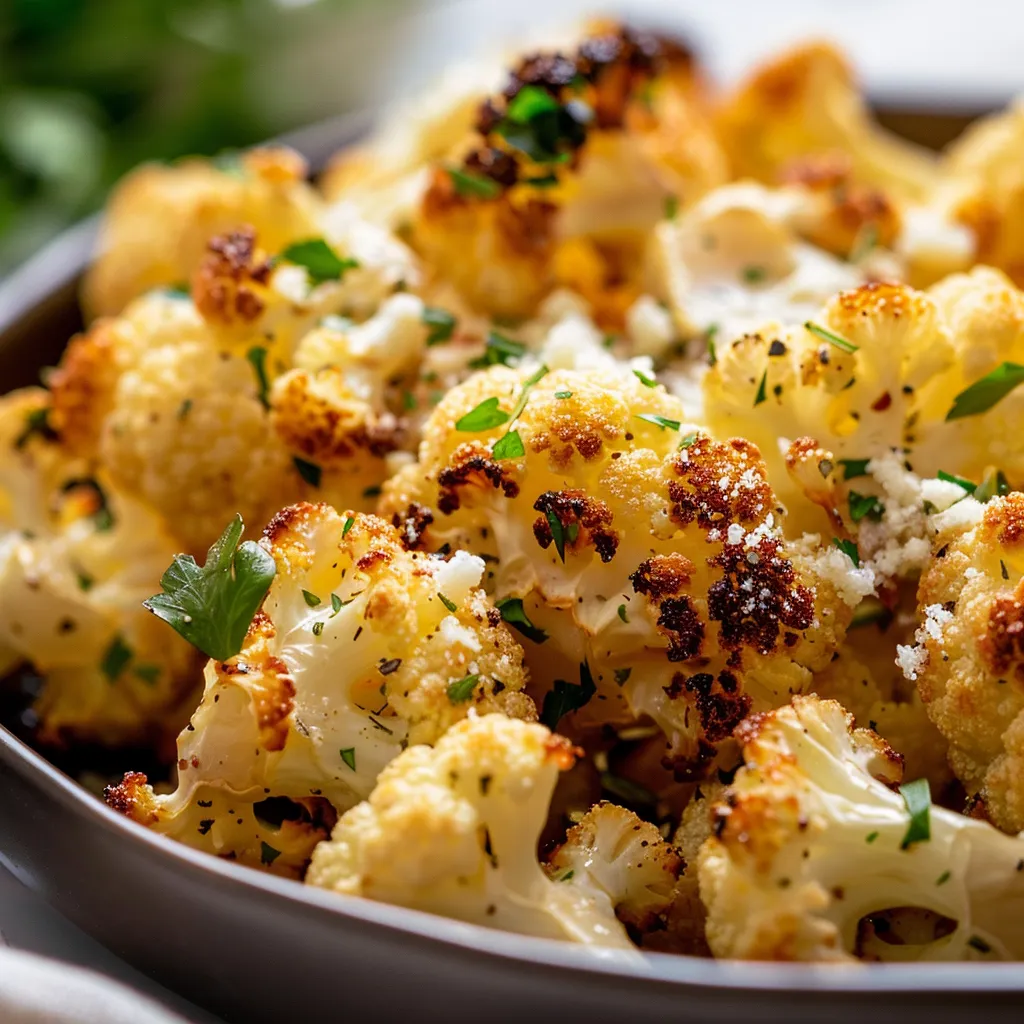
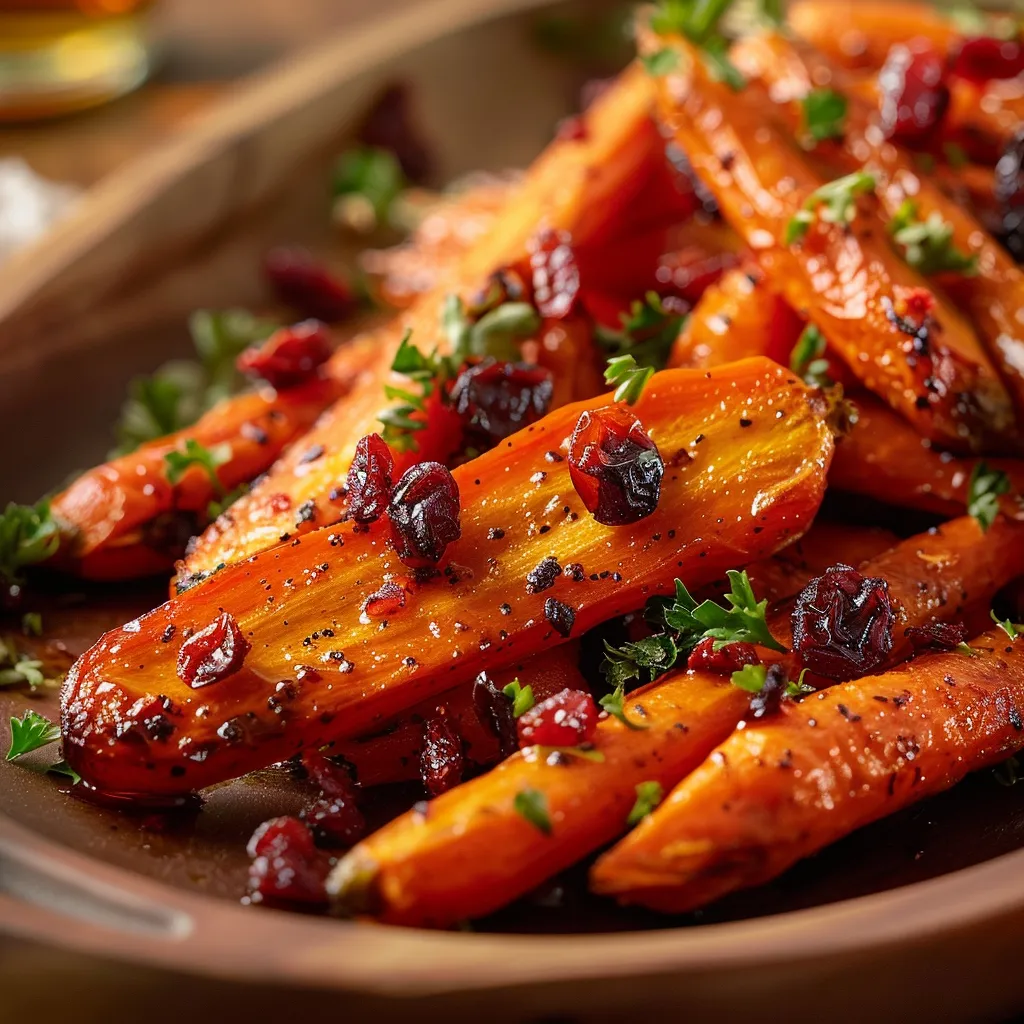
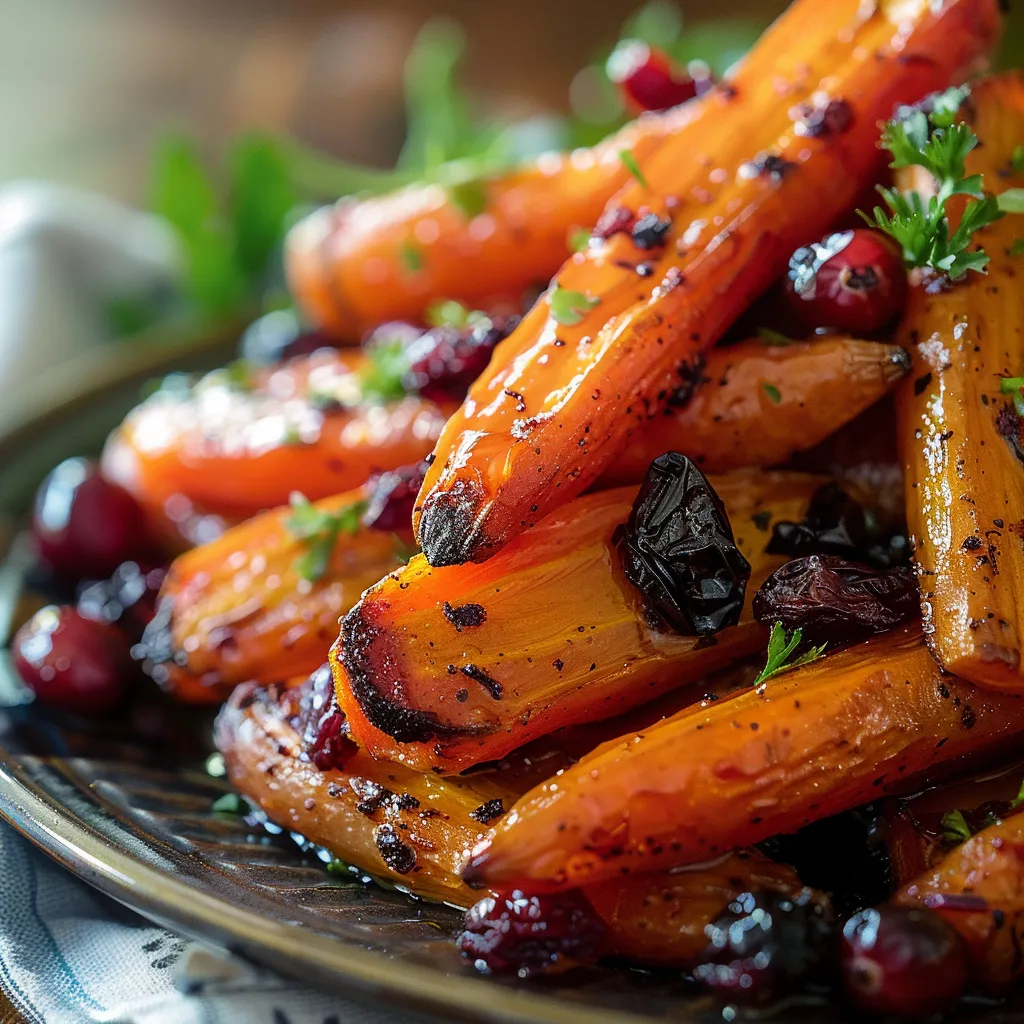
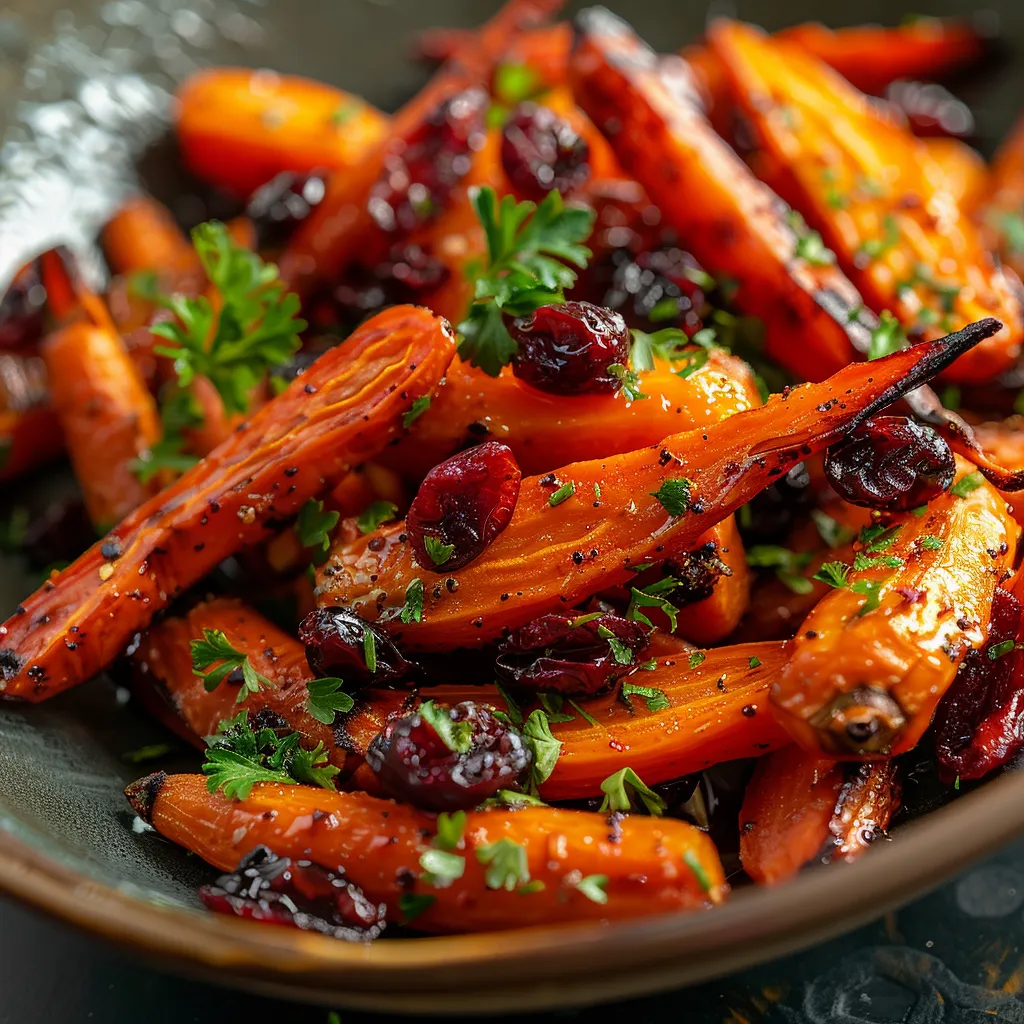
- Fresh vegetables (carrots, green beans, brussels sprouts)
- 1 cup gravy
Step-by-Step Cooking Directions
Now that we have our ingredients, let’s dive into the steps of creating this holiday feast that will have everyone asking for seconds!
1. Preheat Your Oven
Start by preheating your oven to 325°F (165°C). This temperature is key for achieving that perfect roast, crispy skin, and juicy meat!
2. Season That Turkey
Season the turkey inside and out with a generous sprinkle of salt and black pepper. Don’t be shy! This seasoning is your first layer of flavor. Next, stuff the cavity with fresh rosemary and thyme sprigs. These herbs will infuse the turkey with fragrant aromas that will waft through your home, tantalizing your guests.
3. Oil It Up
Rub the outside of the turkey with olive oil or melted butter. This step is crucial for achieving that golden-brown skin. As you rub the oil or butter, take a moment to inhale the rich scents of the herbs mixing with the fat—it’s a beautiful prelude to the feast!
4. Roast to Perfection
Place the turkey in a roasting pan, breast side up. Roast it for about 13-15 minutes per pound, which means our 12-14 pound turkey will take approximately 2.5 to 3 hours. Keep an eye on the internal temperature; it should reach 165°F (75°C) in the thickest part of the thigh. Remember to baste occasionally to keep things moist and flavorful. The sizzle of the turkey in the oven will create an atmosphere of anticipation!
5. Prepare the Sides
While the turkey is roasting, it’s time to whip up the sides. Prepare your favorite stuffing according to your recipe. As the stuffing cooks, the aroma will mingle with the turkey, creating a heavenly scent that fills your kitchen.
6. Mashed Potatoes Magic
Don’t forget about the mashed potatoes! Boil your potatoes until tender, then mash them with milk, butter, and salt to taste. The creaminess of the potatoes paired with the savory turkey is a match made in holiday heaven!
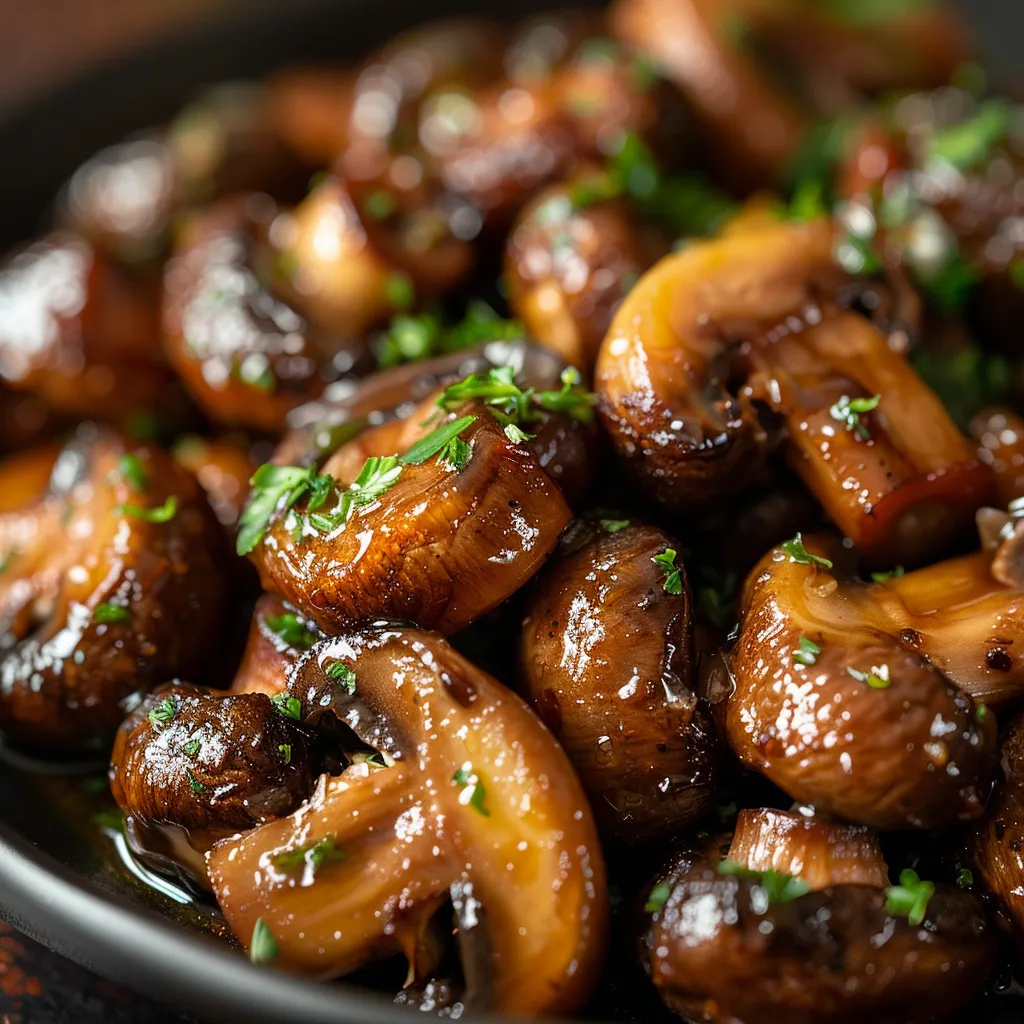
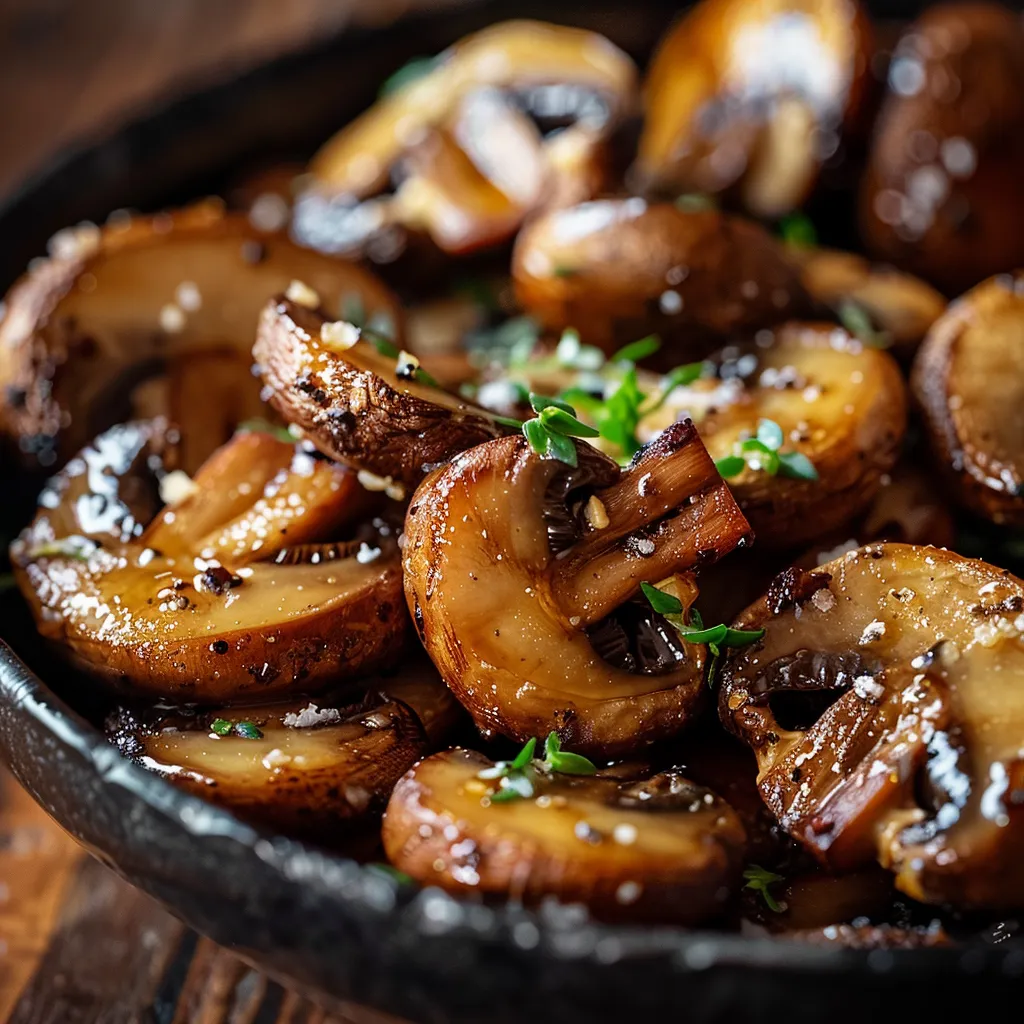
7. Cook the Vegetables
Prepare your fresh vegetables next. Whether you choose carrots, green beans, or brussels sprouts, a simple sauté in olive oil or steam will keep them vibrant and crunchy. Season with a dash of salt and pepper for that extra zing!
8. Carving Time
Once the turkey is cooked, remove it from the oven and let it rest for 20 minutes before carving. This step allows the juices to redistribute, resulting in a tender and juicy turkey. Carve your turkey in slices, revealing the succulent meat!
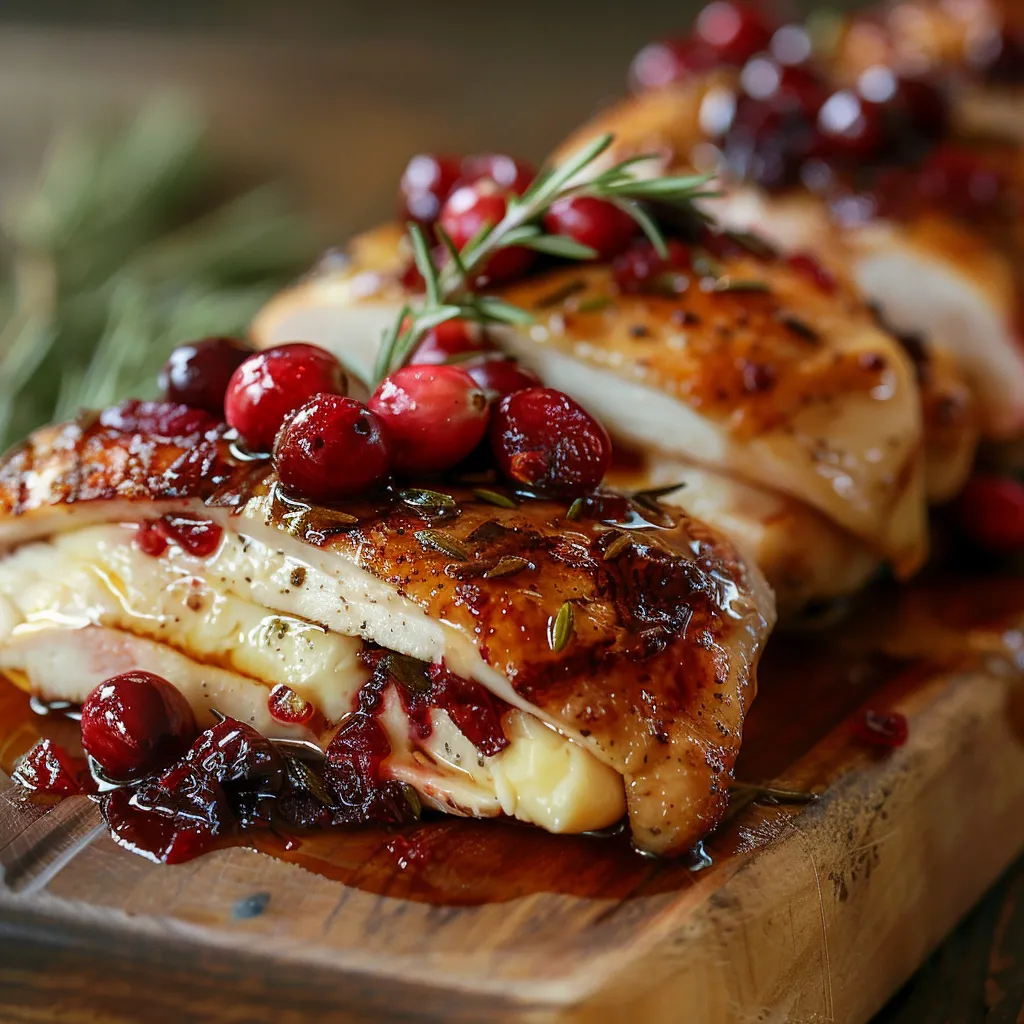
9. Assemble and Serve
Now comes the fun part: serving! Plate your turkey slices alongside the stuffing, creamy mashed potatoes, fresh vegetables, and a generous scoop of cranberry sauce. Don’t forget the gravy—a must-have for drizzling over everything! The colors and aromas will create a feast for the eyes and the palate.
Tips for a Flawless Christmas Dinner
- Brining the Turkey: For an extra juicy turkey, consider brining it overnight in a mixture of salt, sugar, and water. This will enhance flavor and moisture.
- Make Ahead: You can prepare your mashed potatoes and stuffing a day in advance. Just reheat them before serving!
- Don’t Rush: Take your time when carving the turkey. A sharp knife and a steady hand will ensure beautiful slices for your table.
Variations to Spice Things Up
While the classic Christmas dinner is always a hit, don’t be afraid to add your personal twist. Here are a few ideas:
- Spicy Stuffing: Add diced jalapeños or chorizo to your stuffing for a kick!
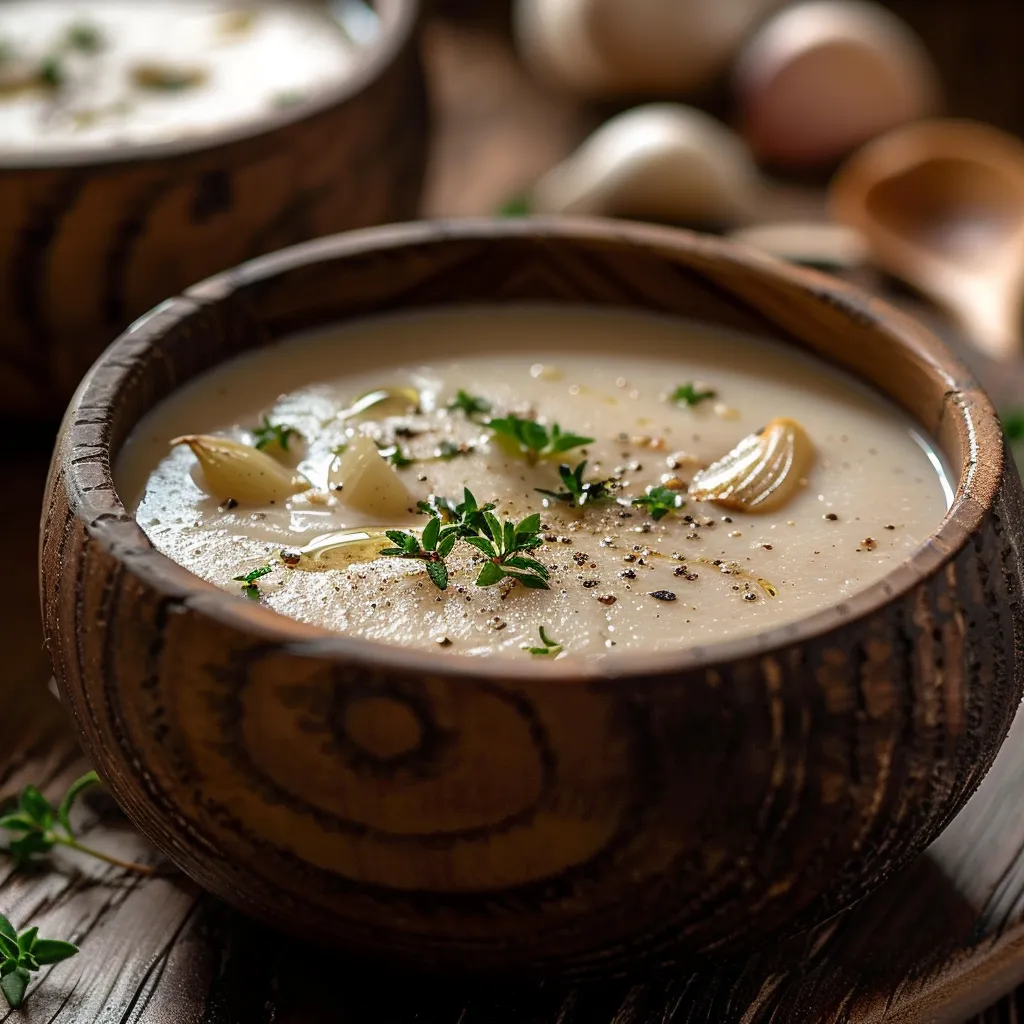
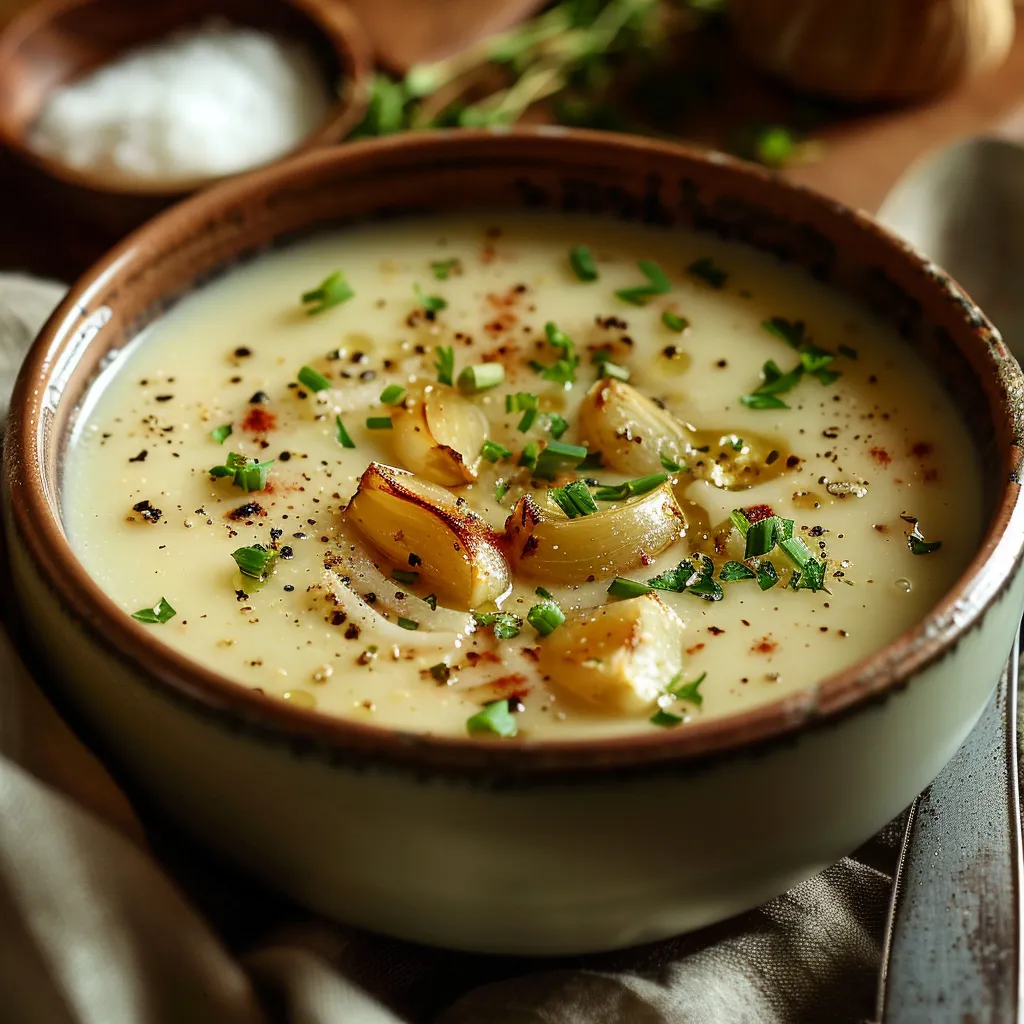
- Creamy Garlic Mashed Potatoes: Incorporate roasted garlic for a deeper flavor in your mashed potatoes.
- Maple-Glazed Vegetables: Toss your vegetables with a touch of maple syrup and balsamic vinegar before roasting for a sweet twist.
Common Substitutions
If you’re missing an ingredient or two, don’t sweat it! Here are some substitutions you can use:
- Turkey: If you can’t find a turkey, a large chicken or even a roast beef can be a fantastic alternative.
- Stuffing: Use cornbread stuffing or a gluten-free alternative if you have dietary restrictions.
- Potatoes: For a lighter option, swap mashed potatoes for cauliflower puree.
Equipment You’ll Need
Before you start cooking, make sure you have these essential tools on hand:
- Roasting pan
- Meat thermometer
- Sharp carving knife
- Mixing bowls for sides
- Pot for boiling potatoes
Storage & Freezing Tips
After the feast, you may find yourself with leftovers (if you’re lucky!). Here’s how to store them:
- Store cooked turkey in an airtight container in the fridge for up to 4 days.
- Mashed potatoes can be stored in the fridge for up to 3 days, or frozen for up to a month.
- Stuffing and vegetables should also be refrigerated and consumed within 3 days for optimal freshness.
FAQs About Your Christmas Dinner
How do I make the turkey crispy?
Ensure your turkey skin is dry before roasting. Basting with butter or oil will also help achieve that golden crisp!
Can I substitute fresh herbs for dried herbs?
Absolutely! When using dried herbs, use about one-third the amount compared to fresh to avoid overpowering the dish.
What’s the best way to reheat mashed potatoes?
To reheat mashed potatoes, add a splash of milk and warm them slowly on the stove or in the microwave, stirring frequently to ensure even heating.
Conclusion: Celebrate with Flavor!
This Christmas Dinner 2020 isn’t just a meal; it’s a celebration of flavors, family, and the joy of cooking. With each step, you’re not just preparing food; you’re crafting memories that will linger long after the last bite. So fire up your kitchen, embrace the heat, and let your culinary creativity shine. Your holiday table awaits, and trust me, it’s going to be unforgettable!
Christmas Dinner 2020! Delicious ideas for the upcoming Holiday
Ingredients
Main
- 12-14 pounds roast turkey
- salt and black pepper to taste salt and black pepper (for seasoning)
- 2 tablespoons olive oil or melted butter
- fresh rosemary and thyme sprigs fresh rosemary and thyme (for stuffing)
- 4 cups stuffing (your choice)
- 2 pounds potatoes (for mashed potatoes)
- 1/2 cup milk
- 4 tablespoons butter
- salt to taste salt (for mashed potatoes)
- 1 cup cranberry sauce
- assorted fresh vegetables (carrots, green beans, brussels sprouts)
- 1 cup gravy
Instructions
- Preheat oven to 325°F (165°C). Season the turkey with salt and pepper, stuff with herbs, and rub with oil or butter.
- Roast the turkey for about 13-15 minutes per pound until internal temperature reaches 165°F (75°C). Baste occasionally.
- Prepare stuffing and vegetables while turkey roasts. Boil potatoes until tender, then mash with milk, butter, and salt.
- Let the turkey rest for 20 minutes before carving. Serve with stuffing, mashed potatoes, cranberry sauce, vegetables, and gravy.
Notes
Nutrition
Loved this recipe? Save it to your favorite Pinterest board so you can easily find it later! It’s the perfect way to keep all your sweet ideas in one place. ✨