This post contains affiliate links. As an Amazon Associate, I earn from qualifying purchases. This comes at no extra cost to you.
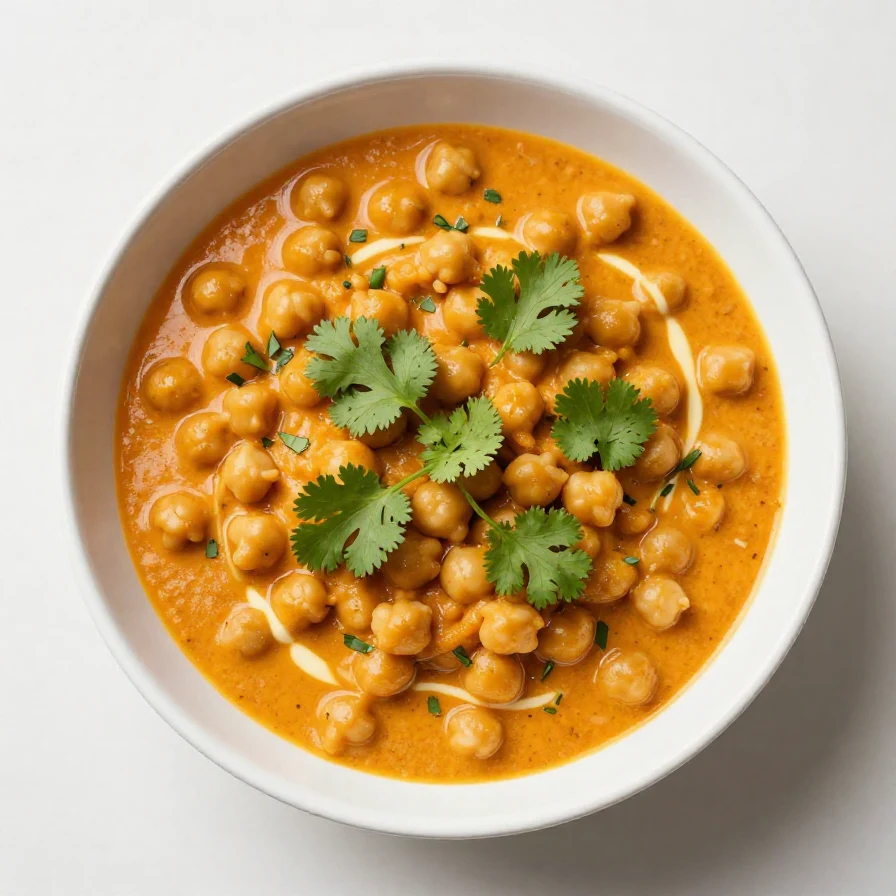
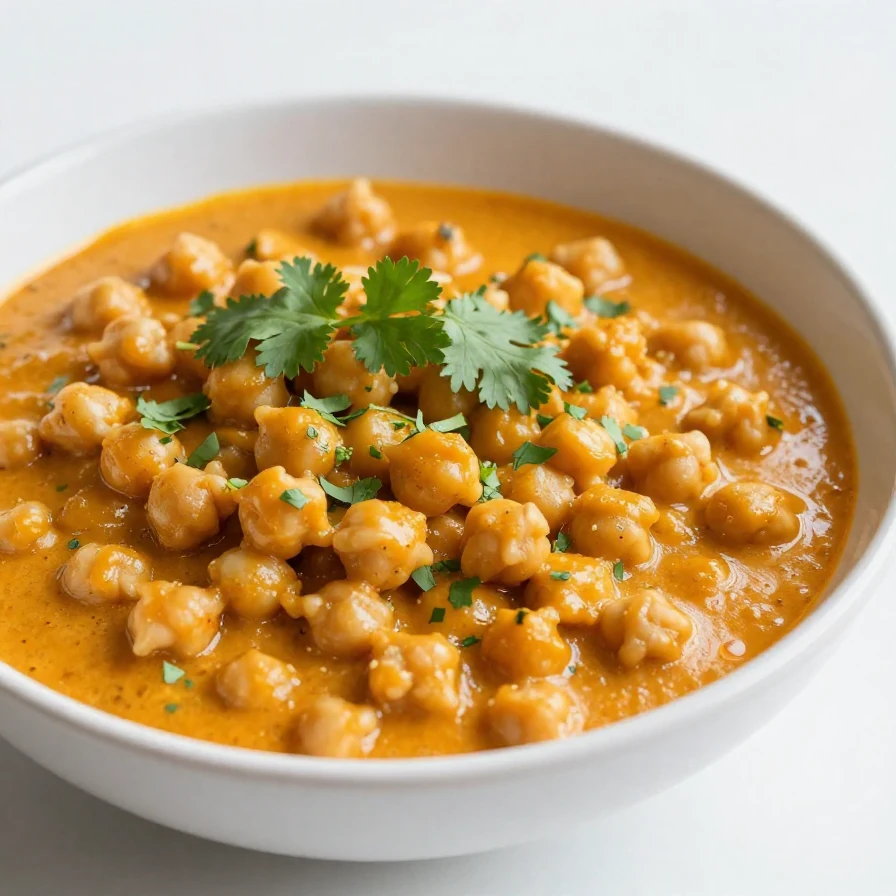
Vegan Butter Chicken Chickpeas combines tender chickpeas with a velvety coconut milk sauce infused with warm spices like garam masala and cumin. The rich aroma of garlic, ginger, and turmeric fills your kitchen as it cooks, creating an irresistibly flavorful and satisfying dish. Serve it over rice or with warm naan for a meal that transforms pantry staples into something special.
Table of Contents
- Why This Vegan Butter Chicken Chickpeas Will Make Life Easier
- Everything You Need for Vegan Butter Chicken Chickpeas
- How To Make Vegan Butter Chicken Chickpeas Step by Step
- Easy Ingredient Swaps
- Common Mistakes to Avoid
- Meal Prep, Storage, and Reheating Tips
Why This Vegan Butter Chicken Chickpeas Will Make Life Easier
- Quick and beginner-friendly. With just 10 minutes of prep time and simple instructions, this recipe is perfect for busy weeknights or anyone new to Indian-inspired cooking.
- Made with pantry staples. Most ingredients, like chickpeas, coconut milk, and spices, are likely already in your kitchen, making it both accessible and budget-friendly.
- Rich flavor without dairy. Coconut milk creates a creamy base for the spices to shine, offering all the satisfaction of butter chicken in a vegan-friendly format.
- Customizable for spice levels. The chili powder can easily be adjusted, so you can make it mild for kids or hot and bold for spice lovers.
Everything You Need for Vegan Butter Chicken Chickpeas
- 1 can (15 oz) chickpeas, drained and rinsed
- 2 tablespoons coconut oil
- 1 medium onion, finely chopped
- 3 cloves garlic, minced
- 1 tablespoon ginger, minced
- 1 can (15 oz) coconut milk
- 1 cup diced tomatoes (canned or fresh)
- 2 tablespoons tomato paste
- 1 tablespoon garam masala
- 1 teaspoon ground cumin
- 1 teaspoon ground coriander
- 1 teaspoon turmeric powder
- 1 teaspoon chili powder (adjust to taste)
- Salt to taste
- Fresh cilantro for garnish
- Cooked rice or naan for serving
Chickpeas are the heart of this dish, offering a tender texture that holds up well in the creamy sauce. Coconut milk provides a rich and velvety base, perfectly balancing the bold spices.
How To Make Vegan Butter Chicken Chickpeas Step by Step
- In a large skillet, heat the coconut oil over medium heat.
- Add the finely chopped onion and sauté until translucent, about 5-7 minutes.
- Stir in the minced garlic and ginger, cooking for an additional 1-2 minutes until fragrant.
- Add the garam masala, cumin, coriander, turmeric, and chili powder to the skillet, stirring well to combine, and cook for another minute to bloom the spices.
- Pour in the diced tomatoes and tomato paste, stirring to mix everything thoroughly.
- Add the coconut milk and chickpeas, stirring to combine. Bring the mixture to a gentle simmer.
- Reduce the heat to low and let it cook for about 15-20 minutes, stirring occasionally, until the sauce thickens slightly.
- Season with salt to taste, adjusting the flavors as necessary.
- Remove from heat and garnish with fresh cilantro before serving.
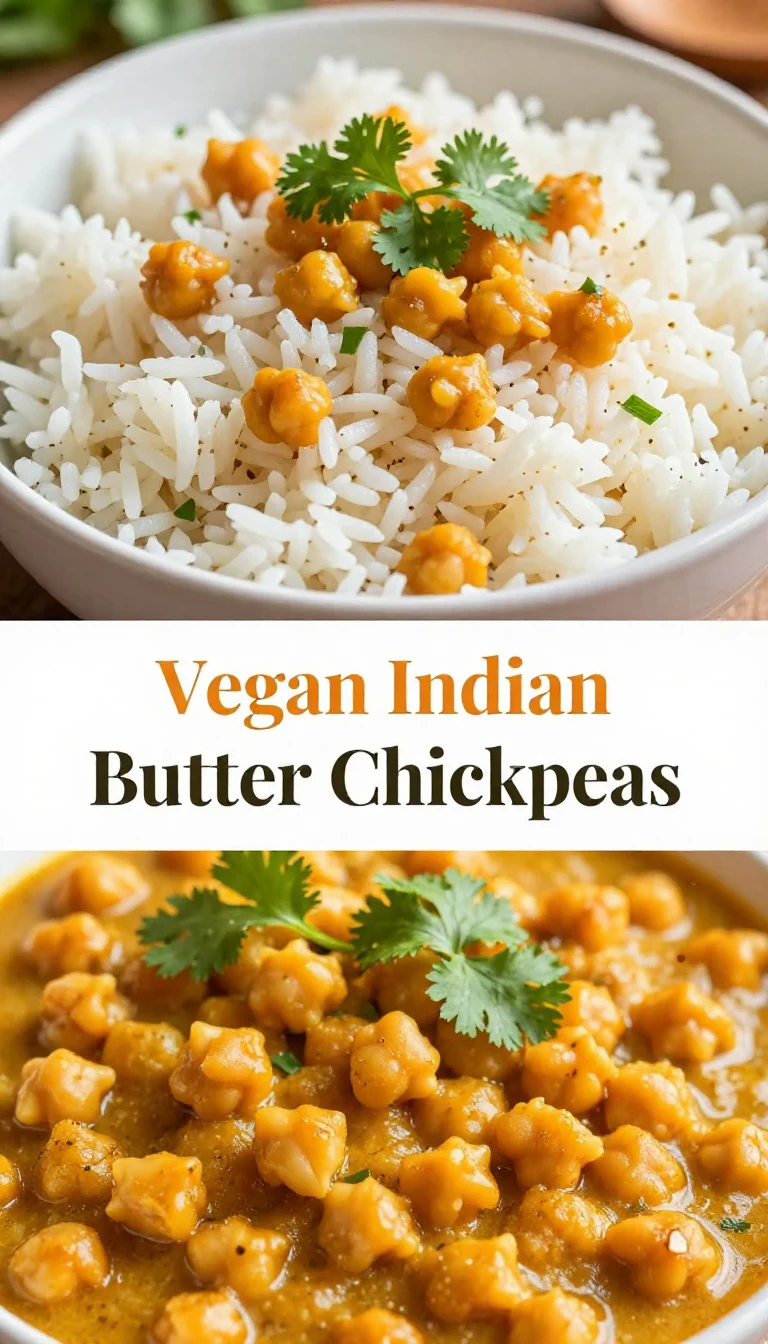
- Serve hot over cooked rice or with naan.

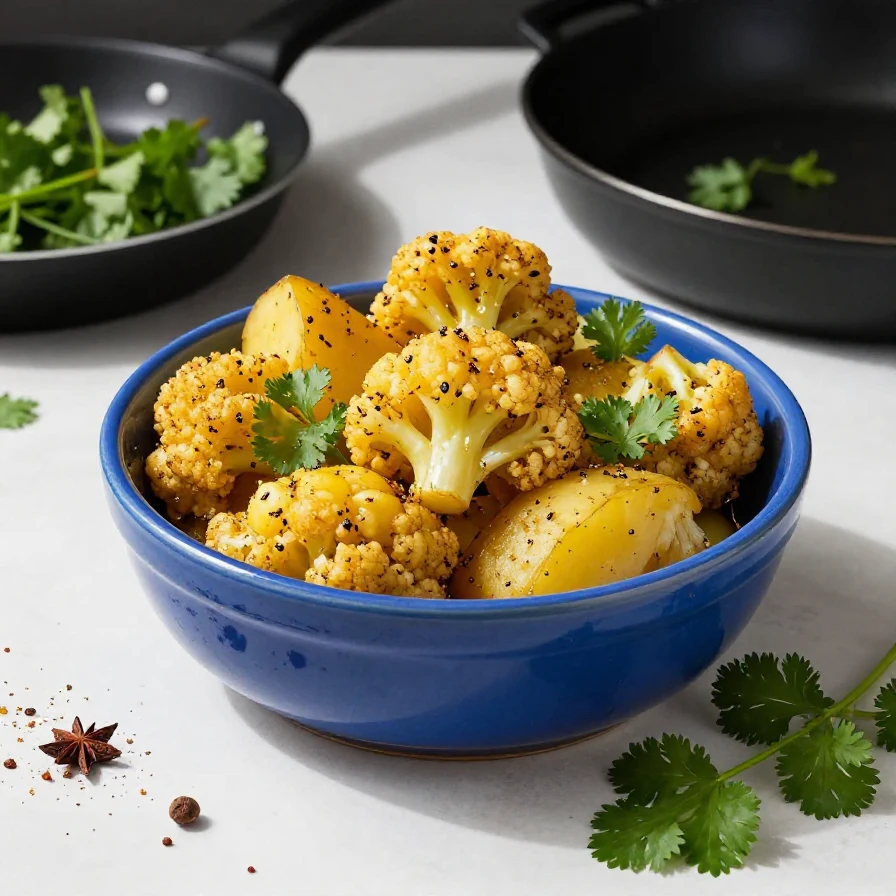
A versatile kitchen appliance that can sauté, steam, and pressure cook, making it perfect for quick meals.

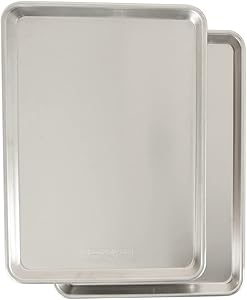
Perfect for searing and baking — this recipe needs even heat distribution
Easy Ingredient Swaps
- Switch out chickpeas: If you’re out of chickpeas, white beans or firm tofu can work as substitutes, though they may have a slightly softer texture.
- Lighten the coconut milk: Opt for light coconut milk if you prefer a less rich sauce, but be aware that it may be slightly thinner.
- Use fresh tomatoes: Freshly diced tomatoes can replace the canned version if they are in season, offering a brighter flavor.
Common Mistakes to Avoid
- Overcooking the chickpeas: Simmer gently to prevent the chickpeas from becoming too mushy and losing their firm texture.
- Skipping the spice bloom: Always cook the spices in oil for a minute to unlock their full flavor before adding liquid ingredients.
- Too watery or thin sauce: Let the sauce simmer uncovered if needed to reach your desired thickness.
Meal Prep, Storage, and Reheating Tips
This Vegan Butter Chicken Chickpeas stores beautifully, making it ideal for meal prep. Store leftovers in an airtight container in the fridge for up to 4 days. For longer storage, freeze it for up to 2 months in freezer-safe containers.
To reheat, warm it gently on the stovetop over low heat, adding a splash of water or coconut milk if it has thickened too much. Avoid microwaving for too long, as it may affect the texture of the chickpeas.
Looking for something similar? Try our easy apple cider chicken (gluten.
For more ideas, check out our easy apple cider chicken (gluten.
You might also enjoy our lemon basil pasta salad –.
Vegan Butter Chicken Chickpeas
Ingredients
- 1 can chickpeas (drained and rinsed)
- 2 tbsp coconut oil
- 1 medium onion (finely chopped)
- 3 cloves garlic (minced)
- 1 tbsp ginger (minced)
- 1 can coconut milk
- 1 cup diced tomatoes (canned or fresh)
- 2 tbsp tomato paste
- 1 tbsp garam masala
- 1 tsp ground cumin
- 1 tsp ground coriander
- 1 tsp turmeric powder
- 1 tsp chili powder (adjust to taste)
- salt (to taste)
- fresh cilantro (for garnish)
- cooked rice or naan (for serving)
Instructions
- In a large skillet, heat the coconut oil over medium heat.
- Add the finely chopped onion and sauté until translucent, about 5-7 minutes.
- Stir in the minced garlic and ginger, cooking for an additional 1-2 minutes until fragrant.
- Add the garam masala, cumin, coriander, turmeric, and chili powder to the skillet, stirring well to combine and cook for another minute.
- Pour in the diced tomatoes and tomato paste, stirring to mix everything thoroughly.
- Add the coconut milk and chickpeas to the skillet, stirring to combine. Bring the mixture to a gentle simmer.
- Reduce the heat to low and let it cook for about 15-20 minutes, stirring occasionally, until the sauce thickens slightly.
- Season with salt to taste, adjusting flavors as necessary.
- Remove from heat and garnish with fresh cilantro before serving.
- Serve hot over cooked rice or with naan.
Notes
Nutrition
Loved this recipe? Save it to your favorite Pinterest board so you can easily find it later! ✨