This post contains affiliate links. As an Amazon Associate, I earn from qualifying purchases. This comes at no extra cost to you.
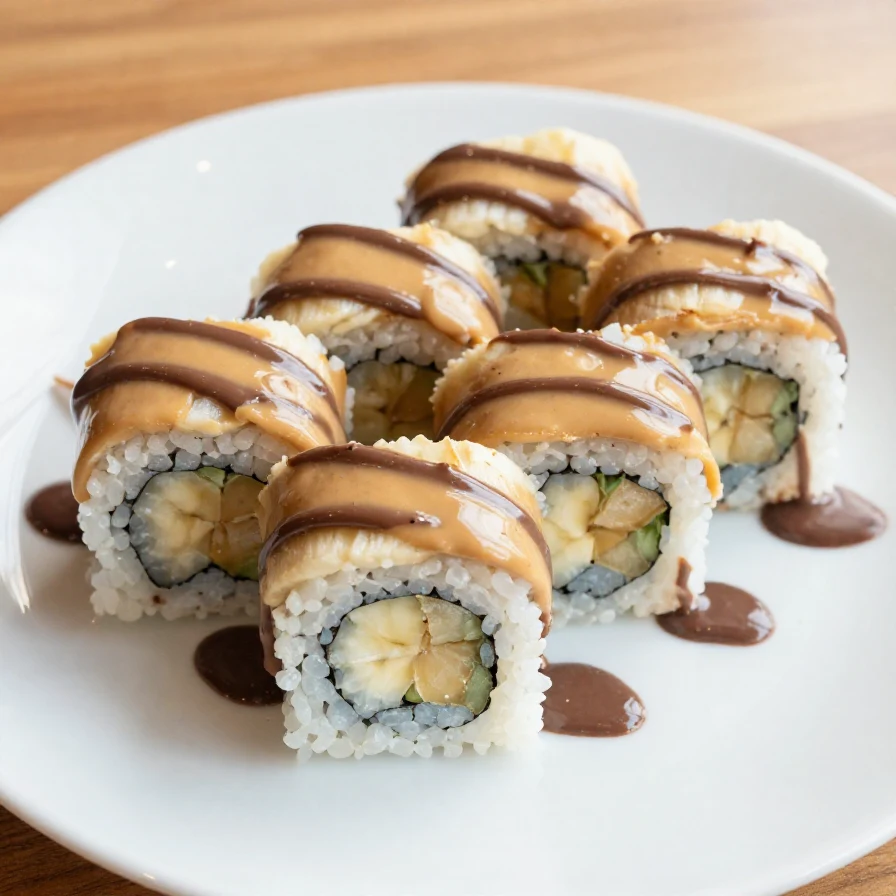
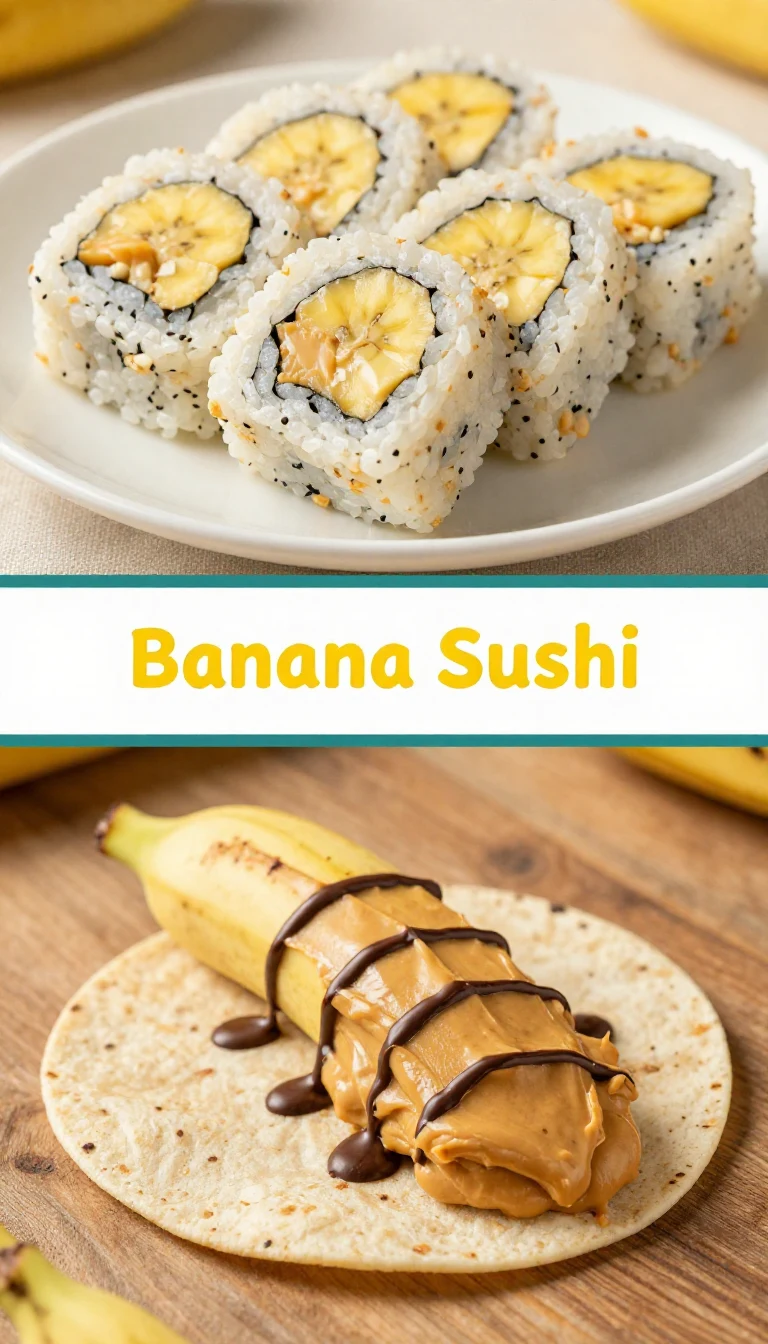
This Banana Sushi: Fun and Healthy Snack for Kids is the perfect combination of creamy peanut butter, sweet bananas, and a delightful crunch from granola. Each bite-sized “sushi roll” is as fun to make as it is to eat, offering a mix of textures and a hint of indulgence with optional chocolate chips or shredded coconut. It’s a joyfully simple recipe that kids will love to help prepare and enjoy.
Table of Contents
- Why Make This Snack?
- Everything You Need for Banana Sushi
- How To Make Banana Sushi Step by Step
- Simple Serving Ideas for Banana Sushi
- Expert Tips for the Perfect Banana Sushi
- Easy Ingredient Swaps and Substitutions
- Common Mistakes to Avoid
Why Make This Snack?
- Quick and easy to prepare. With just 10 minutes and no cooking required, banana sushi is the ultimate solution for busy parents juggling Healthy Daycare Snacks or Kids Snacks On The Go.
- Perfect for picky eaters. The interactive nature of decorating each “sushi roll” empowers kids to create their own version, making meal prep fun and engaging.
- Balances taste and nutrition. Packed with natural sweetness, healthy fats, and fiber, this is a snack parents can feel good about offering during snack time.
- Portable and mess-free. These bite-sized banana sushi rolls are ideal for Afternoon Snacks For Kids or even as a tasty treat in school lunchboxes.
Everything You Need for Banana Sushi
- 2 ripe bananas
- 1/4 cup peanut butter or almond butter
- 1/4 cup granola
- 1/4 cup mini chocolate chips (optional)
- 1 tablespoon honey or maple syrup (optional)
- 1/4 cup shredded coconut (optional)
- sliced strawberries or kiwi for garnish (optional)
Ripe bananas are the star of this recipe, offering natural sweetness and a creamy base. The nut butter adds richness and protein, making this dish not only tasty but a wholesome choice for kids.
How To Make Banana Sushi Step by Step
- Peel the bananas and place them on a cutting board to create a clean workspace. Using ripe bananas ensures they’ll have the perfect level of sweetness.
- Spread a generous layer of peanut butter or almond butter over each banana using a knife. Be sure to cover the entire surface evenly for the toppings to stick well.
- Roll the coated bananas in granola, pressing gently so the granola sticks. Add mini chocolate chips or shredded coconut if desired for extra texture and flavor.
- Using a sharp knife, slice the bananas into bite-sized pieces that resemble sushi rolls. Take care to make clean cuts to preserve the shape.
- Drizzle the rolled pieces with honey or maple syrup if you prefer a touch of sweetness. This step is entirely optional but adds a lovely finishing touch.
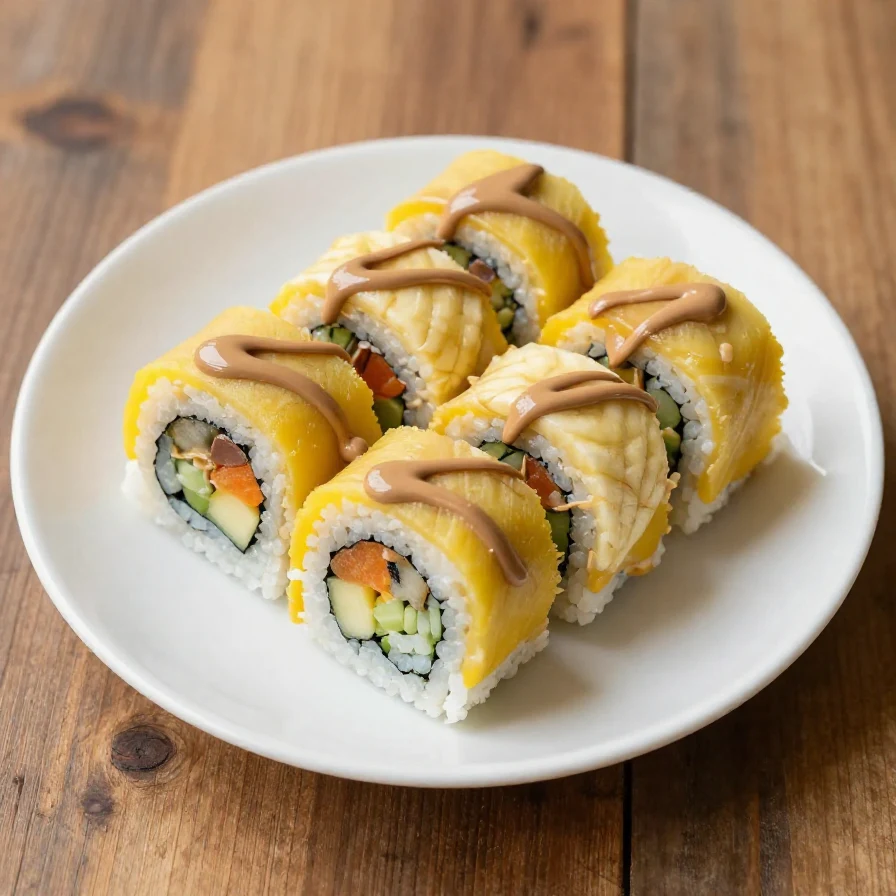
- Arrange on a plate and serve immediately with sliced strawberries or kiwi for garnish. These fresh fruit slices add a refreshing contrast to the creamy and crunchy banana sushi rolls.
Powerful blender for making smoothies to pair with your banana sushi.

A must-have tool for slicing and preparing fruits like bananas and kiwis.
Simple Serving Ideas for Banana Sushi
- Pair with a side of Greek yogurt for a protein-packed snack that complements the sweetness of the banana sushi rolls.
- Serve alongside our healthy & delicious green goddess dressing on the side for a savory dip option.
- Include these rolls as part of a kid-friendly charcuterie board with apple slices, cheese cubes, and crackers for a fun and balanced spread.
- Enjoy them with a refreshing smoothie for a wholesome and energizing afternoon pick-me-up.
Expert Tips for the Perfect Banana Sushi
- Use slightly firm bananas to make slicing easier and to avoid them becoming too mushy. This helps maintain the “sushi roll” shape.
- To prevent sticking, lightly dampen your hands before spreading the peanut butter. This will ensure a smooth, even layer.
- Prepare just before serving for optimal freshness. The bananas may brown if left exposed for too long, so enjoy them immediately.
- For extra crunch, toast the granola beforehand. This enhances its nutty flavor and adds a delightful crisp texture to the dish.
Easy Ingredient Swaps and Substitutions
- Swap peanut butter for sunflower seed butter to make this recipe nut-free and allergy-friendly. The flavor is mild and pairs wonderfully with bananas.
- Replace granola with crushed cereal for a similar crunch. Corn flakes or rice cereal work well as a substitute.
- Use raisins or dried cranberries instead of mini chocolate chips for a naturally sweet, chewy addition. This keeps the snack more health-focused.
Common Mistakes to Avoid
- Don’t use overly ripe bananas. While sweet, they can become too soft to hold their shape, making the sushi harder to handle.
- Avoid skipping the toppings. The toppings provide most of the texture and make each bite much more enjoyable.
- Be careful not to overspread the peanut butter. A thick layer may overpower the banana’s natural flavor and make the rolls difficult to slice.
Banana Sushi: Fun and Healthy Snack for Kids
Ingredients
- 2 ripe bananas
- 1/4 cup peanut butter or almond butter
- 1/4 cup granola
- 1/4 cup mini chocolate chips (optional)
- 1 tbsp honey or maple syrup (optional)
- 1/4 cup shredded coconut (optional)
- sliced strawberries or kiwi for garnish (optional)
Instructions
- Peel the bananas and place them on a cutting board.
- Spread a generous layer of peanut butter or almond butter over each banana using a knife.
- Roll the banana in granola, ensuring it's evenly coated. Add mini chocolate chips or shredded coconut if desired.
- Using a sharp knife, slice the coated bananas into bite-sized pieces, resembling sushi rolls.
- Drizzle with honey or maple syrup if you like a touch of sweetness.
- Serve immediately with sliced strawberries or kiwi for garnish, if using.
Notes
Nutrition
Loved this recipe? Save it to your favorite Pinterest board so you can easily find it later! ✨