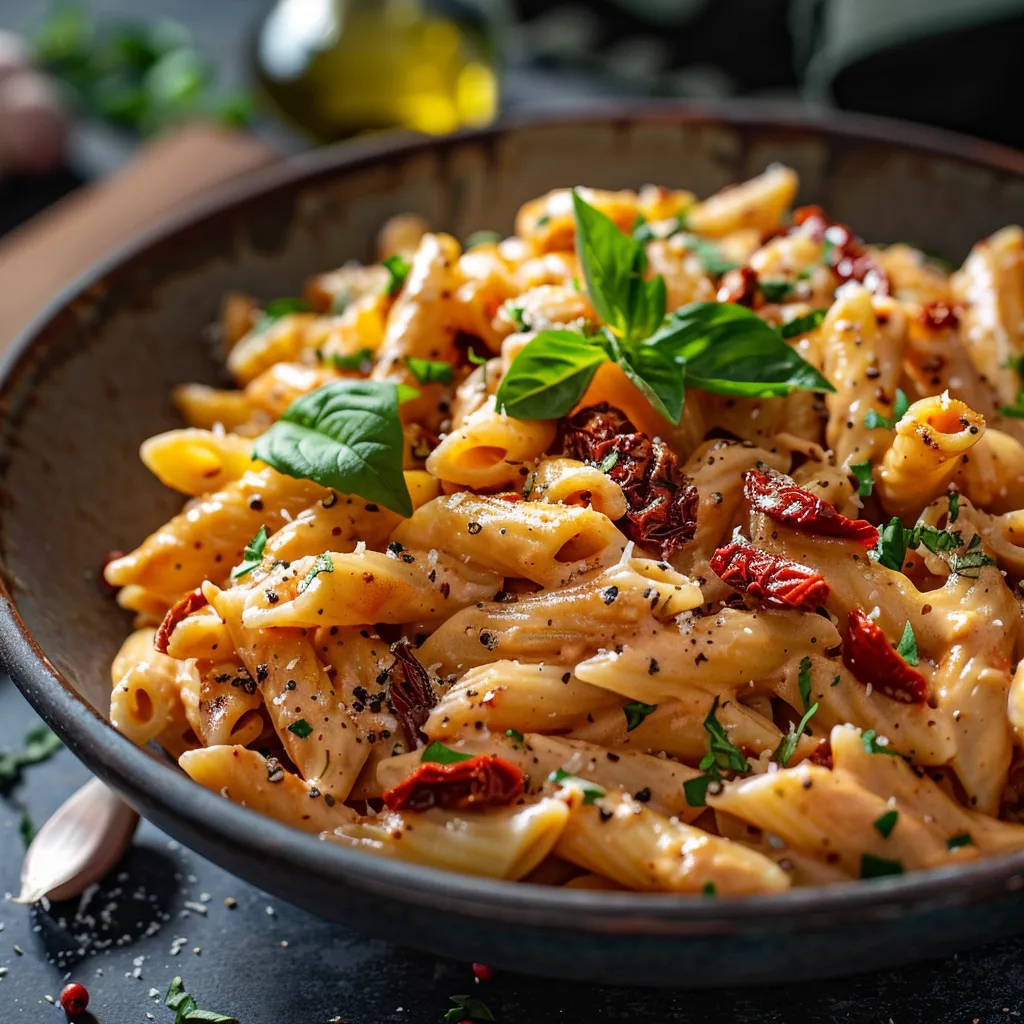
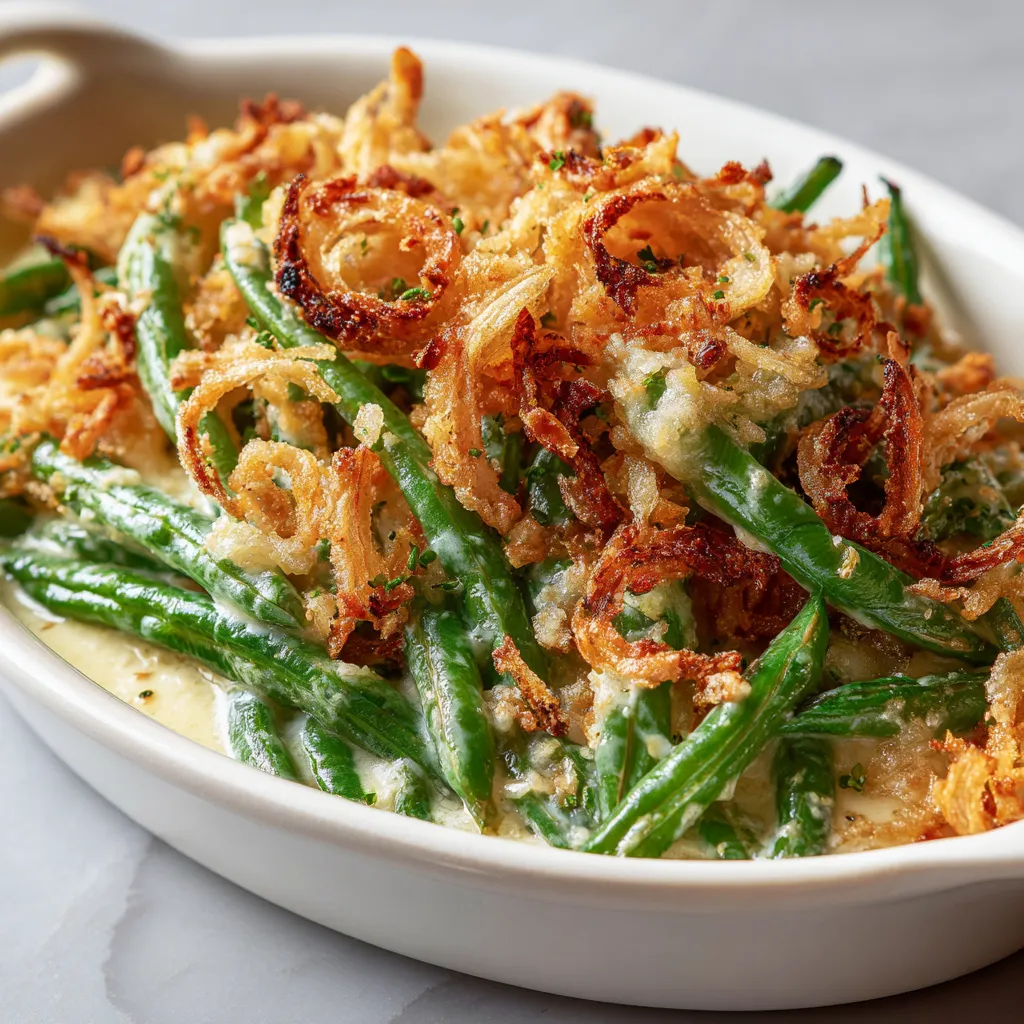
Unleashing Flavor: Your Ultimate Guide to a Gluten-Free Broccoli Cheese Casserole
Welcome to a culinary adventure that will ignite your taste buds and redefine your perspective on gluten-free cooking! This Broccoli Cheese Casserole isn’t just a dish; it’s a celebration of flavor and texture, designed to embrace the fire of spices while being kind to those with gluten sensitivities. Whether you’re navigating celiac disease or simply looking to add a healthy twist to your family meals, this recipe invites you to savor every bite without compromise.
In this guide, I’ll walk you through the intricacies of crafting a mouthwatering Broccoli Cheese Casserole that is not only gluten-free but also packed with nourishing ingredients. From essential tips to variations that cater to different palates, we’ll explore how to make this dish your own!
Why You’ll Love This Recipe
Here are five irresistible reasons to dive into this delightful casserole:
- Comforting and Satisfying: This casserole delivers a warm, creamy embrace that feels like a hug on a plate, perfect for chilly evenings.
- Easy to Make: With simple steps and readily available ingredients, this recipe is perfect for both novice cooks and seasoned chefs.
- Family-Friendly: Even picky eaters will fall in love with the cheesy goodness and vibrant color of broccoli in this dish.
- Nutrient-Dense: Packed with vitamins and minerals, this casserole supports a healthy lifestyle while tantalizing your taste buds.
- Versatile and Adaptable: Customize it to your liking with various cheeses, proteins, or spices, making it a go-to dish for any occasion!
Ingredient Breakdown

Understanding your ingredients is key to mastering this dish. Here’s what you’ll need and some potential substitutions:
- Fresh Broccoli Florets: The star of our show! Opt for fresh, vibrant broccoli for the best flavor. You can also use frozen broccoli if you’re short on time; just ensure it’s thawed and drained.
- Cheese: A blend of sharp cheddar and cream cheese creates a rich, creamy texture. Substitute with lactose-free cheese or nutritional yeast for a vegan option.
- Gluten-Free Breadcrumbs: For crispy topping, use gluten-free panko or crushed gluten-free crackers. You can also make your own breadcrumbs from gluten-free bread.
- Milk: Whole milk adds creaminess, but almond or oat milk can be excellent dairy-free alternatives.
- Eggs: These bind the casserole; if you’re vegan, consider using flax eggs or applesauce as substitutes.
Pro Tips for the Perfect Casserole
Ready to take your casserole to the next level? Here are some expert insights:
- Don’t Overcook the Broccoli: Steam until just tender before combining; this keeps a vibrant color and prevents mushiness.
- Layer Flavors: Sauté garlic and onion in your pan to deepen the flavor profile before adding other ingredients.
- Cheese Choices: Experiment with different cheeses like gouda, mozzarella, or pepper jack for unique flavor combinations.
- Season Generously: Don’t be shy with spices! A sprinkle of cayenne or smoked paprika can elevate the flavor wonderfully.
- Let it Rest: Allow the casserole to sit for 10-15 minutes after baking to help it set and enhance the flavors.
- Use a High-Quality Baking Dish: A good ceramic or glass dish ensures even cooking and helps achieve that golden top.
- Make it Ahead: Assemble the casserole a day in advance and store it in the fridge, then bake when you’re ready!
- Top with Fresh Herbs: A sprinkle of fresh parsley or chives just before serving adds a bright, fresh element.
Avoiding Common Mistakes
Even the best cooks can stumble! Here’s how to dodge common pitfalls:
- Too Runny: If your casserole is too watery, ensure you drain any excess liquid from the broccoli and use less milk.
- Overbaking: Keep an eye on your casserole in the oven; it’s done when the top is golden and bubbly, about 25-30 minutes.
- Skipping the Seasoning: Don’t forget to season at every layer; bland dishes are often a result of under-seasoning.
- Using Low-Quality Cheese: Invest in good cheese — it makes all the difference in flavor and texture.
Flavor Variations
Want to switch things up? Here are some delicious variations to consider:
- Meaty Addition: Stir in cooked chicken, turkey, or sausage for a heartier dish that’s perfect for protein lovers.
- Spicy Twist: Add jalapeños or crushed red pepper flakes for a kick that warms the soul.
- Herbed Delight: Incorporate fresh herbs like thyme, rosemary, or dill for a refreshing twist.
- Veggie-Packed: Toss in other vegetables such as carrots, bell peppers, or cauliflower to boost nutrition and flavor.
Storage and Make-Ahead Instructions
Planning ahead is a breeze with this casserole:
- Refrigeration: Store leftovers in an airtight container for up to 3-5 days. Reheat in the oven for best results.
- Freezing: This casserole can be frozen before baking for up to 3 months. Thaw overnight in the fridge before baking.
- Make-Ahead: Assemble up to 24 hours in advance. Just cover tightly and refrigerate until you’re ready to bake!
Frequently Asked Questions
Got questions? We’ve got answers!
- Can I use frozen broccoli? Yes! Just ensure it’s thawed and excess moisture is squeezed out.
- What if I’m allergic to dairy? Substitute with dairy-free cheese and plant-based milk for a delicious alternative.
- How can I make this casserole spicier? Incorporate jalapeños, red pepper flakes, or a dash of hot sauce into the mix.
- What other vegetables can I add? Feel free to experiment with zucchini, carrots, or even spinach for added nutrition.
- Can I make this vegan? Absolutely! Use flax eggs, dairy-free cheese, and plant-based milk for a vegan-friendly option.
- What’s the best way to reheat leftovers? Reheat in the oven to maintain texture, or microwave in short intervals to avoid overcooking.
- Can I add protein? Yes! Cooked chicken, ground beef, or plant-based protein can make this casserole more filling.
- How long can I store leftovers? Store in the fridge for up to 5 days and reheat thoroughly before serving.
Nutritional Insights and Dietary Adaptations
Eating healthy doesn’t mean sacrificing flavor. Here’s how to adapt this recipe for various dietary needs:
- Low-Carb Option: Swap out breadcrumbs for crushed nuts or seeds for a keto-friendly version.
- High-Protein: Incorporating cottage cheese or Greek yogurt into the mix can boost the protein content.
- Low-Fat: Use low-fat dairy options or replace cream cheese with a lighter alternative.
- Kid-Friendly: You can reduce the cheese and add more broccoli to cater to younger tastes.
Essential Equipment
Here’s what you’ll need to whip up this casserole:
- Mixing Bowls: Large bowls for combining ingredients effectively.
- Baking Dish: A 9×13-inch glass or ceramic dish works perfectly for even cooking.
- Whisk: For mixing dry and wet ingredients seamlessly.
- Cutting Board and Knife: Essential for prepping your veggies!
Serving Suggestions
Want to elevate your dining experience? Here are some serving ideas:
- Pair with Proteins: Serve alongside roasted chicken or grilled fish for a well-rounded meal.
- Serve with a Fresh Salad: A crisp garden salad or caesar complements the richness of the casserole.
- Add a Side of Bread: Gluten-free garlic bread or rolls can round out your meal beautifully.
So there you have it! This Gluten-Free Broccoli Cheese Casserole is more than just a dish; it’s a gateway to culinary exploration that celebrates flavor without compromise. Embrace the fire, experiment with your ingredients, and let your kitchen be a canvas for creativity!
Remember, cooking should be a joyful adventure — so grab your skillet, gather your ingredients, and let’s make something unforgettable together!

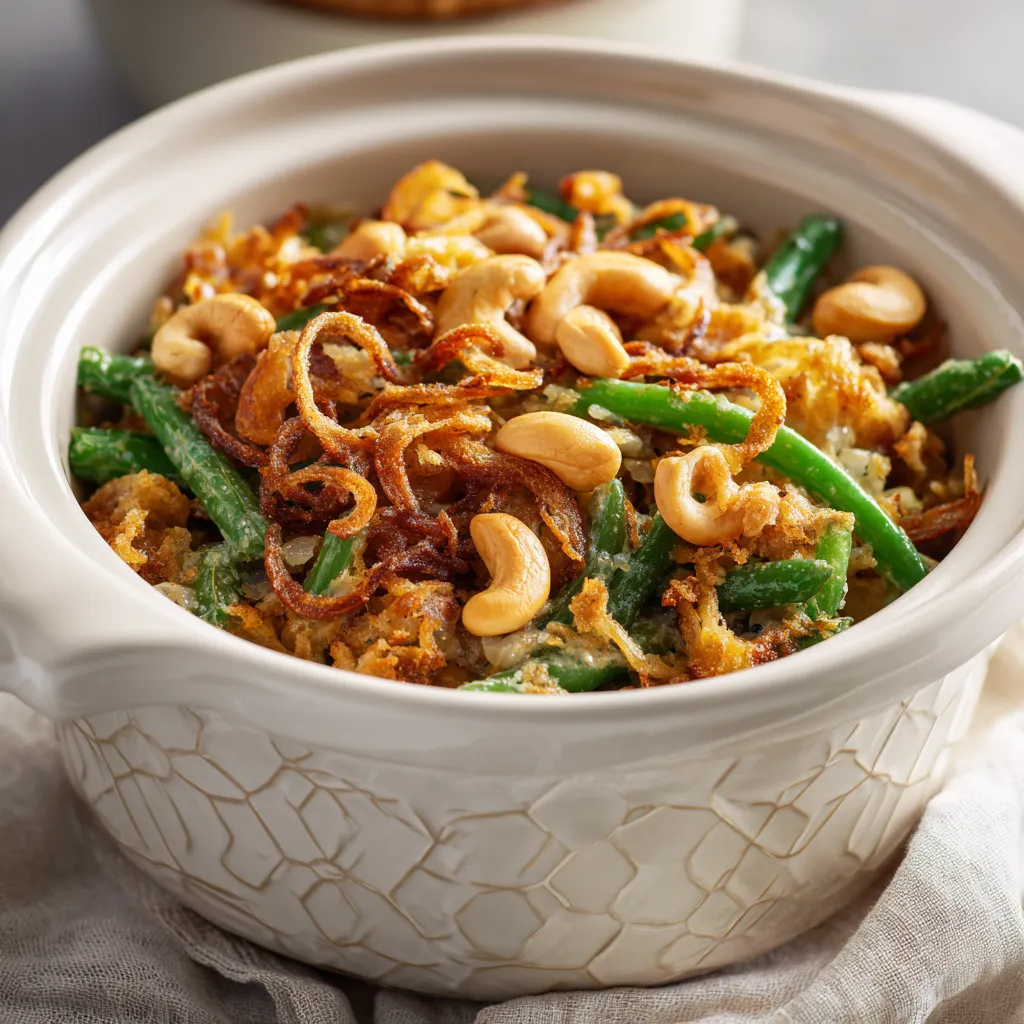
Pin by Dawn Marie Kanouse on Gluten Free Living in 2025
Ingredients
Dry ingredients
- 2 cups gluten-free all-purpose flour
- 1 cup almond flour
- 1 teaspoon baking soda
- 1/2 teaspoon salt
Wet ingredients
- 1/2 cup coconut oil, melted
- 1/2 cup honey or maple syrup
- 2 large eggs
- 1 teaspoon vanilla extract
- 1/2 cup dairy-free chocolate chips (optional)
Instructions
- Preheat oven to 350°F (175°C) and line a baking sheet with parchment paper.
- Mix dry ingredients in a bowl; combine wet ingredients separately.
- Combine wet and dry mixtures; fold in chocolate chips if desired.
- Scoop dough onto baking sheet, spacing 2 inches apart.
- Bake for 10-12 minutes; cool before serving.
Notes
Nutrition
Loved this recipe? Save it to your favorite Pinterest board so you can easily find it later! It’s the perfect way to keep all your sweet ideas in one place. ✨