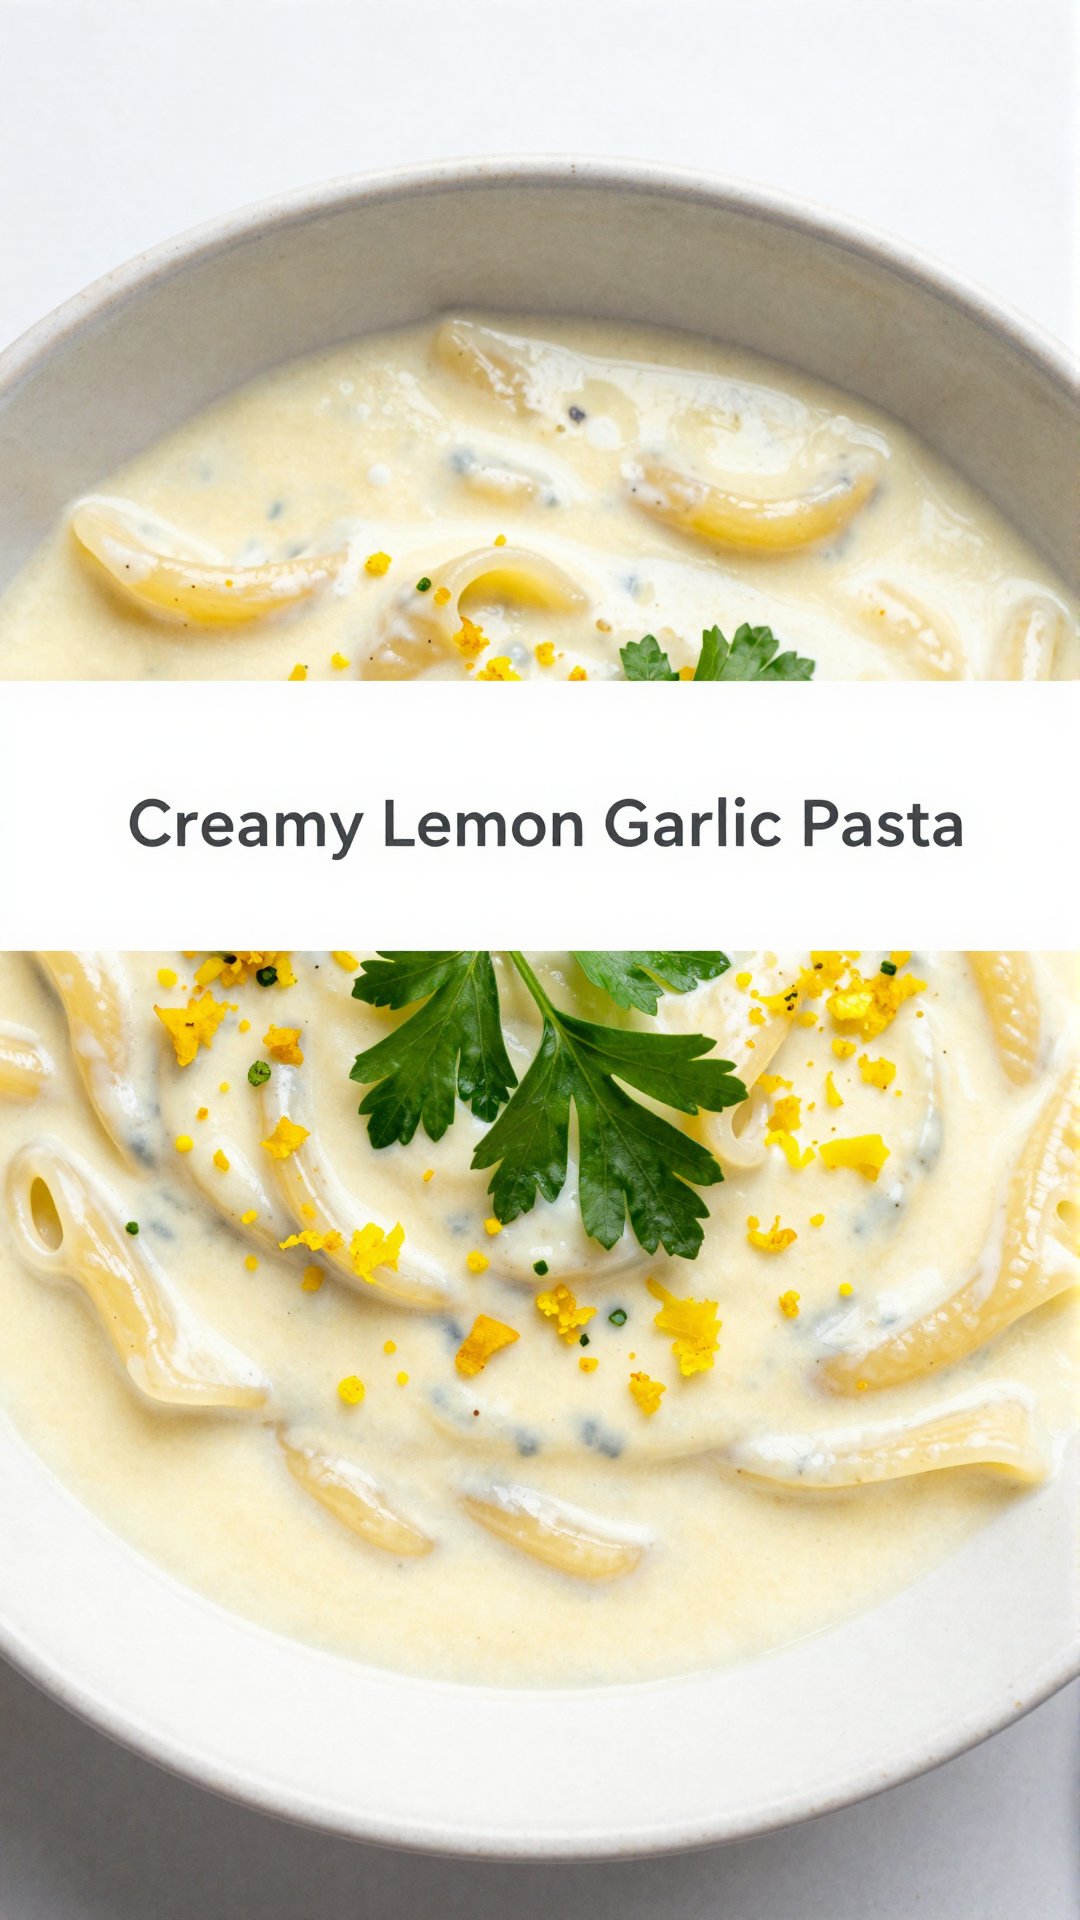
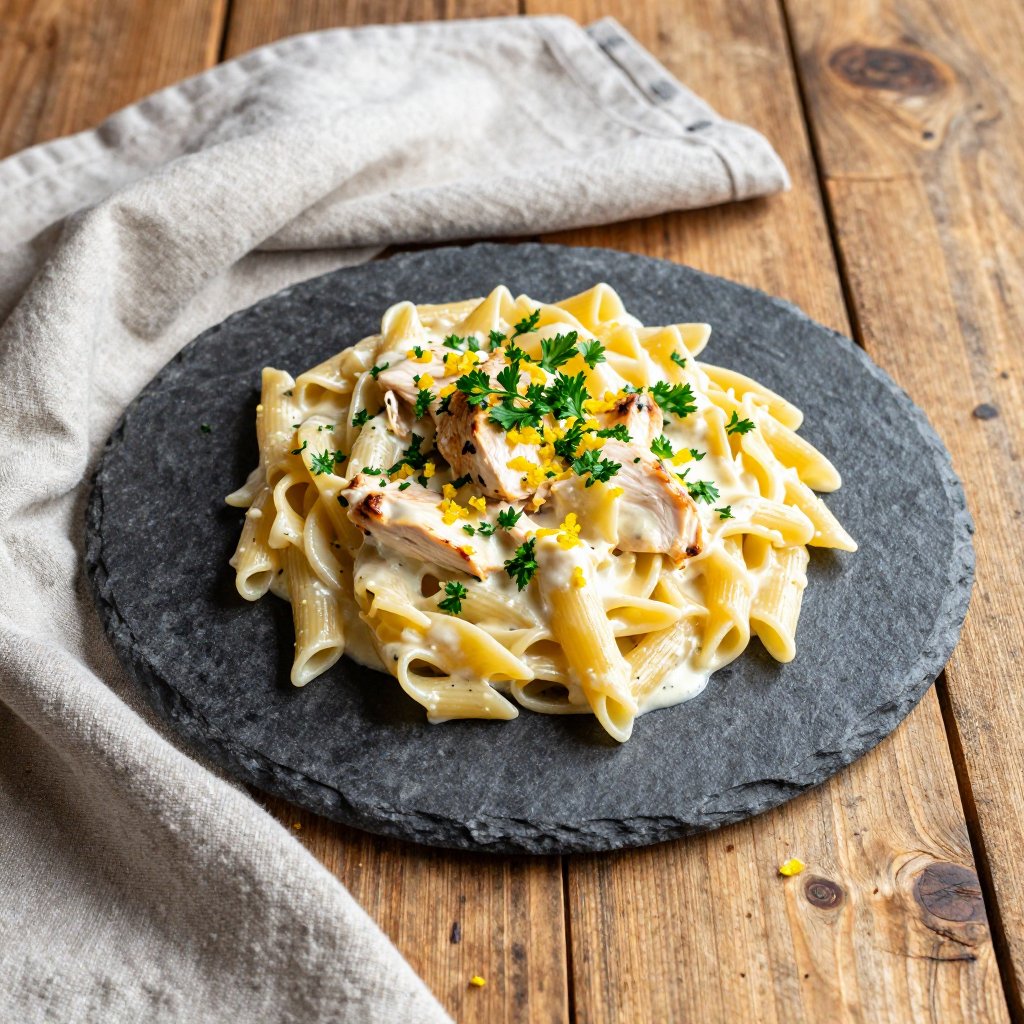
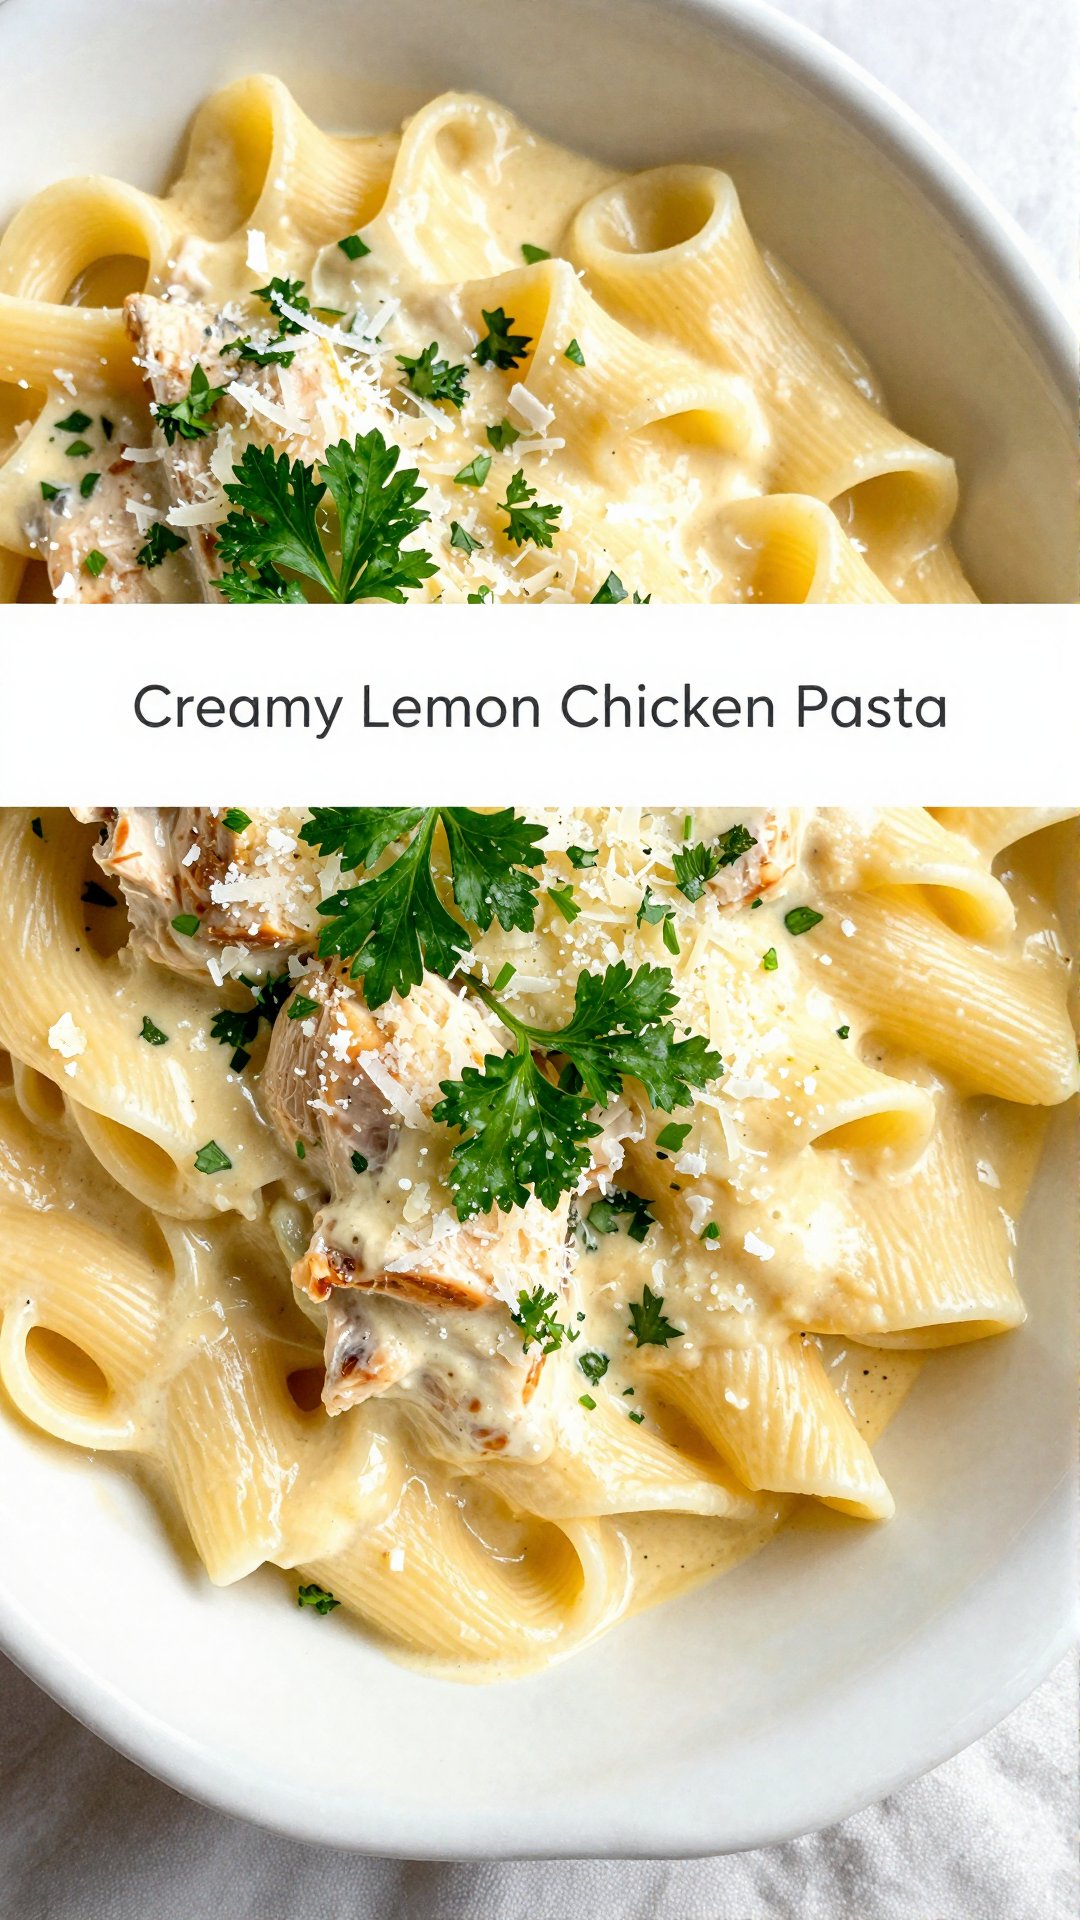
The rain is drumming a gentle rhythm against my window here in Portland, the kind of day that begs for comfort. And what’s more comforting than a big bowl of pasta, coated in a luscious, vibrant sauce? Today, I’m sharing my go-to recipe for Creamy Lemon Garlic Pasta Sauce – a dish that’s both incredibly easy to make and deeply satisfying. It’s a recipe born from my own need for nourishing, flavorful meals, and I hope it brings you as much joy as it brings me.
My journey into cooking started, as many do, with a need to take better care of myself. After years of ignoring the signals my body was sending, I realized that what I put into it directly impacted how I felt. This creamy lemon garlic pasta sauce became a staple because it’s packed with flavor, uses simple ingredients, and is ready in under 20 minutes. It’s a weeknight winner that even the pickiest eaters will love. It’s a dish that proves healthy eating can be easy, delicious, and fun!
Why You’ll Love This Creamy Lemon Garlic Pasta Sauce
This isn’t just another pasta sauce recipe; it’s a hug in a bowl. It’s the perfect balance of bright lemon, savory garlic, and rich creaminess. Here’s why I think you’ll fall in love:
- Quick and Easy: From start to finish, this creamy lemon garlic pasta sauce comes together in less than 20 minutes. Perfect for busy weeknights!
- Simple Ingredients: You probably already have most of these ingredients in your pantry and refrigerator. No fancy trips to specialty stores required.
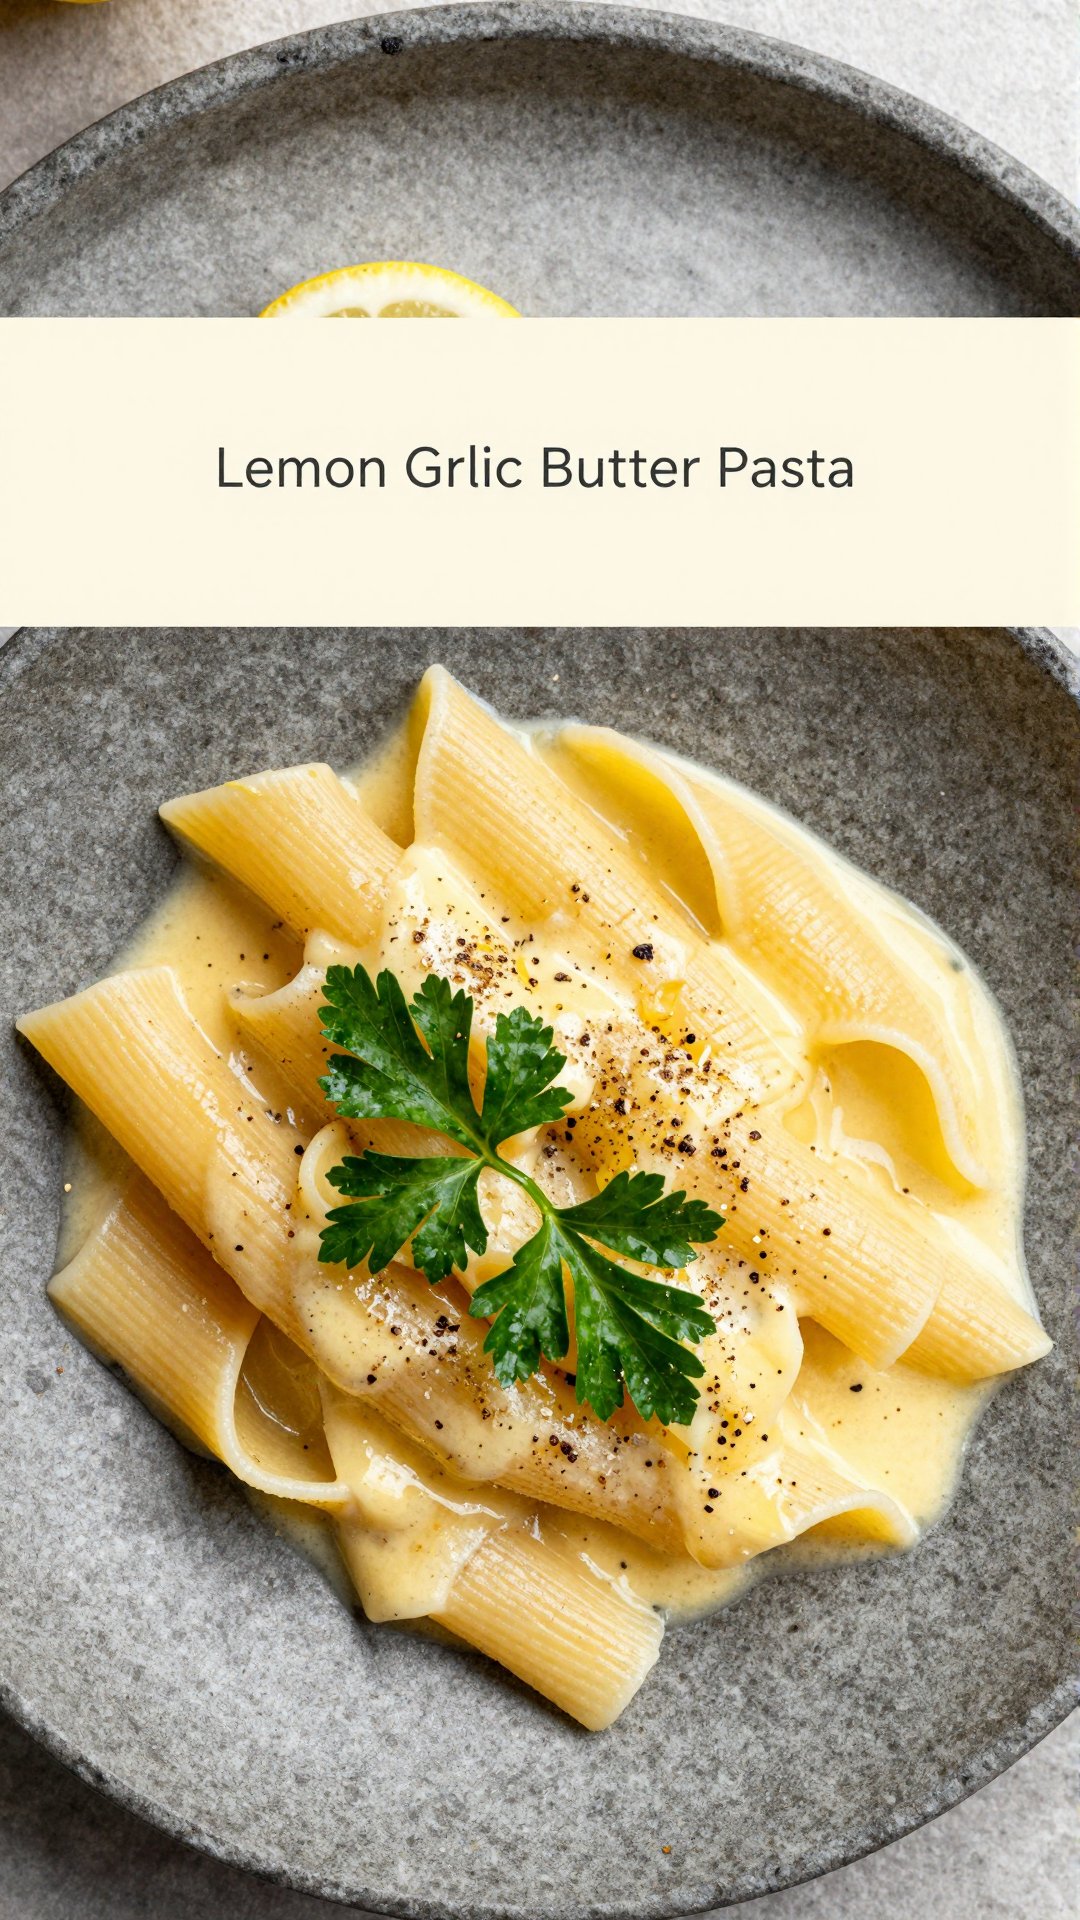
- Incredibly Flavorful: The combination of lemon zest, garlic, and Parmesan cheese creates a symphony of flavors that will tantalize your taste buds. The sauce is truly amazing.
- Versatile: This sauce isn’t just for pasta! Use it as a base for pizzas, a topping for roasted vegetables, or a dipping sauce for crusty bread.
- Comfort Food: There’s something inherently comforting about a creamy pasta dish. This recipe is a healthy-ish indulgence that won’t leave you feeling guilty.
Creamy Lemon Garlic Pasta Sauce Ingredients
- 2 tablespoons unsalted butter: Adds richness and flavor to the sauce.
- 4 garlic cloves, finely grated: Grated garlic infuses the sauce with its pungent aroma and flavor.
- 2 tablespoons all-purpose flour: Used as a thickening agent to create the creamy texture.
- 480 millilitres half and half (do not use fat-free): Provides the creamy base for the sauce. Using fat-free half and half will result in a watery sauce.
- Zest of 1 lemon (approximately 1 teaspoon): Adds a bright, citrusy aroma and flavor.
- 2 tablespoons freshly squeezed lemon juice: Provides the essential lemon flavor that balances the richness of the cream.
- 35 grams freshly grated Parmesan cheese: Adds a salty, savory, and nutty flavor to the sauce.
- 1 tablespoon finely chopped fresh parsley: Provides a pop of freshness and color.
- Kosher salt, to taste: Enhances the flavors of all the ingredients.
- Freshly ground black pepper, to taste: Adds a touch of spice and complexity.

How to Make Creamy Lemon Garlic Pasta Sauce: Step-by-Step Instructions
This creamy lemon garlic pasta sauce is simple, and the magic of fresh ingredients really shines through. Here’s how to make it:
- Sauté the Garlic: Heat a 30-centimetre non-stick skillet over medium heat and melt the butter. Add the grated garlic and cook, stirring constantly, for about 30 seconds until aromatic. Be careful not to burn the garlic, as it will become bitter.
- Make a Roux: Add the all-purpose flour and stir continuously for 1 minute, allowing it to become lightly golden while cooking off the raw taste. Avoid burning. This is the base for the sauce.
- Add the Half and Half: Gradually pour in the half and half, stirring as you add. Season with kosher salt and black pepper. Reduce heat to medium-low and simmer for 1–2 minutes, stirring, until the sauce thickens and evenly coats the back of a spoon. Whisk out any lumps as needed.
- Finish the Sauce: Whisk in the freshly squeezed lemon juice and lemon zest. Stir in the grated Parmesan cheese and chopped parsley until the cheese melts smoothly into the sauce.
- Serve: Serve promptly over your favorite cooked pasta.
Pro Tips for the Best Creamy Lemon Garlic Pasta Sauce
Want to take your creamy lemon garlic pasta sauce to the next level? Here are a few tips I’ve learned over the years:
- Use Fresh Ingredients: The quality of your ingredients will directly impact the flavor of the sauce. Use fresh garlic, lemon, and Parmesan cheese for the best results. The sauce is only as good as its ingredients.
- Don’t Burn the Garlic: Burnt garlic is bitter and can ruin the entire sauce. Keep a close eye on it while it’s cooking and reduce the heat if necessary.
- Grate, Don’t Press, the Garlic: Grating the garlic releases its oils and creates a more intense flavor. A microplane is your best friend here.
- Use Room Temperature Half and Half: Using cold half and half can cause the sauce to seize up and become lumpy. Let it sit out for a few minutes before adding it to the pan.
- Taste as You Go: Season the sauce with salt and pepper to taste. The amount you need will depend on your personal preferences.
Common Mistakes to Avoid
Even the simplest recipes can have pitfalls. Here are a few common mistakes to avoid when making creamy lemon garlic pasta sauce:
- Using Fat-Free Half and Half: This will result in a watery and flavorless sauce. The fat in the half and half is essential for creating a creamy texture.
- Adding the Lemon Juice Too Early: Adding the lemon juice too early can cause the half and half to curdle. Add it at the very end for the best results.
- Overcooking the Sauce: Overcooking the sauce can cause it to become thick and gluey. Simmer it gently until it reaches your desired consistency.
- Skipping the Lemon Zest: The lemon zest adds a bright, aromatic flavor that is essential to the dish. Don’t skip it!
- Forgetting to Season: Salt and pepper are crucial for enhancing the flavors of the sauce. Don’t be afraid to season generously.
Variations to Try
One of the best things about this recipe is how easily you can customize it to your liking. Here are a few variations to try:
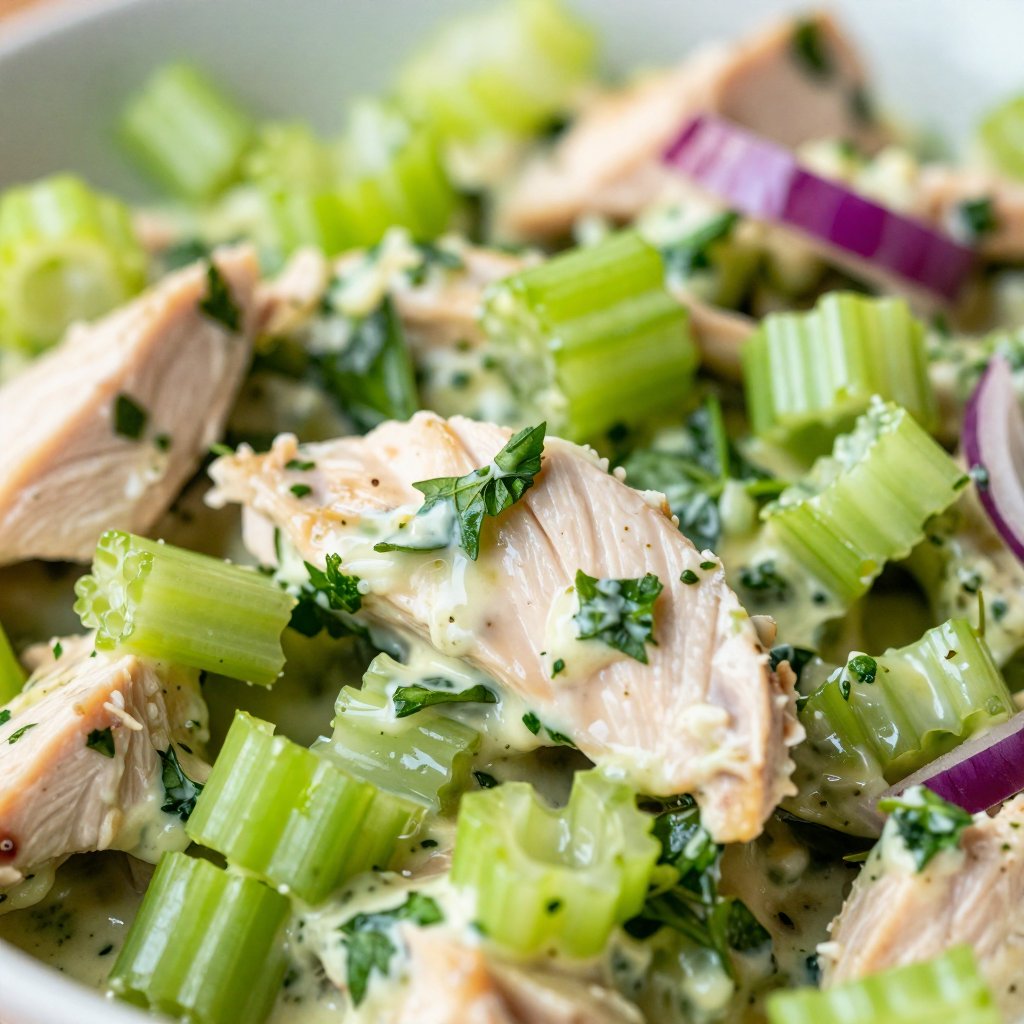
- Add Protein: Sauté chicken, shrimp, or tofu and add it to the sauce.
- Add Vegetables: Toss in some roasted vegetables like asparagus, broccoli, or bell peppers.
- Make it Spicy: Add a pinch of red pepper flakes for a touch of heat.
- Use Different Cheese: Try using Pecorino Romano or Asiago cheese instead of Parmesan.
- Add Herbs: Experiment with different herbs like basil, oregano, or thyme.
Storing and Reheating Creamy Lemon Garlic Pasta Sauce
This creamy lemon garlic pasta sauce is best served immediately, but it can be stored in the refrigerator for up to three days. Here’s how:
- Storing: Let the sauce cool completely before transferring it to an airtight container. Store in the refrigerator for up to three to five days.
- Reheating: Reheat the sauce gently over low heat, stirring occasionally, until warmed through. You may need to add a splash of milk or half and half to thin it out. Avoid boiling, as this can cause the sauce to separate.
Frequently Asked Questions
Here are some common questions I get about this recipe:
- Can I use milk instead of half and half? While you *can* use milk, the sauce won’t be as creamy. If you do use milk, consider adding a tablespoon of butter or a splash of heavy cream for added richness.
- Can I make this sauce ahead of time? Yes, you can make the sauce ahead of time and store it in the refrigerator for up to three days. Reheat gently before serving.
- Can I freeze this sauce? I don’t recommend freezing this sauce, as the texture may change when it thaws. The half and half can sometimes separate and become grainy.
- Is this sauce gluten-free? No, this sauce is not gluten-free as it contains all-purpose flour. However, you can easily make it gluten-free by using a gluten-free all-purpose flour blend or cornstarch as a thickening agent.
- Can I use dried herbs instead of fresh? Yes, you can use dried herbs, but the flavor won’t be as vibrant. Use about 1 teaspoon of dried parsley in place of 1 tablespoon of fresh parsley.
Serving Suggestions
This creamy lemon garlic pasta sauce is incredibly versatile and can be served in a variety of ways. Here are a few of my favorites:
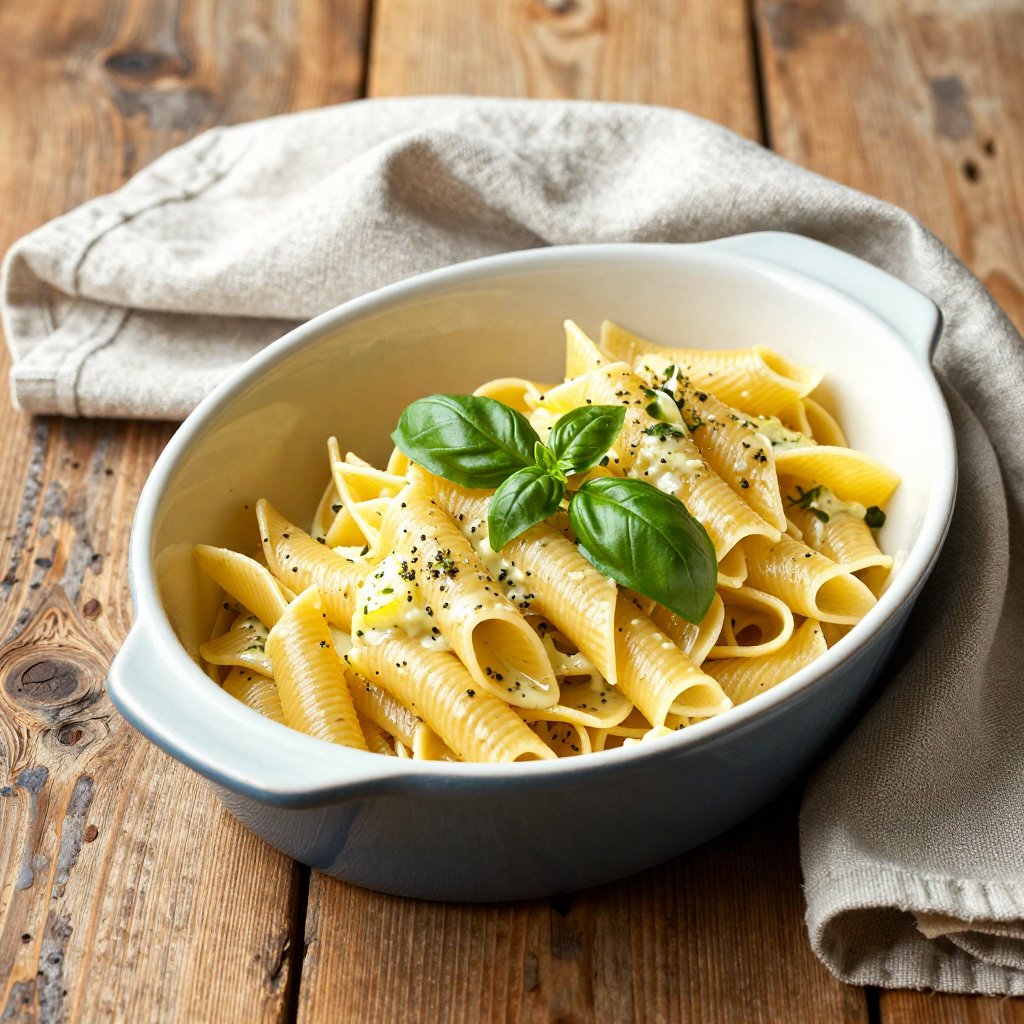
- With Pasta: The classic choice! Serve it over your favorite pasta shape, such as spaghetti, fettuccine, or linguine.
- Over Roasted Vegetables: Drizzle it over roasted vegetables like broccoli, asparagus, or Brussels sprouts.
- As a Pizza Sauce: Use it as a base for a white pizza with toppings like spinach, mushrooms, and artichoke hearts.
- With Grilled Chicken or Fish: Spoon it over grilled chicken or fish for a flavorful and creamy topping.
- As a Dip: Serve it as a dip for crusty bread or vegetables.
I hope you enjoy this Creamy Lemon Garlic Pasta Sauce as much as I do. It’s a recipe that’s close to my heart, a reminder that taking care of ourselves can be both delicious and easy. Happy cooking!
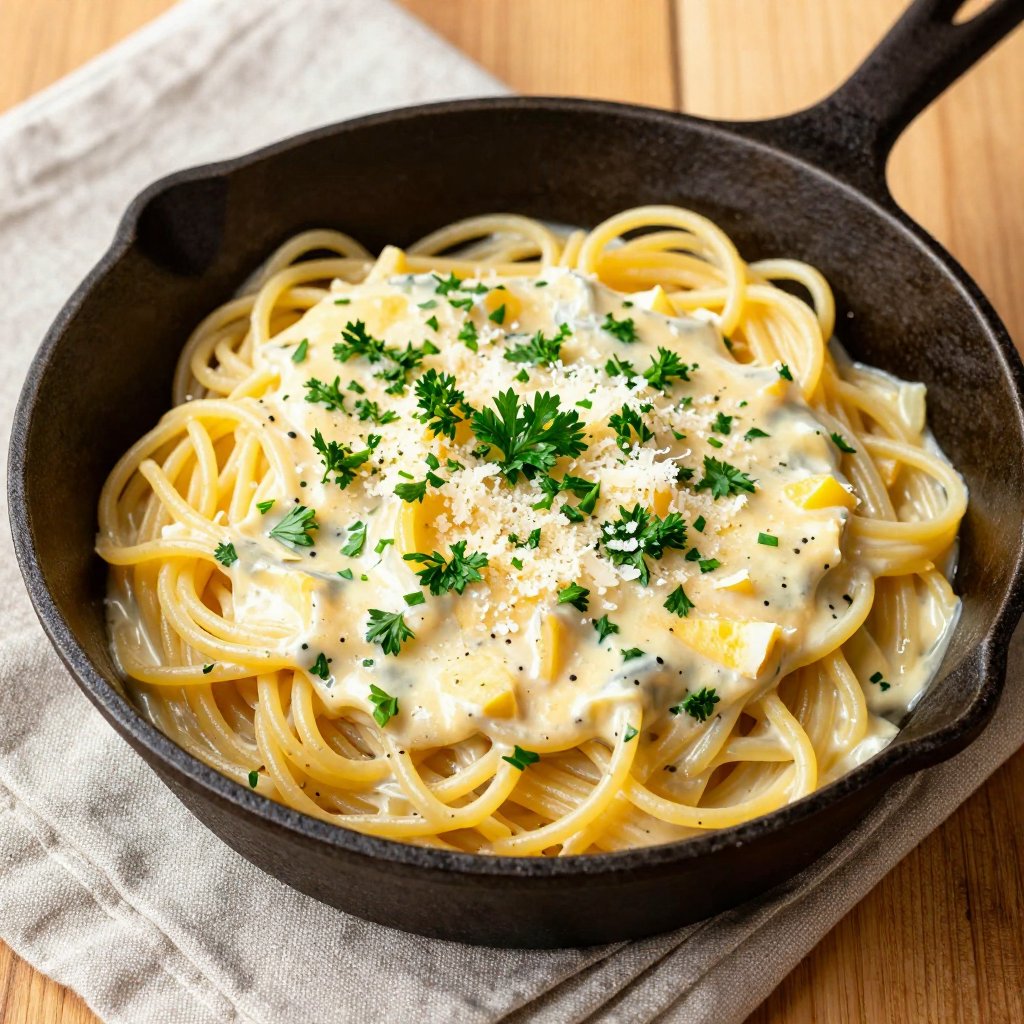
Creamy Lemon Garlic Pasta Sauce
Ingredients
Ingredients
- 2 tablespoons unsalted butter
- 4 cloves garlic (finely grated)
- 2 tablespoons all-purpose flour
- 480 millilitres half and half (do not use fat-free)
- 1 teaspoon lemon zest (approximately)
- 2 tablespoons freshly squeezed lemon juice
- 35 grams freshly grated Parmesan cheese
- 1 tablespoon finely chopped fresh parsley
- to taste Kosher salt
- to taste Freshly ground black pepper
Instructions
- Melt butter in skillet over medium heat. Add garlic and cook for 30 seconds until aromatic.
- Add flour and stir continuously for 1 minute until lightly golden.
- Gradually pour in half and half, stirring. Season with salt and pepper. Simmer for 1–2 minutes until thickened. Whisk out lumps.
- Whisk in lemon juice and zest. Stir in Parmesan and parsley until cheese melts. Serve promptly.
Notes
Nutrition