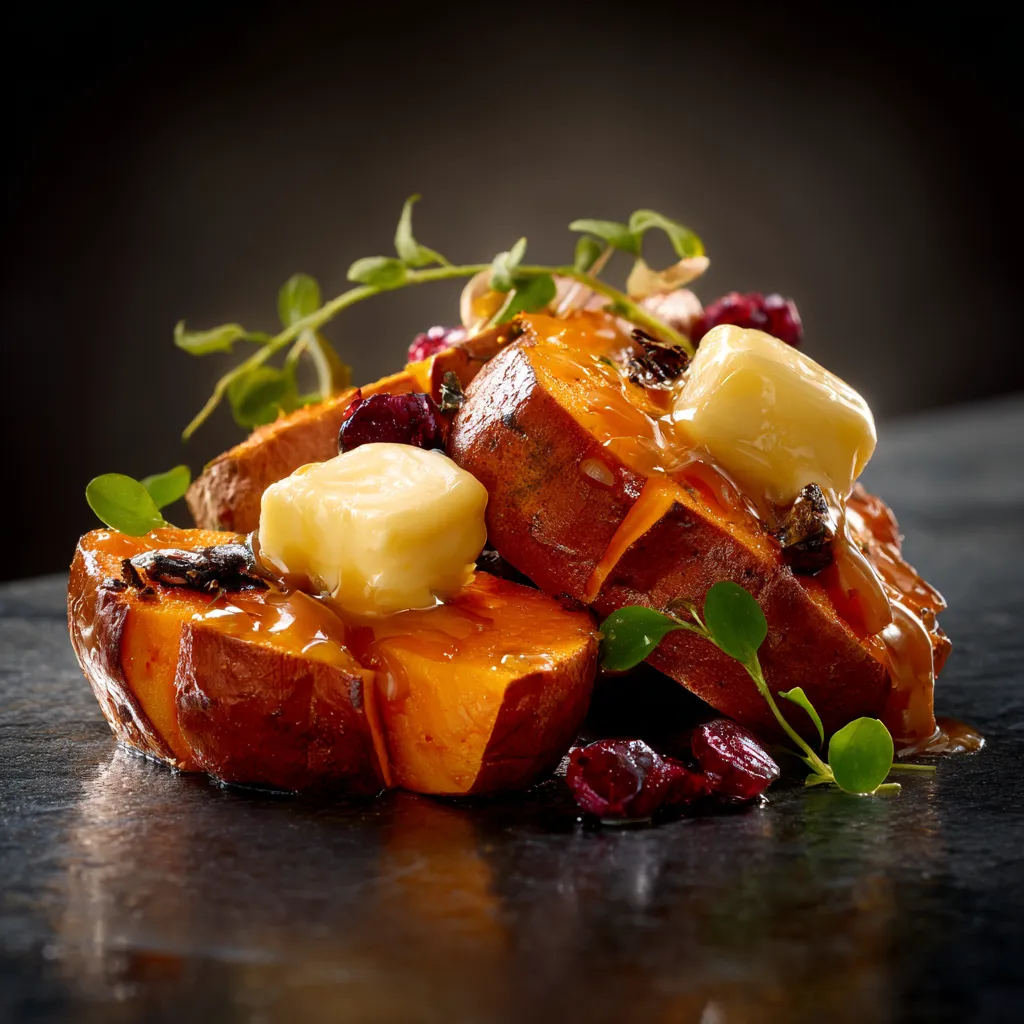
Unlocking the Magic of Baked Sweet Potatoes
Welcome to a culinary adventure that transforms humble sweet potatoes into a tantalizing dish bursting with flavor! If you’ve ever wondered how to bake sweet potatoes to perfection, you’re in for a treat. Not only are these vibrant tubers delicious, but they also offer a delightful balance of sweetness and earthiness that can elevate any meal. Join me, Marcus Rivera, as we dive into the art of baking sweet potatoes, ensuring every bite is an explosion of taste and texture.
Why You’ll Love This Recipe
Baking sweet potatoes is not just a cooking process; it’s a transformative experience. Here are five reasons why you’ll adore this recipe:
- Versatile Side Dish: Whether paired with a savory protein or served as a standalone delight, baked sweet potatoes fit seamlessly into any meal.
- Health Benefits: Sweet potatoes are packed with vitamins A and C, fiber, and antioxidants, making them a nutritious addition to your diet.
- Easy Preparation: With minimal ingredients and straightforward steps, baking sweet potatoes is a breeze for both novice and seasoned cooks.
- Flavorful Customization: Experiment with various toppings and spices to create your unique flavor profile. The possibilities are endless!
- Perfect for Meal Prep: Bake a batch ahead of time and enjoy them throughout the week, whether in salads, tacos, or as a sweet snack.
The Ingredients Breakdown
To achieve the ultimate baked sweet potato experience, you’ll need just four simple ingredients:
- 4 medium sweet potatoes: Choose firm and unblemished potatoes for the best results.
- Olive oil: Enhances flavor and promotes crisp skin. Feel free to substitute with avocado oil for a different taste.
- Salt: A pinch of salt elevates the natural sweetness of the potatoes. Kosher or sea salt works best.
- Pepper: A sprinkle of freshly cracked black pepper adds a subtle kick.
These basic ingredients can be modified based on your taste preferences. For a spicy twist, consider adding cayenne pepper or paprika. Looking for a sweet finish? Top with honey or maple syrup after baking!
Step-by-Step Instructions
Let’s get those sweet potatoes sizzling! Follow these simple steps for perfectly baked sweet potatoes:
- Preheat the oven: Set your oven to 400°F (200°C) to create the ideal baking environment.
- Wash and scrub: Clean the sweet potatoes under running water to remove any dirt. A clean potato is key to a delicious bake.
- Dry thoroughly: Pat the potatoes dry with a paper towel to ensure the oil adheres properly.
- Prick the skins: Use a fork to make several pricks in each potato. This prevents steam from building up during baking, avoiding any unexpected explosions!
- Oil and season: Rub each potato with olive oil and sprinkle generously with salt and pepper.
- Arrange on a baking sheet: Place your seasoned sweet potatoes on a parchment-lined baking sheet, ensuring they’re spaced apart for even cooking.
- Bake to perfection: Slide the tray into the preheated oven and bake for 45 to 60 minutes. They’re ready when tender and easily pierced with a fork.
- Cool before serving: Let the sweet potatoes cool for a few minutes before slicing open and serving.
Pro Tips for Perfect Baked Sweet Potatoes
Want to take your baked sweet potatoes to the next level? Here are some expert insights:
- Choose the right size: Uniformly sized potatoes cook more evenly. Aim for medium-sized sweet potatoes for consistent results.
- Don’t skip the oil: Olive oil not only enhances flavor but also promotes crispier skin. Embrace that delicious texture!
- Watch the clock: Depending on your oven and potato size, cooking times may vary. Start checking at 40 minutes for doneness.
- Experiment with spices: Elevate your sweet potatoes by adding spices like cinnamon or nutmeg before baking for a warm, aromatic flavor.
- Feel free to wrap: If you prefer softer skins, you can wrap the potatoes in foil before baking, but be prepared for less crispiness.
- Make it a meal: Try stuffing baked sweet potatoes with black beans, cheese, or sautéed veggies for a hearty, nutritious meal.
- Use a meat thermometer: For precision, aim for an internal temperature of 205°F (96°C) for perfectly tender potatoes.
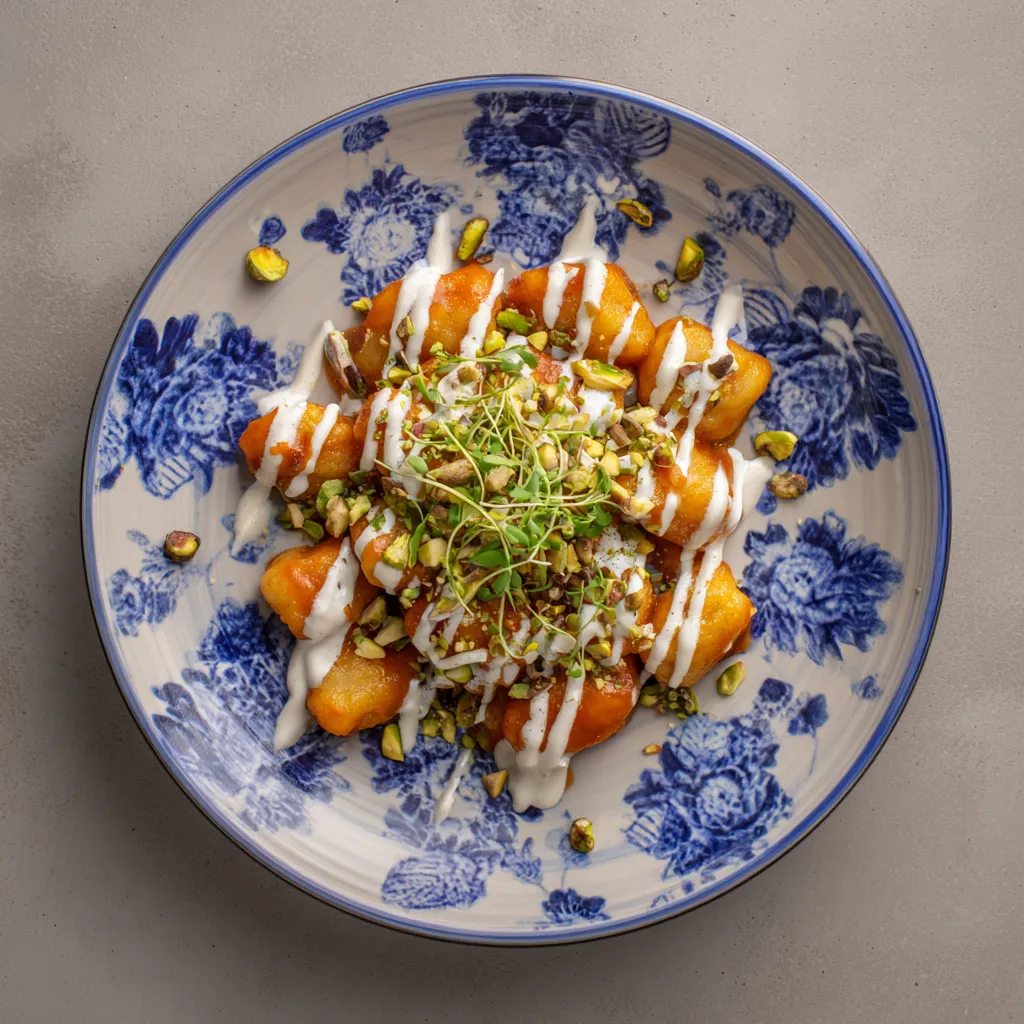
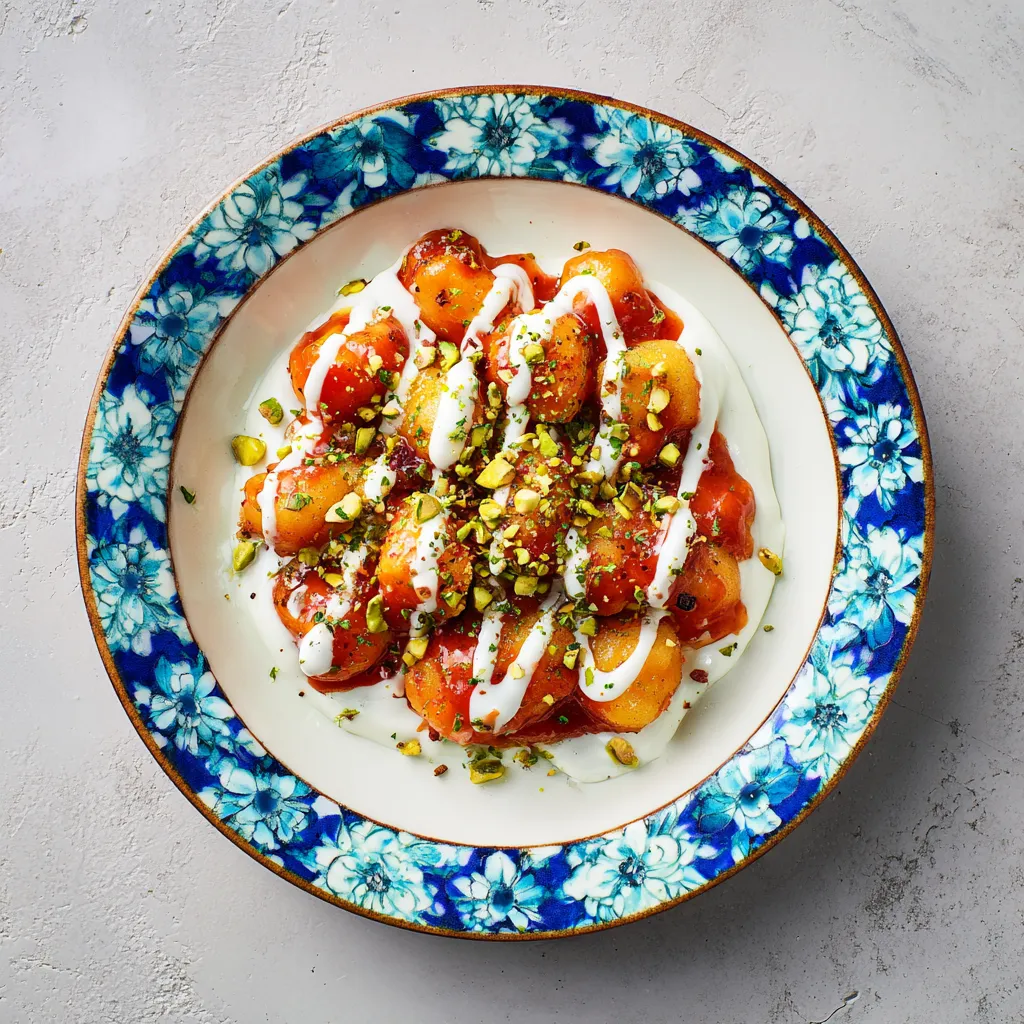
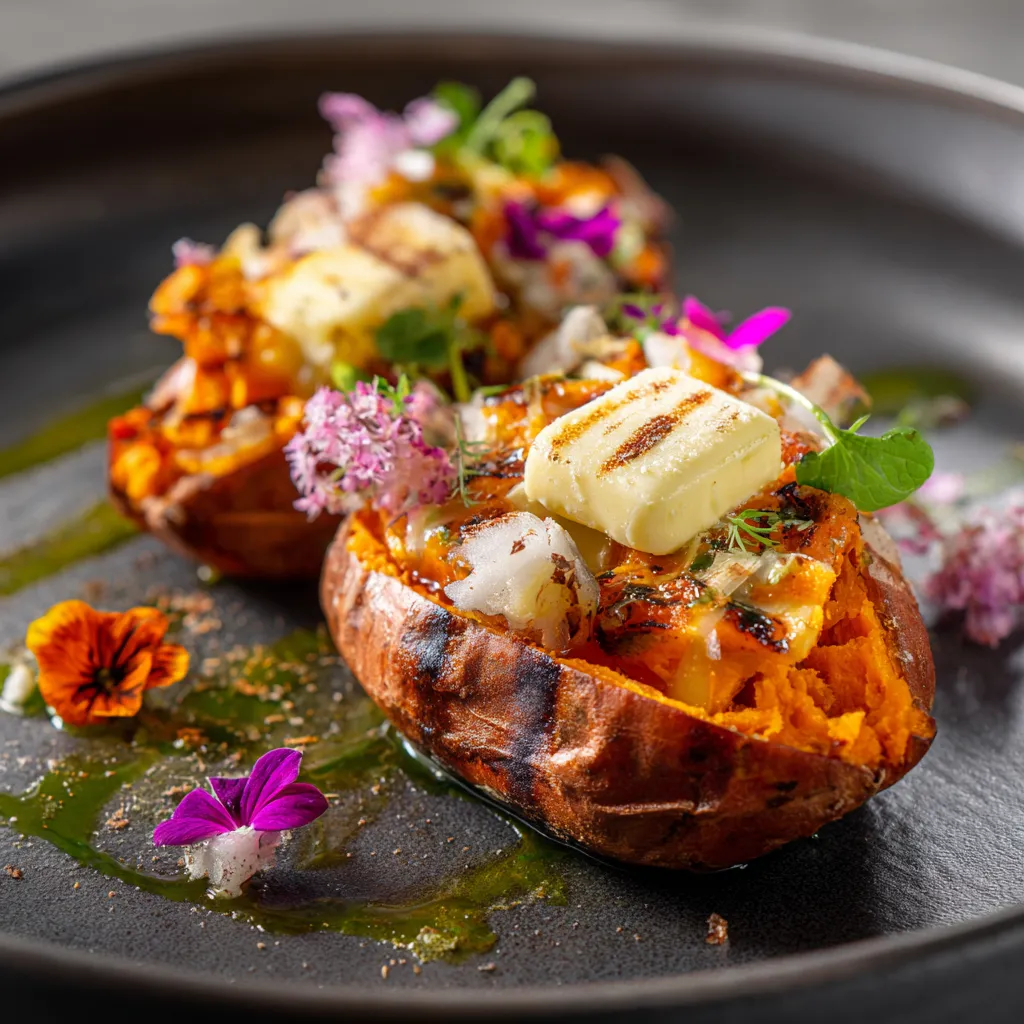
- Finish with flair: Top with Greek yogurt, chopped herbs, or a drizzle of balsamic glaze for added flavor and visual appeal.
Common Mistakes and Troubleshooting
Even the most seasoned chefs can run into issues. Here’s how to troubleshoot common baking problems:
- Uneven cooking: Ensure potatoes are of similar size and not overcrowded on the baking sheet.
- Dry sweet potatoes: Overbaking can lead to dryness. Keep an eye on them as they approach the 45-minute mark.
- Sticking to the pan: Use parchment paper to prevent sticking. It also makes cleanup a breeze!
- Flavorless potatoes: Don’t skimp on salt and oil; they enhance the natural sweetness of the potatoes.
Variations to Explore
Every sweet potato recipe can be a canvas for creativity. Here are four variations to spice things up:
- Stuffed Sweet Potatoes: Slice baked potatoes open and fill them with a mixture of black beans, corn, cheese, and spices. Top with avocado for a creamy finish.
- Sweet Potato Mash: After baking, scoop the flesh into a bowl, add butter, cinnamon, and a splash of milk, then mash until creamy and smooth.
- Sweet Potato Fries: Cut sweet potatoes into wedges, toss with oil and spices, and bake until crispy for a healthier fry alternative.
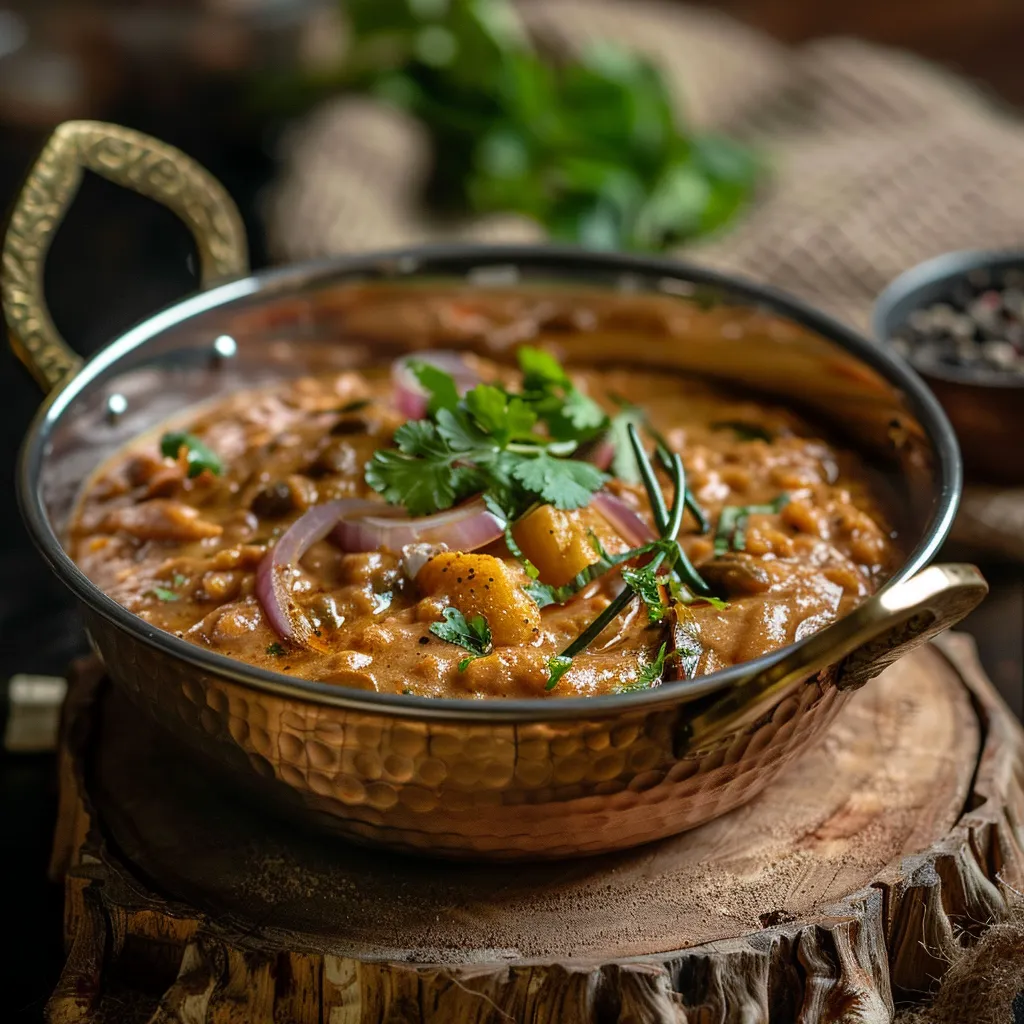
- Curry-Spiced Sweet Potatoes: Toss with curry powder and coconut milk before baking for a delightful twist reminiscent of Indian cuisine.
Storage and Make-Ahead Instructions
Baked sweet potatoes are perfect for meal prep! Here’s how to store and reheat them:
- Storing: Allow baked sweet potatoes to cool completely, then wrap them in foil or store in an airtight container. Refrigerate for up to 5 days.
- Freezing: For longer storage, you can freeze baked sweet potatoes. Wrap them tightly in foil and store in a freezer bag for up to 3 months.
- Reheating: Reheat in the oven at 350°F (175°C) for 15-20 minutes or in the microwave for 2-4 minutes until warmed through.
Frequently Asked Questions
Got questions? I’ve got answers! Here are some FAQs about baked sweet potatoes:
- How do I know when sweet potatoes are done? A fork should easily pierce the flesh, indicating they’re soft and tender.
- Can I bake sweet potatoes with the skin on? Absolutely! The skin is nutritious and adds texture. Just make sure to wash them thoroughly.
- What’s the best way to enjoy baked sweet potatoes? They can be served with sweet toppings like cinnamon and honey or savory toppings like sour cream and chives.
- What can I do with leftover sweet potatoes? Try using them in smoothies, soups, or as a base for a breakfast hash.
- Are sweet potatoes good for you? Yes! They are high in fiber, vitamins, and minerals, making them a healthy choice.
- Can I microwave sweet potatoes instead of baking? While not the same texture, you can microwave them for a quicker option. Just pierce and cook for 5-10 minutes.
- Do I need to peel sweet potatoes before baking? No, it’s not necessary unless you prefer them without skin. The skin adds flavor and nutrients.
- How do I enhance the flavor? Consider adding garlic powder, paprika, or even a sprinkle of cheese before baking!
Nutritional Tips and Dietary Adaptations
Baked sweet potatoes are inherently nutritious. Here are some tips to enhance their health benefits:
- Low-carb option: For a lower-carb alternative, try using cauliflower instead of potatoes in recipes where they’re mashed or blended.
- Vegan-friendly: Keep your baked sweet potatoes plant-based by using olive oil and avoiding butter.
- Gluten-free: Sweet potatoes are naturally gluten-free, making them a safe choice for those with gluten sensitivities.
- Boost fiber: Top with black beans or lentils to increase fiber and protein content for a more filling meal.
Essential Equipment for Baking Sweet Potatoes
To achieve the best results, you’ll need some basic kitchen equipment:
- Baking sheet: A sturdy baking sheet ensures even heat distribution.
- Parchment paper: For easy cleanup and to prevent sticking.
- Fork: For pricking the sweet potatoes before baking.
- Sharp knife: For slicing the baked potatoes open and adding toppings.
Serving Suggestions
Now that your baked sweet potatoes are ready, how will you serve them? Here are some delicious ideas:
- As a side dish: Pair with grilled chicken or fish for a balanced meal.
- In salads: Cube baked potatoes and toss them in leafy greens with a zesty vinaigrette.
- With toppings: Load them with Greek yogurt, chives, and a sprinkle of paprika for a creamy and spicy bite.
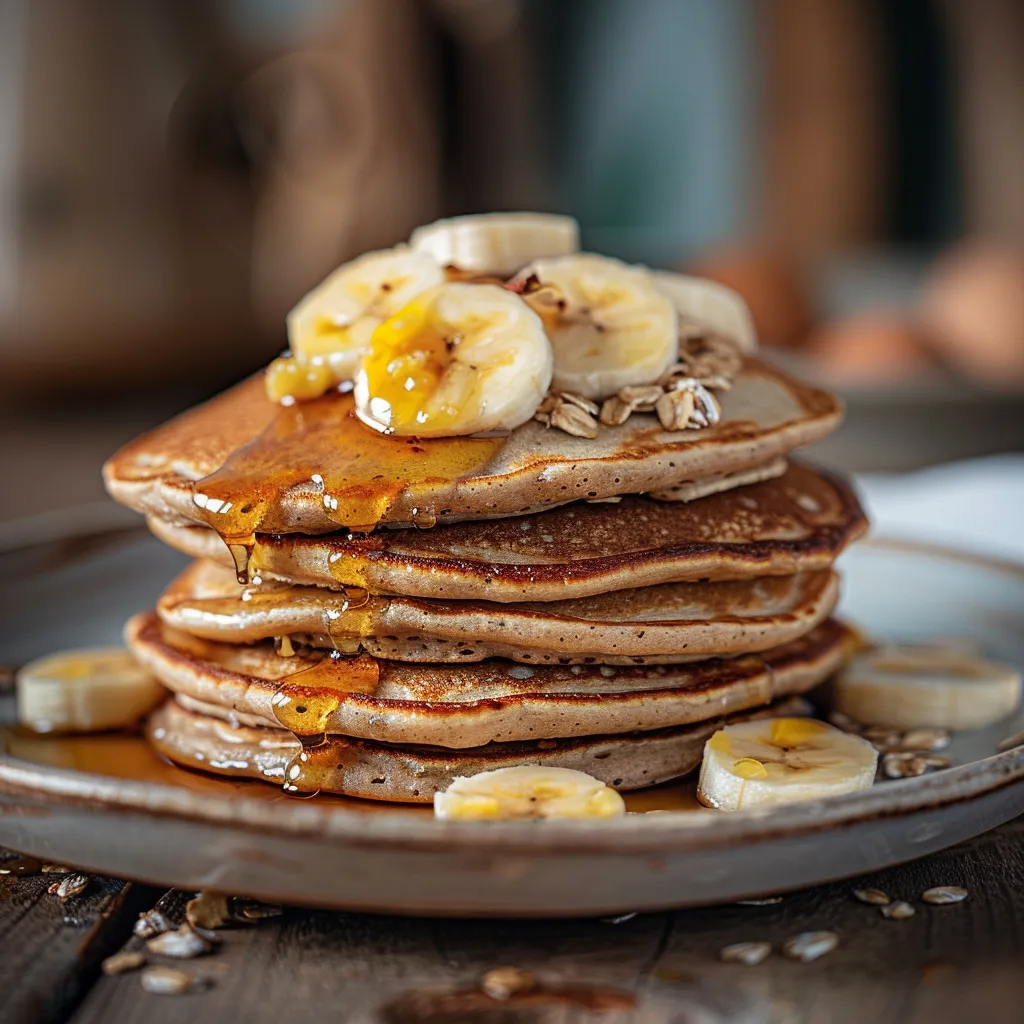
- As a breakfast option: Serve with almond butter and sliced bananas for a quick, nutritious breakfast.
In every bite of these baked sweet potatoes, you’ll find a world of flavor, warmth, and adventure. So grab your apron and let’s embrace the thrill of cooking together! With this definitive guide, you’re not just baking; you’re creating a masterpiece that will tantalize your taste buds and delight your dinner guests. Remember, cooking is an adventure — let your creativity shine and never shy away from adding your unique twist. Enjoy the journey!
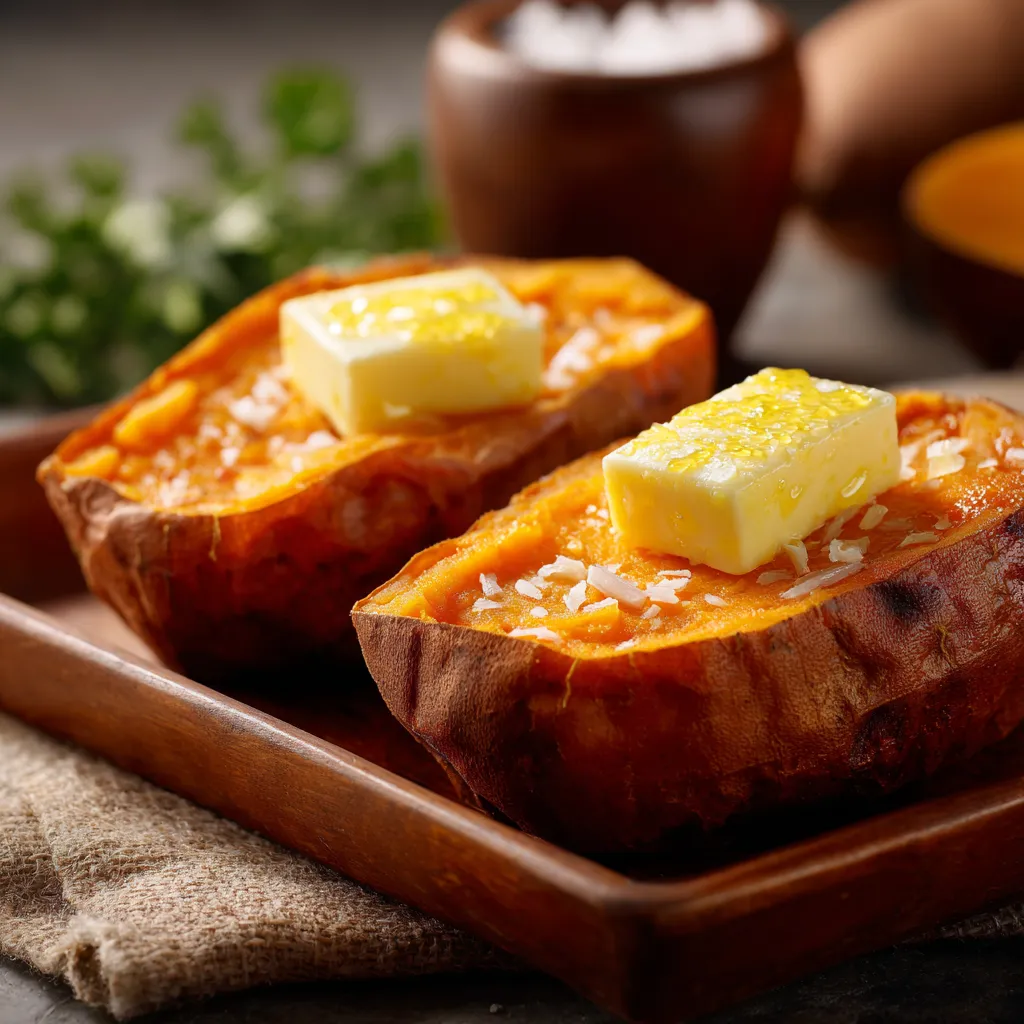
Baked Sweet Potatoes
Ingredients
Sweet Potatoes
- 4 medium sweet potatoes
- 2 tablespoons olive oil
- to taste salt salt
- to taste pepper pepper
Instructions
- Preheat oven to 400°F (200°C).
- Wash, dry, and prick sweet potatoes with a fork.
- Rub with olive oil, sprinkle with salt and pepper.
- Place on a baking sheet and bake for 45-60 minutes until tender.
- Let cool slightly before serving.
Notes
Nutrition
Loved this recipe? Save it to your favorite Pinterest board so you can easily find it later! It’s the perfect way to keep all your sweet ideas in one place. ✨