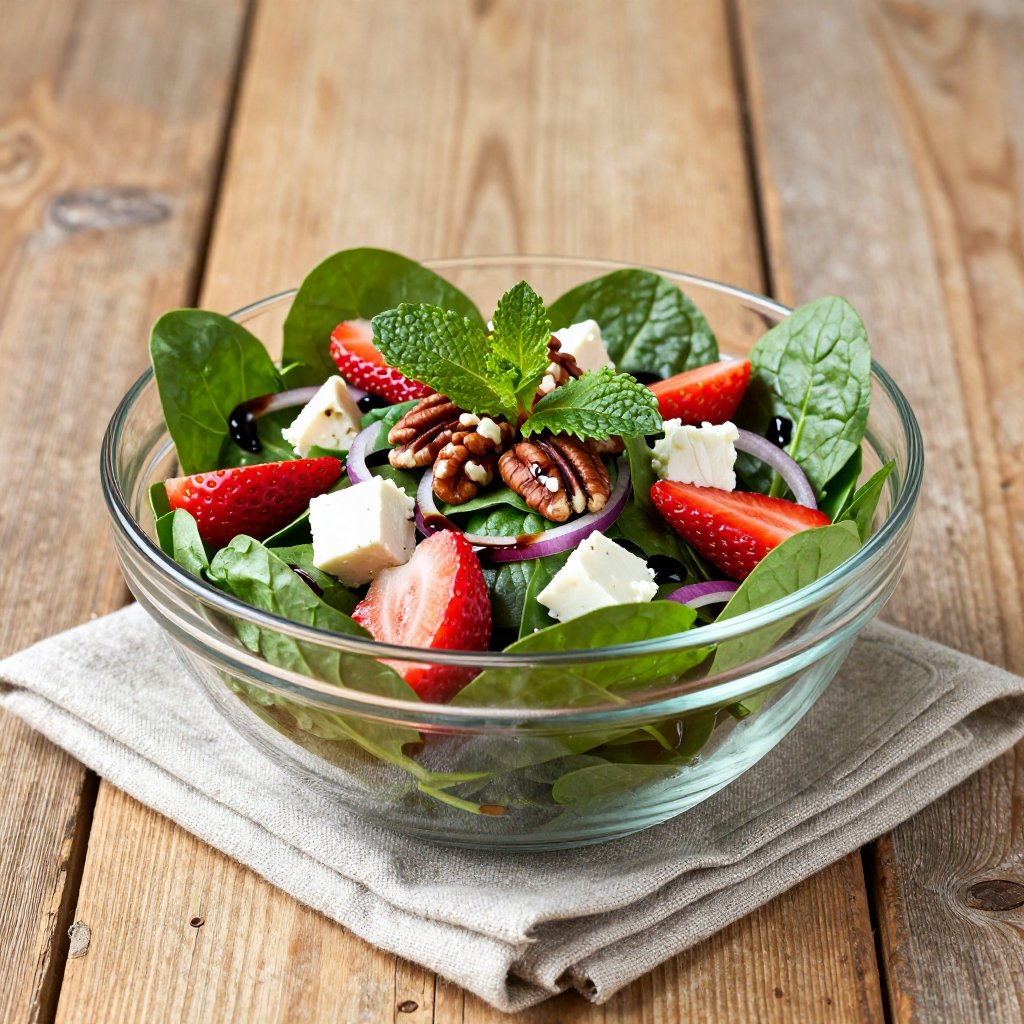
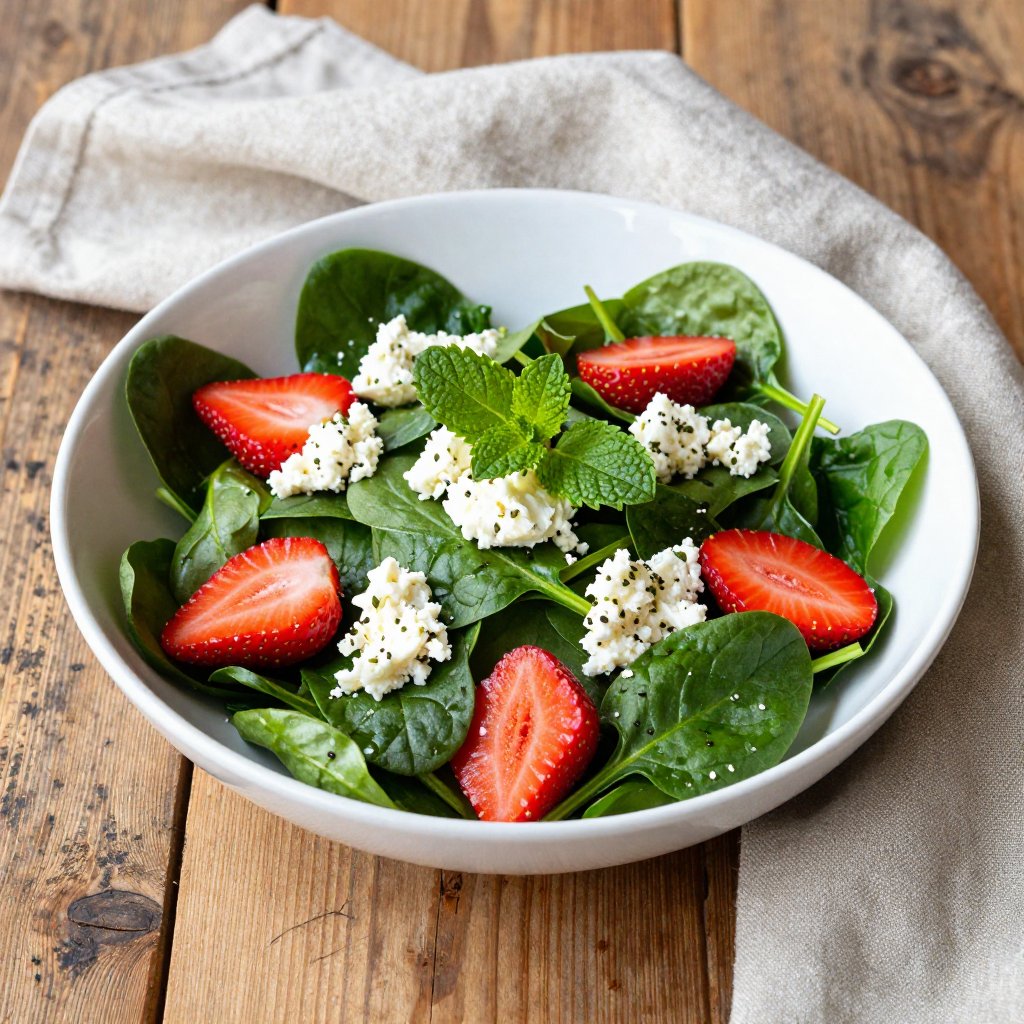
Hey friends, Avery here! Let’s talk about salad, but not just any salad. I’m talking about a Strawberry Spinach Delight Salad that’s so good, it’ll make you actually *crave* your greens. Remember those days of forcing down bland, lifeless salads? Yeah, we’re not doing that anymore. This salad is vibrant, bursting with flavor, and packed with nutrients. It’s a celebration of simple, wholesome ingredients that come together to create something truly special.
My journey into healthy eating started out of necessity, not passion. It was a bumpy road filled with kitchen mishaps and questionable flavor combinations. But somewhere along the way, I discovered the joy of transforming simple ingredients into nourishing meals. This Strawberry Spinach Delight Salad is a testament to that journey – a reminder that healthy eating can be both delicious and deeply satisfying.
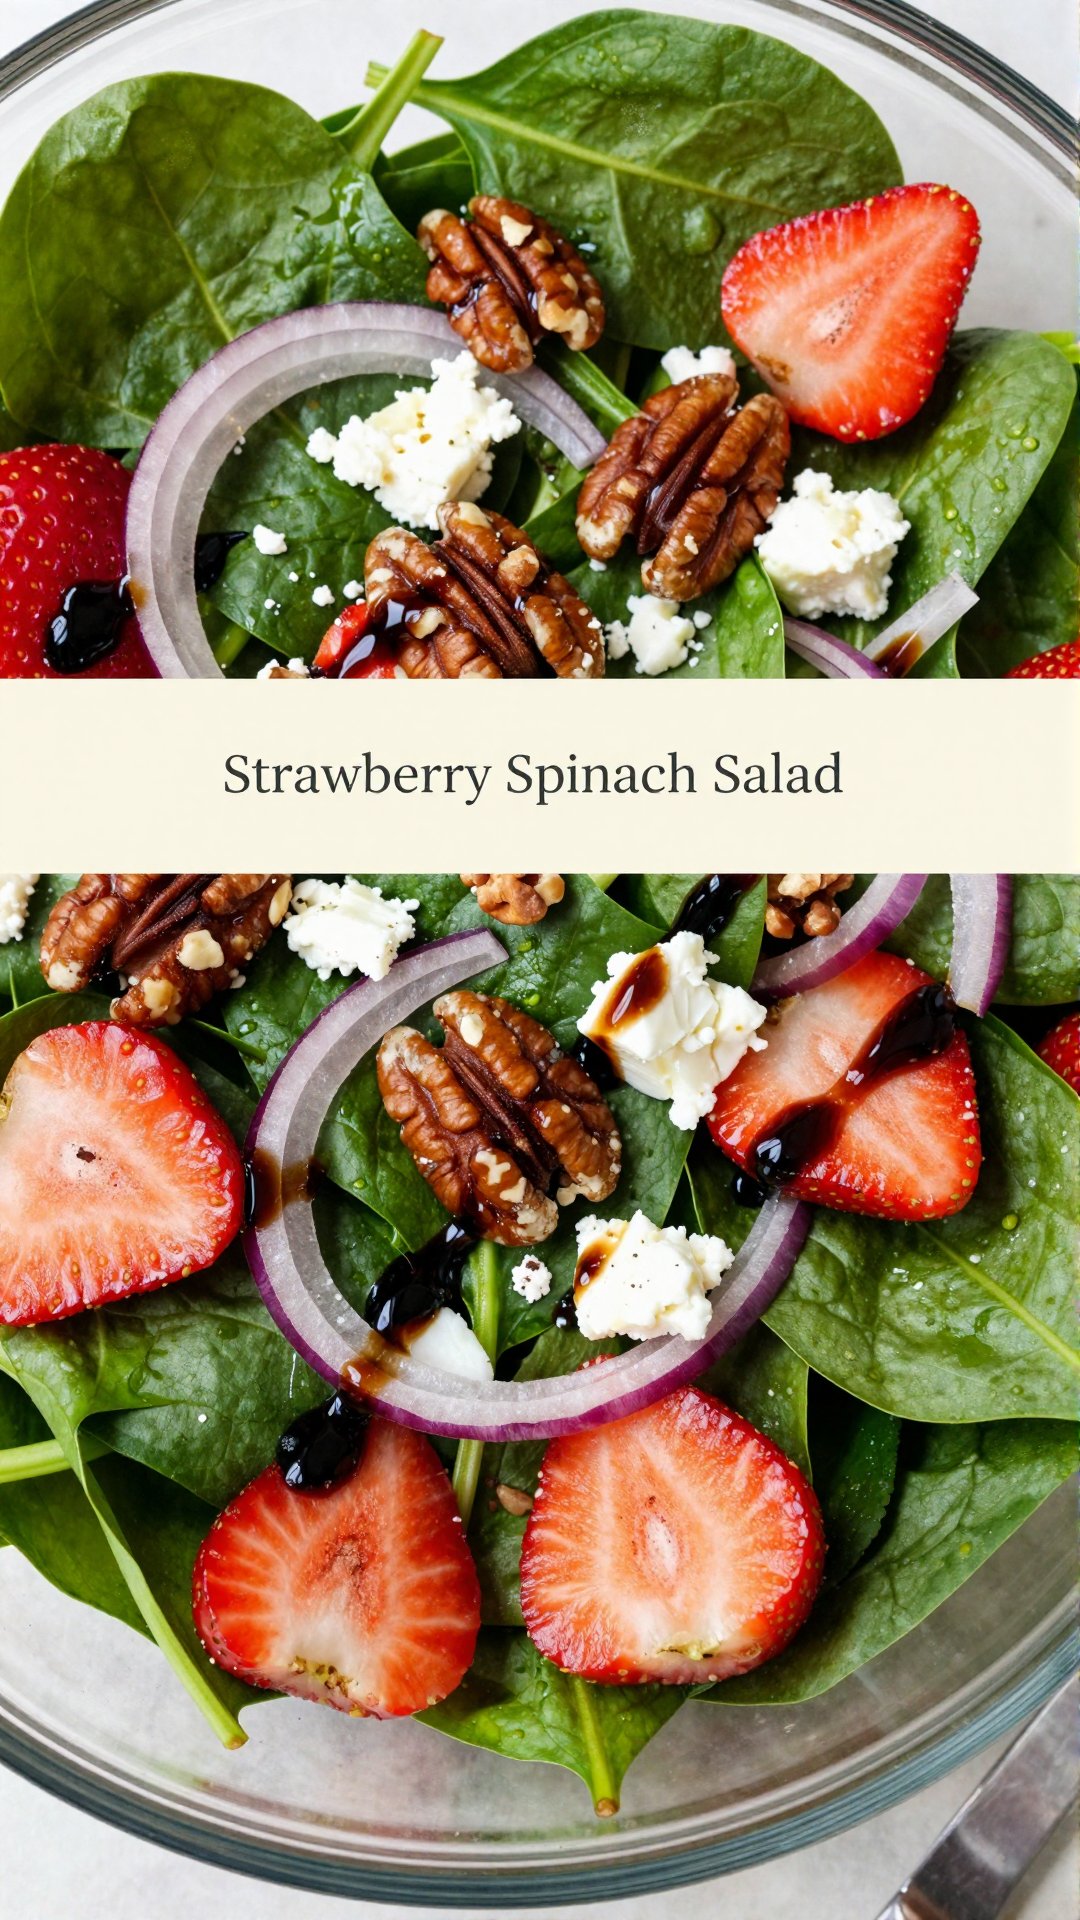
Why You’ll Love This Strawberry Spinach Salad
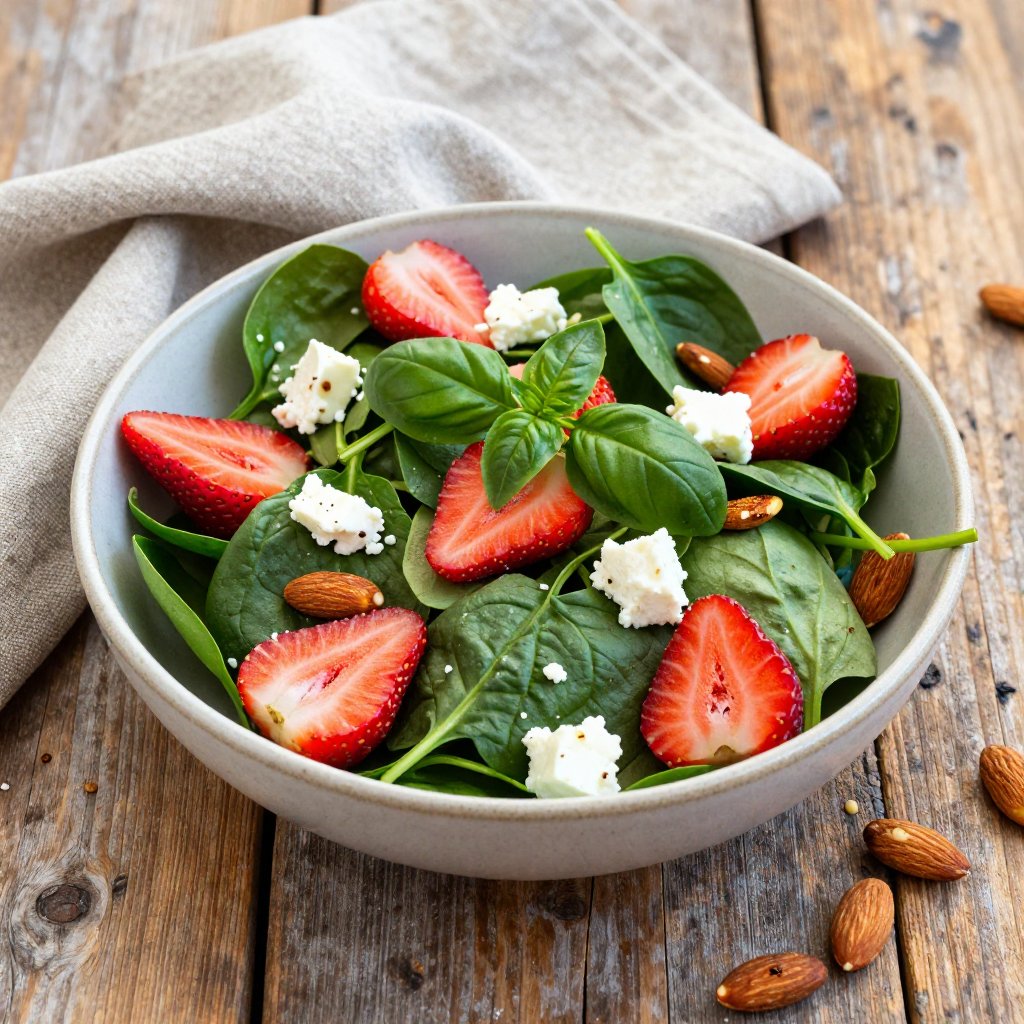
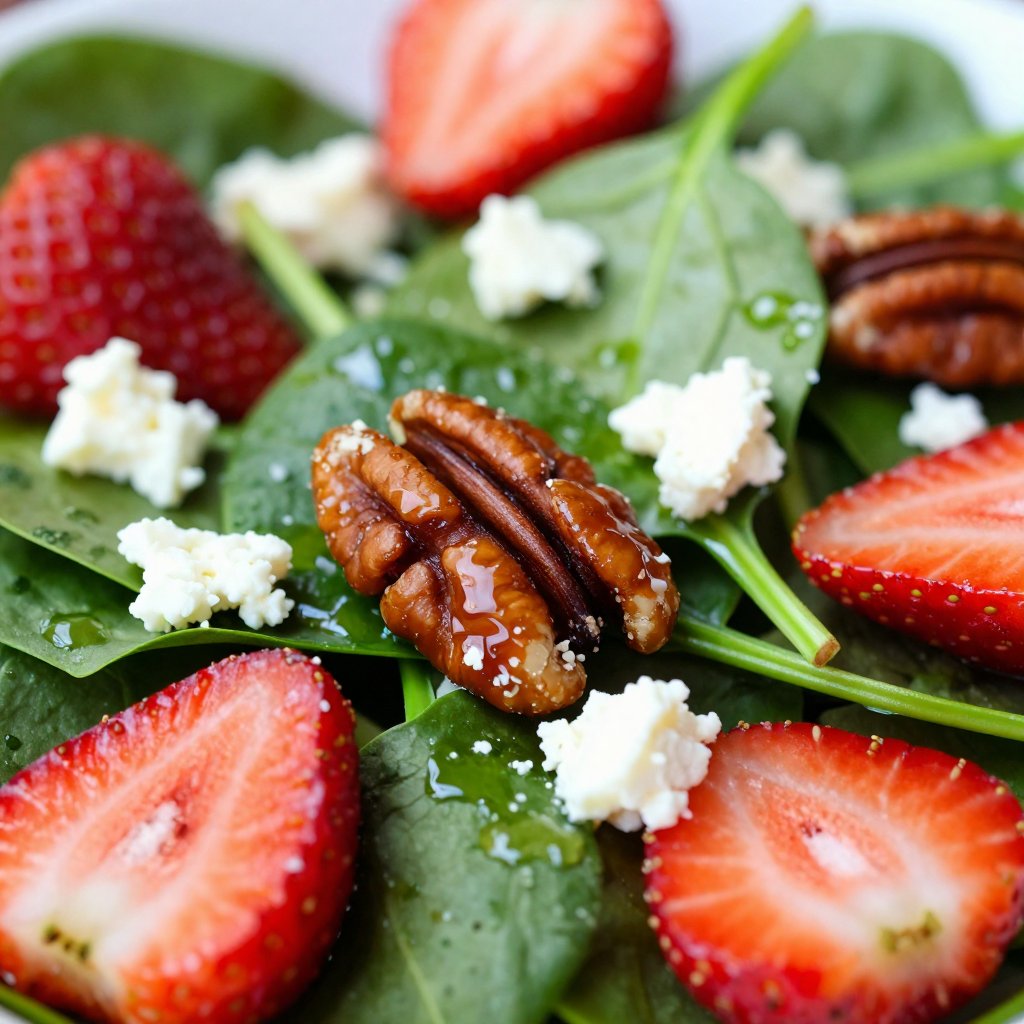
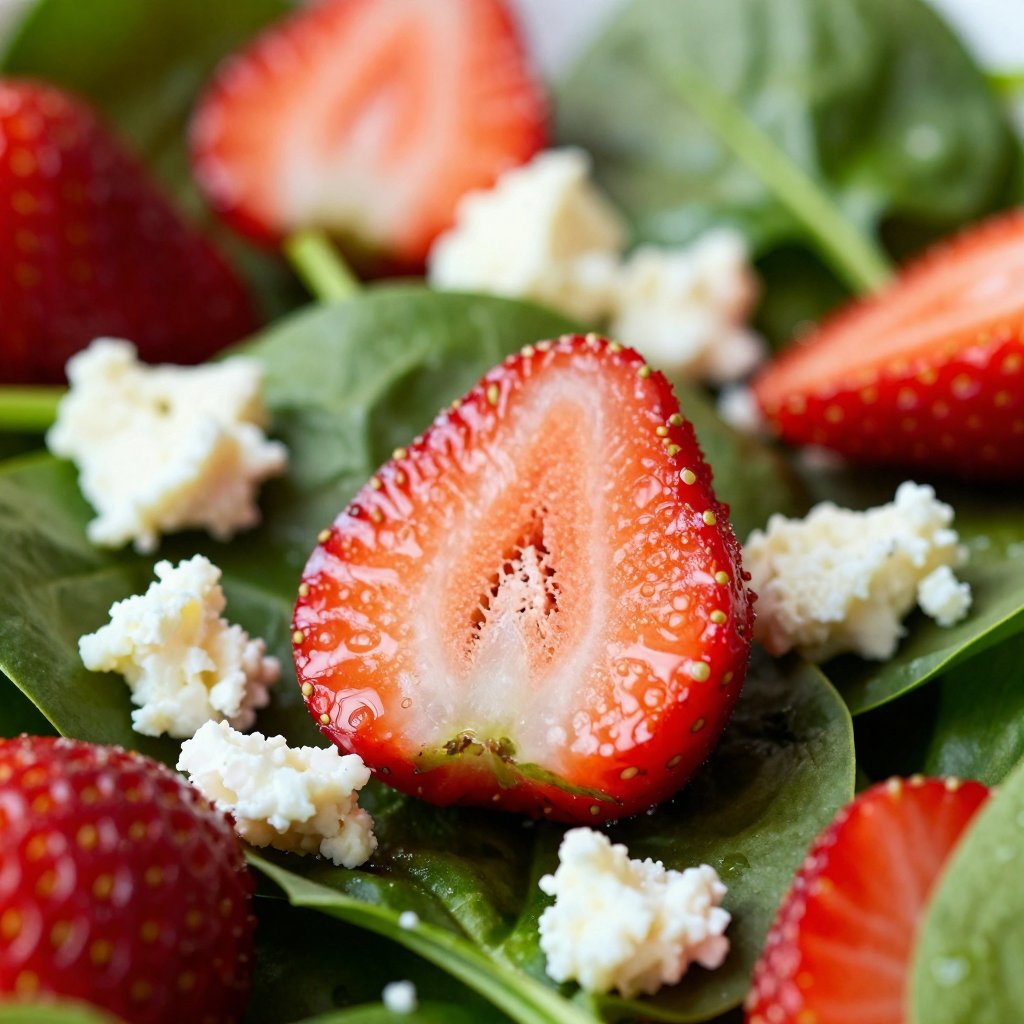
This salad isn’t just about ticking boxes on a nutrition chart; it’s about creating a delightful sensory experience. Imagine the sweetness of ripe strawberries mingling with the earthy notes of fresh spinach, all tied together by the creamy tang of feta cheese and the satisfying crunch of toasted walnuts. It’s a symphony of flavors and textures that will leave you feeling energized and content. If you’re looking for a salad with incredible flavor, this is it!
- Flavor Explosion: Sweet strawberries, tangy feta, crunchy walnuts, and a creamy poppyseed dressing create a flavor profile that’s anything but boring.
- Nutrient-Packed: Fresh baby spinach is loaded with vitamins and minerals, while strawberries are rich in antioxidants. Walnuts provide healthy fats, and feta adds a boost of protein.
- Easy to Make: This salad comes together in minutes, making it perfect for busy weeknights or a quick lunch. You can adjust the recipe based on your preferences if you like.
- Versatile: This salad works as a light lunch, a side dish, or even a base for adding grilled chicken or fish for a heartier meal.
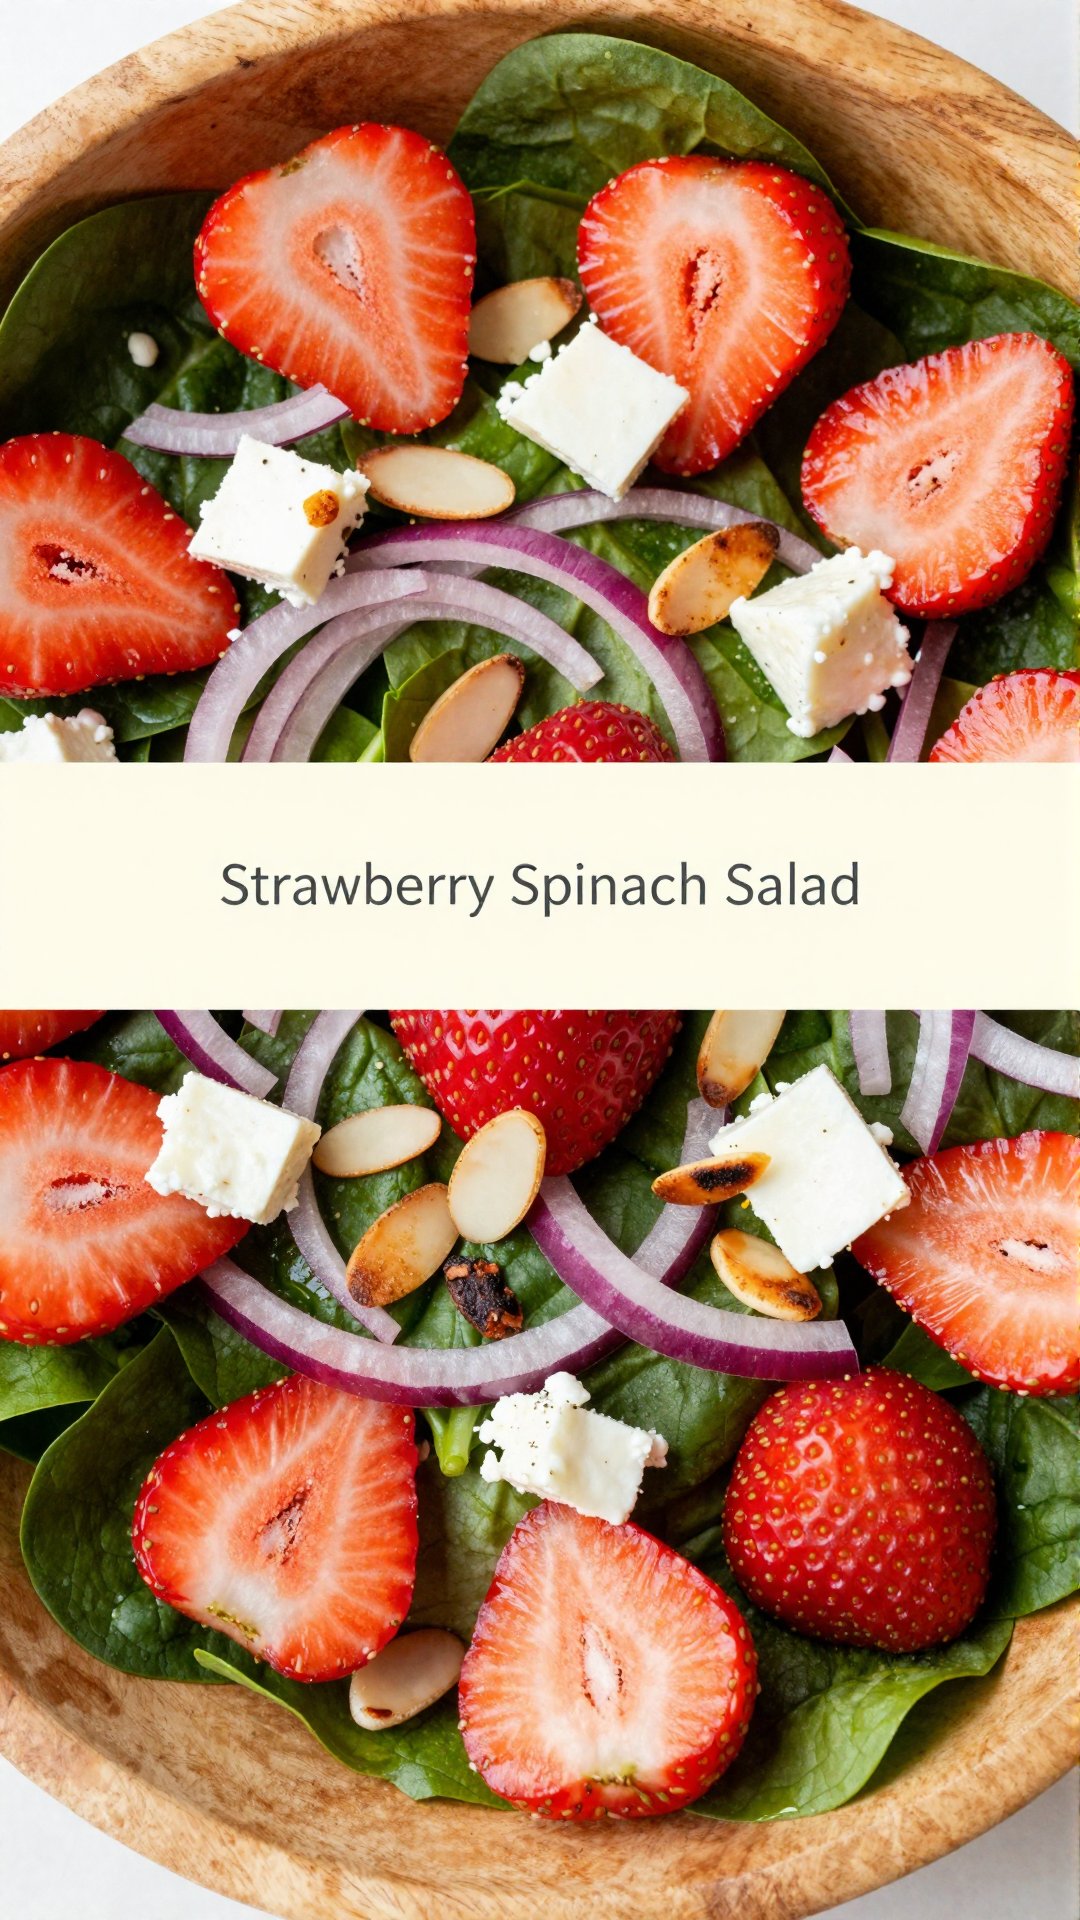
- Visually Appealing: The vibrant colors of the strawberries, spinach, and red onion make this salad a feast for the eyes as well as the palate.
Strawberry Spinach Salad Ingredients
Here’s what you’ll need to create this masterpiece. Remember, quality ingredients make all the difference. I always recommend using fresh, seasonal produce whenever possible.
- 4 cups fresh baby spinach, thoroughly washed and gently dried: The base of our salad. Fresh baby spinach is tender and mild, making it the perfect canvas for other flavors.
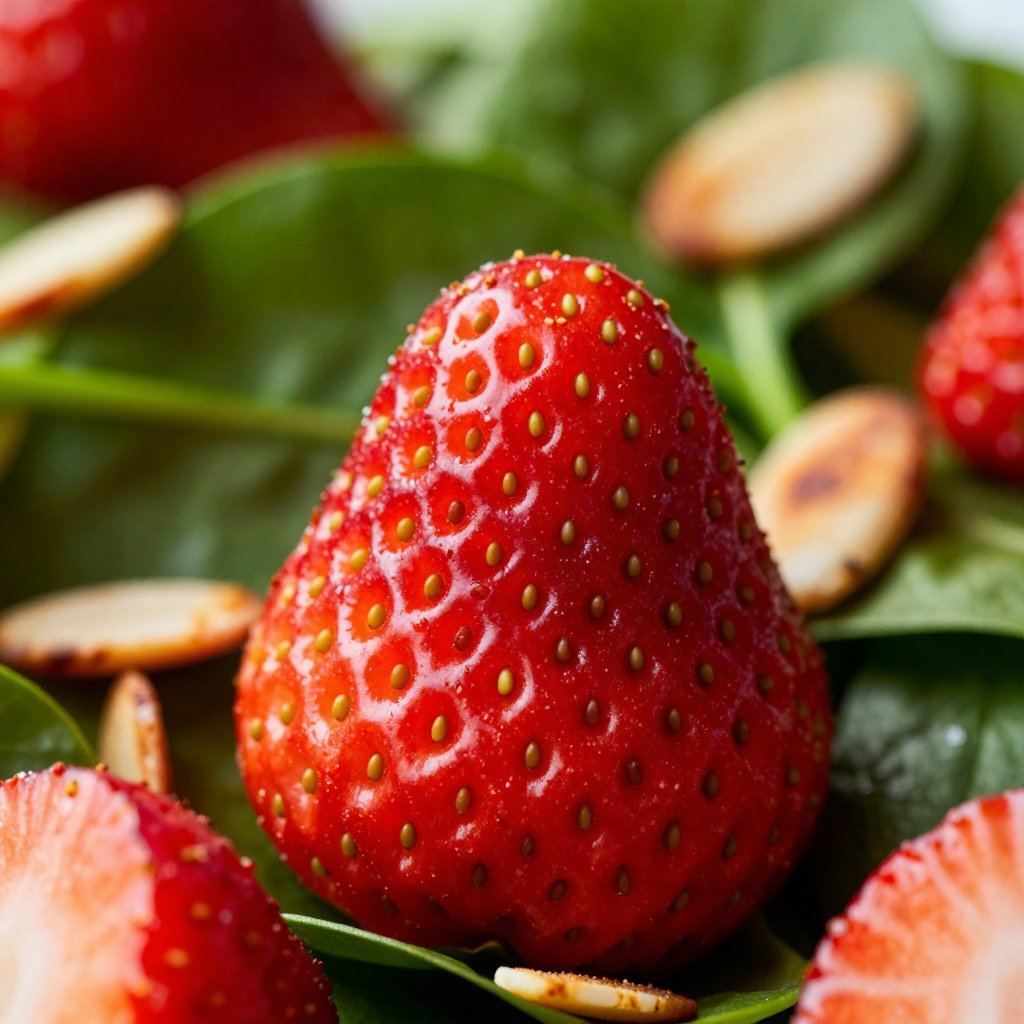
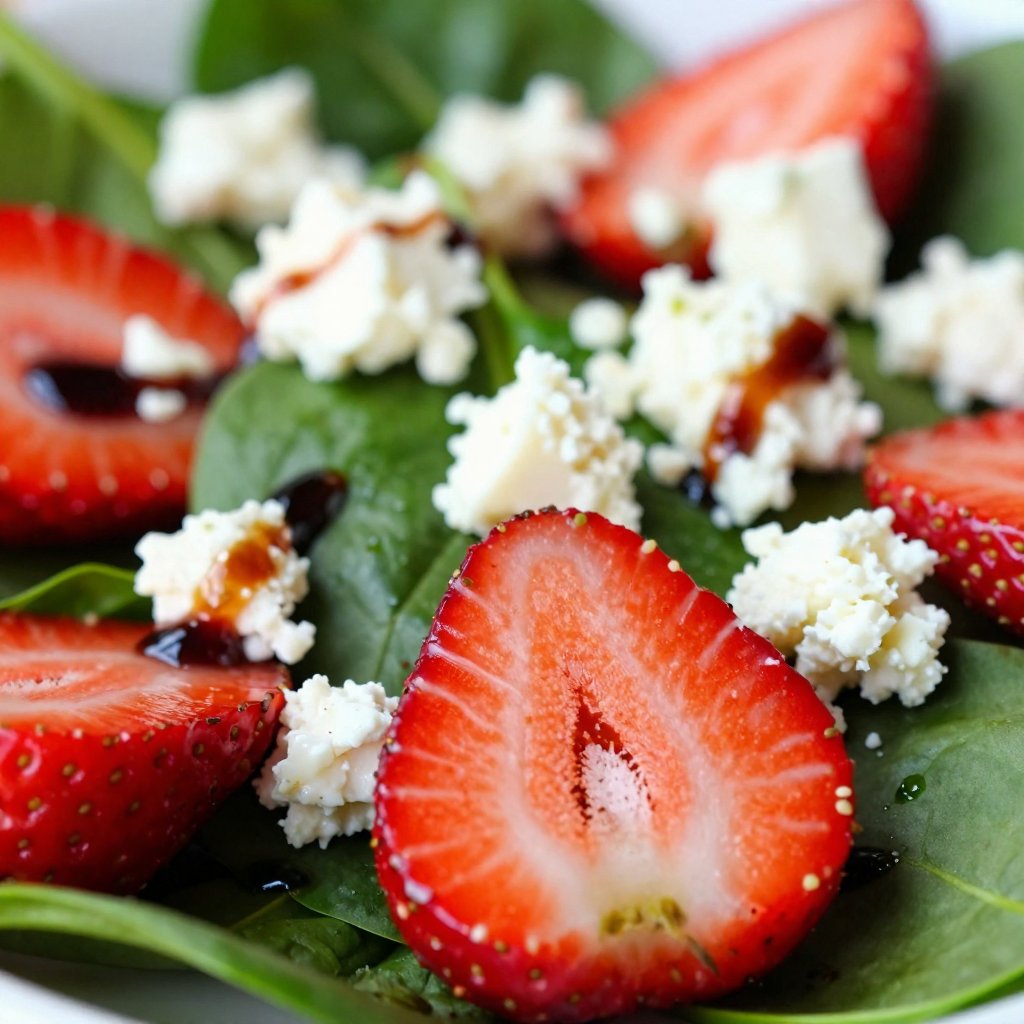
- 2 cups strawberries, hulled and beautifully sliced: The star of the show! Look for ripe, fragrant strawberries for the best flavor.
- 0.5 cup crumbled feta cheese, ensuring a creamy texture: Adds a salty, tangy creaminess that complements the sweetness of the strawberries.
- 0.25 cup red onion, finely sliced for a milder flavor: Provides a subtle sharpness and a pop of color.
- 0.25 cup walnuts, lightly toasted and coarsely chopped for extra crunch: Adds a nutty flavor and a satisfying crunch.
- 0.25 teaspoon salt, or to taste: Enhances the flavors of all the ingredients.
- 0.25 teaspoon black pepper, freshly ground for a kick: Adds a touch of spice and depth.
- 0.25 cup creamy Greek yogurt for richness: The base of our dressing. Greek yogurt adds a creamy texture and a tangy flavor.
- 2 tablespoons honey for a touch of sweetness: Balances the acidity of the vinegar and adds a touch of sweetness.
- 2 tablespoons apple cider vinegar for balance: Adds a bright, tangy flavor to the dressing.
- 1 tablespoon poppy seeds for texture and visual appeal: Adds a subtle crunch and a beautiful visual element.
- 1 tablespoon extra virgin olive oil for a smooth finish: Helps to emulsify the dressing and adds a smooth, rich texture.
- to taste salt: Adjust the seasoning to your liking.

How To Make Strawberry Spinach Delight Salad: Step-by-Step
Making this salad is a breeze! Follow these simple steps, and you’ll have a delicious and healthy meal on the table in no time. It’s so easy to make this salad with simple ingredients.
- In a small mixing bowl, combine the Greek yogurt, honey, apple cider vinegar, poppy seeds, and olive oil. Whisk vigorously until the mixture is smooth and homogenous. Add a pinch of salt to enhance flavors, then set aside to let the flavors meld. This step is to make the dressing.
- In a spacious salad bowl, carefully combine the fresh baby spinach, sliced strawberries, crumbled feta cheese, and the finely sliced red onion. Toss lightly to distribute the ingredients evenly without bruising the spinach. A nice fresh baby spinach is the best for this.
- Drizzle the prepared poppyseed dressing over the salad mixture. Using a large spoon, toss the ingredients gently but thoroughly, ensuring each component is nicely coated with dressing. This ensures that the spinach salad is well dressed.
- Top the salad with the toasted walnuts, adding a crunchy texture, and season with additional salt and black pepper to your liking.
- Serve immediately to enjoy the vibrant flavors and freshest textures.
Pro Tips for the Perfect Strawberry Spinach Salad
Want to take your Strawberry Spinach Delight Salad to the next level? Here are a few of my favorite pro tips:
- Wash and Dry Your Spinach Thoroughly: Nobody likes a soggy salad! Use a salad spinner to remove excess water from the fresh baby spinach.
- Toast Your Walnuts: Toasting the walnuts enhances their nutty flavor and adds a satisfying crunch. You can toast them in a dry skillet over medium heat for a few minutes, or in the oven at 350°F for 5-7 minutes.
- Use High-Quality Feta: Look for feta that’s creamy and flavorful. Avoid the pre-crumbled feta, as it tends to be dry.
- Make the Dressing Ahead of Time: The poppyseed dressing can be made ahead of time and stored in the refrigerator for up to 3 days. This allows the flavors to meld and deepen.
- Don’t Overdress the Salad: Add the dressing gradually, tossing gently until the salad is lightly coated. Overdressing can make the salad soggy.
Common Mistakes to Avoid
Even the simplest recipes can be derailed by common mistakes. Here are a few pitfalls to watch out for when making this strawberry spinach salad:
- Using Wilted Spinach: Wilted spinach will make your salad look unappetizing and taste bitter. Make sure your spinach is fresh and crisp. If you want to add a balsamic glaze, this will change the flavor.
- Over-Slicing the Red Onion: Finely slice the red onion to avoid overpowering the other flavors in the salad.
- Using Unripe Strawberries: Unripe strawberries will be tart and lacking in flavor. Choose ripe, fragrant strawberries for the best taste.
- Skipping the Toasting of Walnuts: Toasting the walnuts adds a crucial layer of flavor and texture. Don’t skip this step!
- Dressing the Salad Too Far in Advance: Dressing the salad too far in advance will cause the spinach to wilt and the salad to become soggy. Dress it just before serving.
Strawberry Spinach Salad Variations
Want to mix things up? Here are a few variations on the classic Strawberry Spinach Delight Salad:
- Add Grilled Chicken or Fish: Transform this salad into a heartier meal by adding grilled chicken, salmon, or shrimp.
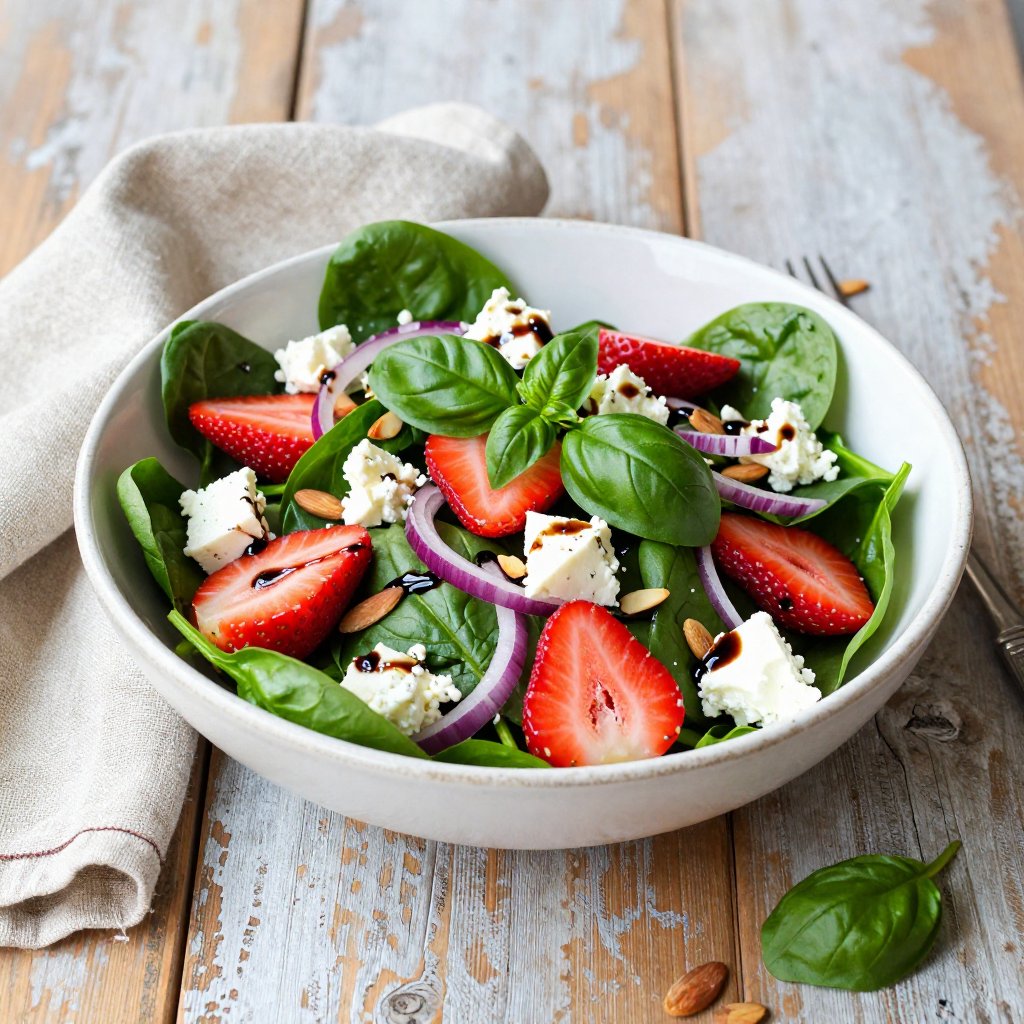
- Substitute Goat Cheese for Feta: Goat cheese adds a tangy, creamy flavor that complements the strawberries and spinach beautifully.
- Add Avocado: Avocado adds a creamy texture and healthy fats to the salad.
- Use Different Nuts: Try using pecans, almonds, or pistachios instead of walnuts.
- Add a Balsamic Glaze: Drizzle a balsamic glaze over the salad for a touch of sweetness and acidity.
How to Store Leftover Salad
This salad is best enjoyed fresh, but if you have leftovers, here’s how to store them:
- Store Undressed Salad Separately: If possible, store the undressed salad in an airtight container in the refrigerator for up to 24 hours.
- Store Dressing Separately: Store the poppyseed dressing in a separate airtight container in the refrigerator for up to 3 days.
- Reassemble Just Before Serving: When you’re ready to eat, toss the salad with the dressing and enjoy.
Keep in mind that the spinach will wilt slightly as it sits, so the salad won’t be quite as crisp as it was when freshly made.
Frequently Asked Questions (FAQ)
Here are some common questions about Strawberry Spinach Delight Salad:
- Can I use frozen strawberries? While fresh strawberries are best, you can use frozen strawberries in a pinch. Just make sure to thaw them completely and drain off any excess liquid before adding them to the salad.
- Can I make this salad vegan? Yes! Simply substitute the feta cheese with a vegan alternative and use maple syrup instead of honey in the dressing.
- Can I add other fruits? Absolutely! Blueberries, raspberries, and blackberries all work well in this salad.
- Can I use a different type of vinegar? Yes, you can substitute the apple cider vinegar with white balsamic vinegar or red wine vinegar.
- Can I make this salad ahead of time? It’s best to assemble the salad just before serving to prevent the spinach from wilting. However, you can make the dressing ahead of time and store it in the refrigerator.
Serving Suggestions for Strawberry Spinach Delight Salad
This salad is incredibly versatile and can be served in a variety of ways:
- As a Light Lunch: Enjoy a bowl of Strawberry Spinach Delight Salad for a light and refreshing lunch.
- As a Side Dish: Serve this salad as a side dish alongside grilled chicken, fish, or vegetables.
- At a Potluck or BBQ: This salad is always a crowd-pleaser at potlucks and barbecues.
- As a Base for a Heartier Meal: Add grilled chicken, shrimp, or tofu to transform this salad into a more substantial meal.
- With a Crusty Bread: Serve this salad with a slice of crusty bread for dipping in the dressing.
Ultimately, the best way to enjoy this strawberry spinach salad is any way you like! Feel free to adjust the ingredients and seasonings to your liking. The spinach is the base of the salad. The dressing makes the salad.
So there you have it – my Strawberry Spinach Delight Salad recipe! I hope you enjoy making and eating this salad as much as I do. Remember, healthy eating is about finding joy in the process and nourishing your body with wholesome, delicious foods. Happy cooking!

Strawberry Spinach Delight Salad
Ingredients
Salad
- 4 cups fresh baby spinach (thoroughly washed and gently dried)
- 2 cups strawberries (hulled and beautifully sliced)
- 0.5 cup crumbled feta cheese (ensuring a creamy texture)
- 0.25 cup red onion (finely sliced for a milder flavor)
- 0.25 cup walnuts (lightly toasted and coarsely chopped for extra crunch)
- 0.25 teaspoon salt (or to taste)
- 0.25 teaspoon black pepper (freshly ground for a kick)
Dressing
- 0.25 cup creamy Greek yogurt (for richness)
- 2 tablespoons honey (for a touch of sweetness)
- 2 tablespoons apple cider vinegar (for balance)
- 1 tablespoon poppy seeds (for texture and visual appeal)
- 1 tablespoon extra virgin olive oil (for a smooth finish)
- to taste salt
Instructions
- Combine yogurt, honey, vinegar, poppy seeds, and oil. Whisk until smooth, add salt, and set aside.
- Combine spinach, strawberries, feta, and red onion in a bowl. Toss lightly.
- Drizzle dressing over salad. Toss gently to coat.
- Top with walnuts, salt, and pepper.
- Serve immediately.
Notes
Nutrition