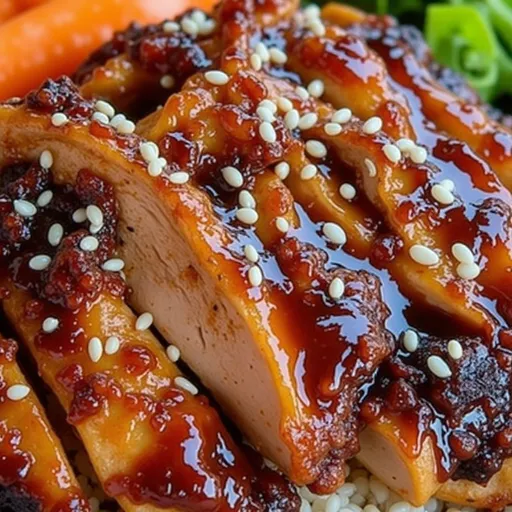
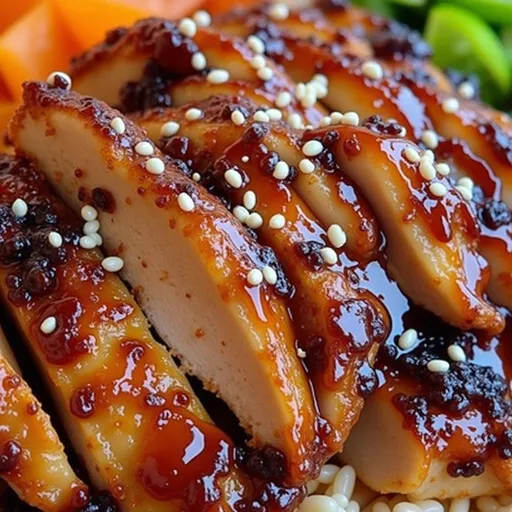
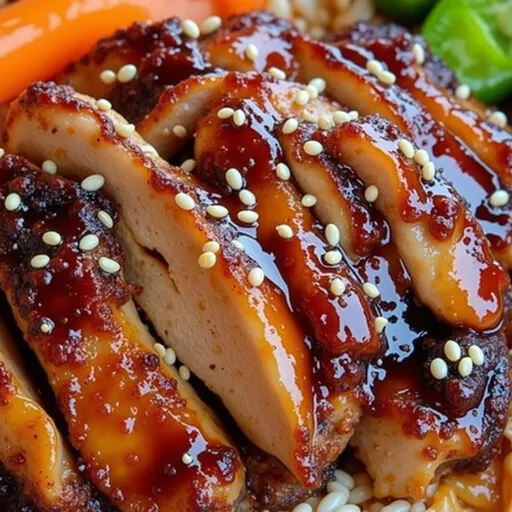
Why You’ll Love This Recipe
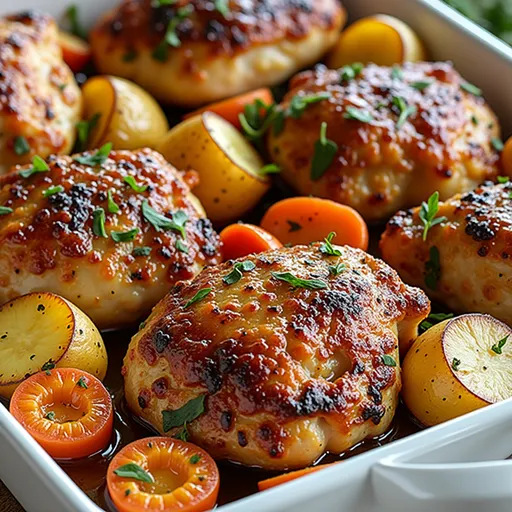
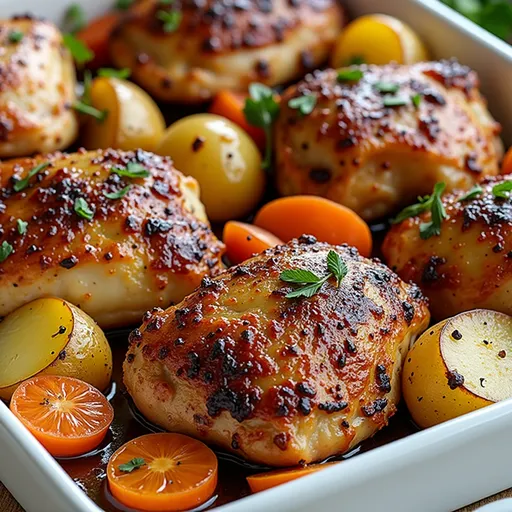
Gather ’round, food adventurers! If your palate craves a dish that is not only satisfying but also bursts with flavor, then let me introduce you to the culinary delight that is One-Pan Roasted Chicken Thighs with Carrots and Potatoes. This dish is a celebration of simplicity and boldness, offering a savory medley that will tantalize your taste buds and warm your heart. From the moment you take that first bite, you’ll experience juicy chicken thighs paired with tender, caramelized vegetables, creating a comforting symphony in every mouthful.
Why settle for mundane dinners when you can bring a little fire to your kitchen? With just a handful of ingredients and a single roasting pan, you can create a meal that feels luxurious without demanding hours of your time. This recipe is perfect for busy weeknights or fancy gatherings alike. Trust me, your family and friends will be lining up for seconds!
Ingredients to Make One-Pan Roasted Chicken Thighs with Carrots and Potatoes
Let’s gather our ingredients and get ready to unleash some serious flavor! Here’s what you’ll need:
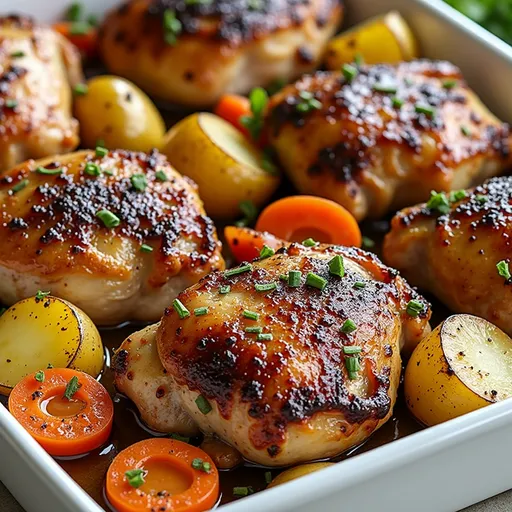
- 4 chicken thighs, bone-in and skin-on
- 4 medium carrots, peeled and cut into chunks
- 4 medium potatoes, cut into wedges
- 3 tablespoons olive oil
- 2 teaspoons garlic powder
- 1 teaspoon onion powder
- 1 teaspoon paprika
- Salt and pepper to taste
- Fresh herbs (rosemary or thyme) for garnish (optional)
How to Make One-Pan Roasted Chicken Thighs with Carrots and Potatoes
Now that we have our ingredients ready, let’s dive into the cooking process. This is where the magic happens!
- Preheat Your Oven: Start by preheating your oven to 425°F (220°C). A hot oven is crucial for achieving that perfectly crispy skin on the chicken thighs.
- Combine Ingredients: In a large mixing bowl, toss together the chicken thighs, carrots, and potatoes. This is where we infuse flavor into every component.
- Season with Love: Drizzle everything with olive oil and sprinkle the garlic powder, onion powder, paprika, salt, and pepper over the mixture. Use your hands to ensure everything is well-coated. This step is essential for that rich, bold flavor.
- Arrange in a Pan: Grab a large baking sheet or a roasting pan, and arrange the chicken thighs skin-side up in the center. Surround them with the seasoned carrots and potatoes, spreading them out evenly for optimal roasting.
- Roast Away: Place the pan in the preheated oven and roast for about 35-40 minutes. You’ll want the chicken to reach an internal temperature of 165°F (74°C) and the skin to be golden brown and crispy. Don’t forget to check on your veggies, ensuring they’re tender and caramelized.
- Broil for Extra Crispiness: If you’re feeling adventurous (and who isn’t?), broil for an additional 2-3 minutes to achieve that extra crunch on the chicken skin. Just keep an eye on it to avoid burning!
- Rest and Garnish: Once done, remove the pan from the oven and let it rest for a few minutes. This step allows the juices to redistribute, ensuring every bite is juicy and flavorful. Garnish with fresh herbs if desired, then serve and enjoy!
Tips for Variations
One of the beautiful aspects of this recipe is its versatility. Here are some fun ways to customize your dish:
- Vegetable Mix: Feel free to toss in other vegetables like bell peppers, Brussels sprouts, or sweet potatoes to switch things up. Each addition brings a unique flavor profile and texture.
- Marinate for Flavor: For an extra punch, consider marinating your chicken thighs for a few hours or overnight. A mixture of lemon juice, garlic, and herbs will elevate the dish to new heights.
- Kick It Up a Notch: Spice lovers can add a pinch of cayenne pepper or smoked paprika to the seasoning mix, creating a delightful contrast with the sweetness of the vegetables.
- Mediterranean Twist: Add olives or sun-dried tomatoes to the roasting pan for a Mediterranean flare that complements the chicken beautifully.
- Rich Sauce: Don’t forget about the pan drippings! Deglaze the pan with chicken broth after roasting, scraping up all those tasty bits for a simple sauce to drizzle over your meal.
- Serve Over Grains: For a heartier meal, serve these roasted beauties over a bed of quinoa or couscous. It adds texture and makes the dish even more filling.
Serving Suggestions
Serving this dish is just as enjoyable as making it! Here are some ideas to enhance your dining experience:
- Family-Style Presentation: Serve directly from the roasting pan for a warm, inviting atmosphere that encourages conversation and connection.
- Pair with a Salad: A simple green salad with mixed greens, cucumbers, and cherry tomatoes drizzled with vinaigrette complements the richness of the chicken.
- Crusty Bread: A loaf of crusty bread or dinner rolls is perfect for soaking up the flavorful juices. Don’t skimp on this one!
- Seasonal Pairings: In the fall, consider serving with a warm apple or pumpkin salad. During spring, a light citrus salad can offer a refreshing contrast.
- Leftovers: Store any leftovers in an airtight container in the refrigerator for up to three days, making for quick and delicious lunches or dinners later.
Storage and Freezing
Wondering how to store your delicious creation? Here’s what you need to know:
- Store leftovers in an airtight container in the refrigerator for up to three days.
- For longer storage, you can freeze the dish. Allow it to cool completely, then transfer to a freezer-safe container. It can be frozen for up to three months. Thaw in the refrigerator overnight before reheating.
FAQ
Let’s tackle some common questions about this scrumptious recipe:
- Can I use boneless chicken thighs? Yes! Just reduce the cooking time by about 10 minutes, as boneless thighs cook faster than bone-in ones. Always ensure the internal temperature hits 165°F (74°C).
- Can I prepare the ingredients ahead of time? Absolutely! Marinate the chicken and chop the vegetables, then store them in the refrigerator for up to 24 hours before roasting.
- What sides pair well with this dish? This meal pairs beautifully with a fresh salad, crusty bread, or served over rice or quinoa for a complete experience.
Troubleshooting
If you run into any hiccups along the way, here are some solutions:
- Chicken Skin Isn’t Crispy: Ensure your oven is preheated properly and that the chicken is well-coated with oil and seasonings. Broiling for a couple of minutes can also help achieve that crunch.
- Vegetables Aren’t Tender: If the vegetables aren’t cooking through, make sure they’re cut into uniform pieces. You can also give them a gentle stir halfway through roasting to promote even cooking.
Conclusion
So there you have it, my friends! One-Pan Roasted Chicken Thighs with Carrots and Potatoes is more than just a meal; it’s an experience that brings family and flavors together. Embrace the adventure of cooking and let this dish become a staple in your home. With its bold flavors and easy preparation, you’ll find yourself making it again and again. Now grab your skillet, ignite your passion for cooking, and let’s get roasting!
One-Pan Roasted Chicken Thighs with Carrots and Potatoes
Ingredients
Protein
- 4 pieces chicken thighs, bone-in and skin-on
Vegetables
- 4 medium carrots, peeled and cut into chunks
- 4 medium potatoes, cut into wedges
Seasonings & Oil
- 3 tablespoons olive oil
- 2 teaspoons garlic powder
- 1 teaspoon onion powder
- 1 teaspoon paprika
Salt and Pepper
- to taste salt and pepper
Optional Garnish
- as desired fresh herbs (rosemary or thyme) (for garnish)
Instructions
- Preheat oven to 425°F (220°C).
- Combine chicken, carrots, and potatoes; toss with olive oil and seasonings.
- Arrange chicken skin-side up on a baking sheet, spread vegetables around.
- Roast for 35-40 minutes until chicken is cooked and skin is crispy.
- Optional: broil for 2-3 minutes for extra crispiness. Rest, garnish, and serve.
Notes
Nutrition
Loved this recipe? Save it to your favorite Pinterest board so you can easily find it later! It’s the perfect way to keep all your sweet ideas in one place. ✨