Why You’ll Fall in Love with This Dish
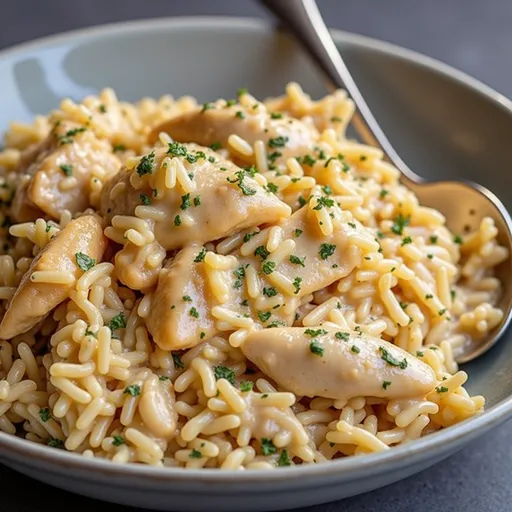
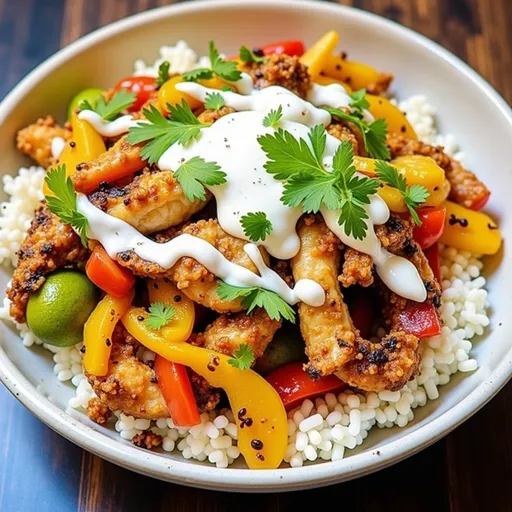
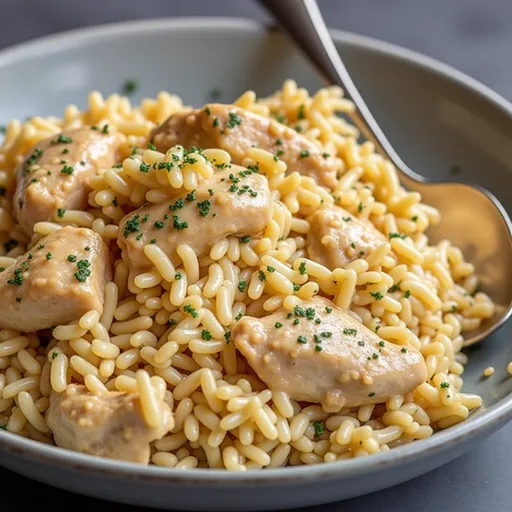
Let’s be real: who doesn’t crave a warm, creamy bowl of comfort food after a long day? This Instant Pot Creamy Chicken and Rice recipe is not just a meal; it’s an experience that combines warmth, flavor, and a bit of adventure in every bite. Imagine tender chicken, perfectly cooked rice, and a rich, creamy sauce that envelopes everything like a cozy blanket. Each forkful is a delightful challenge for your taste buds, inviting you to savor the spices that dance on your palate. It’s the kind of dish that makes you feel at home, whether you’re gathered around the dinner table with family or enjoying a quiet night in.
The Comfort of Simplicity
This recipe is designed for those evenings when you want to whip up something delicious without the fuss of complicated techniques or a mountain of dirty dishes. Using the Instant Pot means you’re not just saving time; you’re also infusing flavor and moisture into your chicken and rice. The pressure cooker locks in all the goodness while you kick back and relax. What’s not to love?
What You’ll Need to Make This Dish
Before we dive into the cooking process, let’s gather our ingredients. You’ll need the following:
- 1 lb boneless, skinless chicken breasts
- 1 cup long-grain white rice
- 1 medium onion, chopped
- 2 cloves garlic, minced
- 1 cup chicken broth
- 1 cup cream of chicken soup
- 1 teaspoon paprika
- 1 teaspoon salt
- 1/2 teaspoon black pepper
- 1 cup frozen peas
- 2 tablespoons olive oil
- Fresh parsley for garnish (optional)
These ingredients are the foundation of a dish that’s going to light up your dinner table. And guess what? If you’re missing something, I’ve got you covered in the substitutions section!
How to Bring It All Together
Now that we have our ingredients, let’s cook! This process is straightforward and will yield a meal that feels like a labor of love.
- Set your Instant Pot to ‘Sauté’ mode and add the olive oil. Allow it to heat until shimmering.
- Once the oil is hot, toss in the chopped onion and minced garlic. Sauté until the onion is translucent and fragrant, about 3-4 minutes.
- Season the chicken breasts with paprika, salt, and black pepper. Add them to the pot and cook for 3-4 minutes until they are lightly browned.
- Now, stir in the rice, chicken broth, and cream of chicken soup. Make sure everything is well combined.
- Close the lid of the Instant Pot, set it to ‘Manual’ mode, and cook on high pressure for 10 minutes.
- When the cooking time is up, allow a natural pressure release for 10 minutes before performing a quick release for any remaining pressure.
- Open the lid and add the frozen peas. Stir well and let it sit for 5 minutes to warm through.
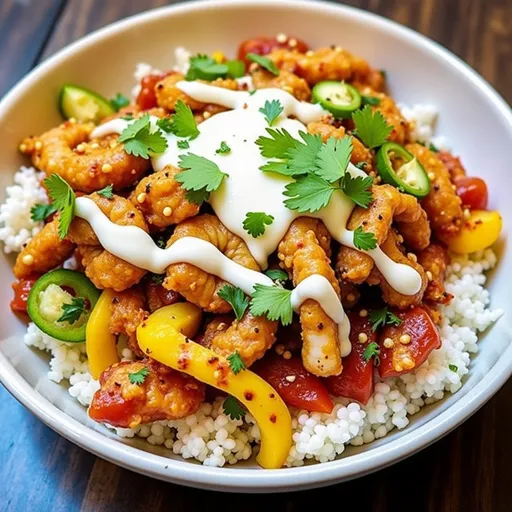
- Serve hot, garnished with fresh parsley if desired.
That’s it! You’ve just created a dish that’s not only satisfying but also packed with flavor.
Variations to Spice Things Up
One of the best parts about cooking is the ability to experiment! Here are a few variations to consider:
- Spicy Kick: Add a pinch of cayenne pepper or a dash of hot sauce to the mixture for some heat.
- Veggie Power: Throw in some chopped bell peppers, carrots, or even spinach for added nutrition and color.
- Herb Infusion: Fresh herbs like thyme or rosemary can elevate the flavor profile. Add them in with the chicken for a fragrant twist.
- Cheesy Goodness: Stir in some grated cheddar or Parmesan cheese at the end for a rich, cheesy version.
Substitutions You Can Make
Don’t have everything on hand? No problem! Here are some easy substitutions:
- Chicken: You can use turkey breast or even rotisserie chicken if you’re short on time.
- Rice: Brown rice can be used, but you’ll need to adjust the cooking time and liquid accordingly.
- Broth: Vegetable broth works just as well if you’re looking for a meat-free option.
- Soup: If you don’t have cream of chicken soup, try cream of mushroom or a homemade equivalent.
Essential Equipment
To make this recipe, you’ll want to have the following equipment:
- Instant Pot (or any electric pressure cooker)
- Cutting board
- Sharp knife
- Measuring cups and spoons
- Wooden spoon or spatula
Storage and Freezing Tips
If you find yourself with leftovers (which is rare, let’s be honest), here’s how to store them:
- Refrigeration: Store in an airtight container in the fridge for up to 3 days.
- Freezing: This dish freezes well! Place in a freezer-safe container and it will last up to 3 months. Just be sure to let it cool completely before freezing.
- Reheating: To reheat, add a splash of chicken broth or milk to loosen it up before microwaving or heating on the stove.
Common Questions and Troubleshooting
Here are some FAQs that might help you out:
- Why did my chicken come out dry? Ensure you’re using the right cooking time and allow for a natural pressure release. Overcooking can lead to dryness.
- Can I use brown rice instead of white? Yes, but adjust the cooking time and liquid. Brown rice typically requires more liquid and longer cooking time.
- What if my dish is too thick? Just add a bit of chicken broth or water to reach your desired consistency.
Lessons Learned in the Kitchen
Cooking is a journey, and every dish teaches us something new. Here are a few lessons I’ve picked up along the way:
- Don’t rush: Allowing the pressure to release naturally really helps develop the flavors.
- Use quality ingredients: Fresh chicken and good quality broth can take this meal to the next level.
- Trust your instincts: If you feel like something is missing, don’t hesitate to add more spices or flavors that you love!
Final Thoughts
Cooking should be a celebration, a dance of flavors and textures that come together to create something beautiful. This Instant Pot Creamy Chicken and Rice recipe is a testament to the joy of home cooking. With its rich flavors and creamy texture, it’s bound to become a staple in your kitchen. Whether you’re cooking for yourself, your family, or friends, this dish will warm hearts and ignite taste buds. So grab your Instant Pot, unleash your inner chef, and let’s create some magic. Happy cooking!
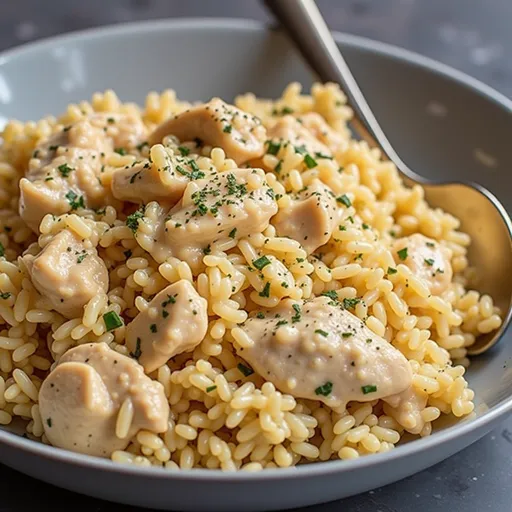
Instant Pot Creamy Chicken and Rice
Ingredients
Protein
- 1 lb boneless, skinless chicken breasts
Grains
- 1 cup long-grain white rice
Vegetables
- 1 medium onion, chopped
- 2 cloves garlic, minced
Broth and Canned Goods
- 1 cup chicken broth
- 1 cup cream of chicken soup
Spices and Seasonings
- 1 teaspoon paprika
- 1 teaspoon salt
- 0.5 teaspoon black pepper
Frozen Vegetables
- 1 cup frozen peas
Oils and Fats
- 2 tablespoons olive oil
Garnish
- optional fresh parsley for garnish
Instructions
- Set Instant Pot to 'Sauté' and add olive oil. Sauté onion and garlic until translucent.
- Season chicken with paprika, salt, and pepper; add to the pot and brown for 3-4 minutes.
- Add rice, chicken broth, and cream of chicken soup; stir to combine.
- Close lid, set to 'Manual' for 10 minutes, then release pressure naturally for 10 minutes.
- Open lid, stir in frozen peas, and let sit for 5 minutes. Garnish with parsley if desired.
Notes
Nutrition
Loved this recipe? Save it to your favorite Pinterest board so you can easily find it later! It’s the perfect way to keep all your sweet ideas in one place. ✨