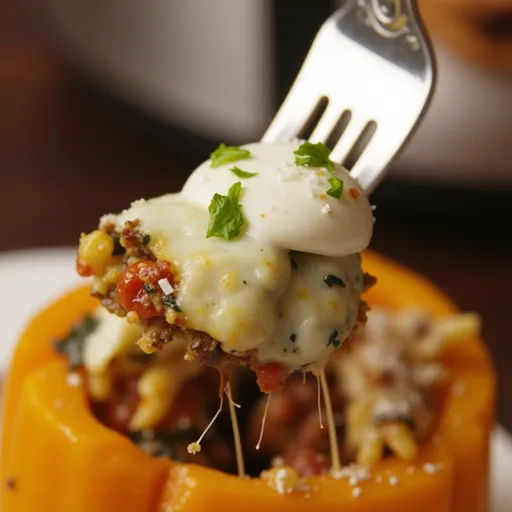
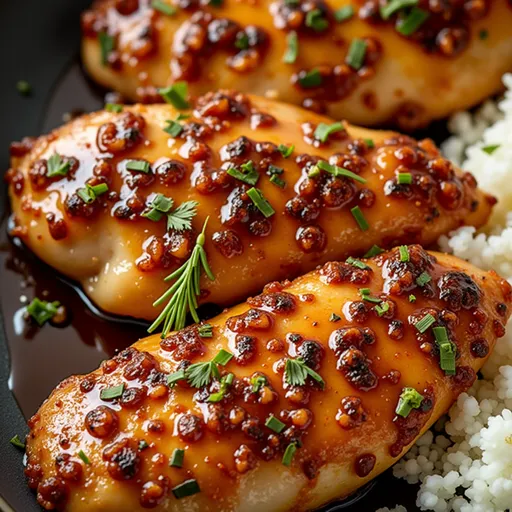
Why You’ll Fall in Love with This Dish
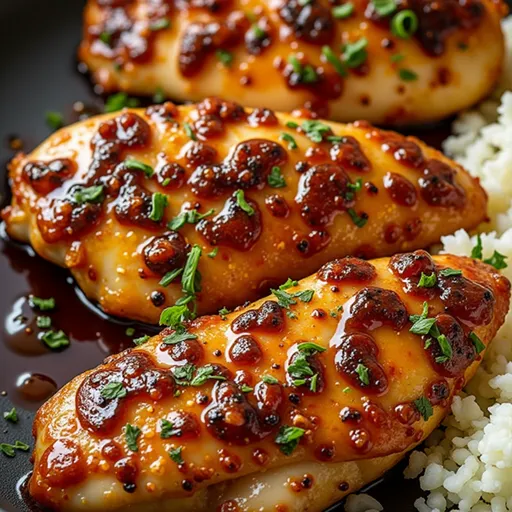
There’s something truly magical about the way the flavors of honey and garlic dance together in this Honey Garlic Chicken Breasts recipe. This dish is a celebration of bold tastes and comforting aromas, turning an ordinary weeknight into a culinary adventure. The sweet, sticky glaze complements the juicy chicken perfectly, creating a symphony of flavors that will have you coming back for seconds. Whether you’re cooking for a bustling family or a quiet night in, this recipe promises to deliver a delicious experience that is both easy and satisfying. So, roll up your sleeves and let’s get cooking!
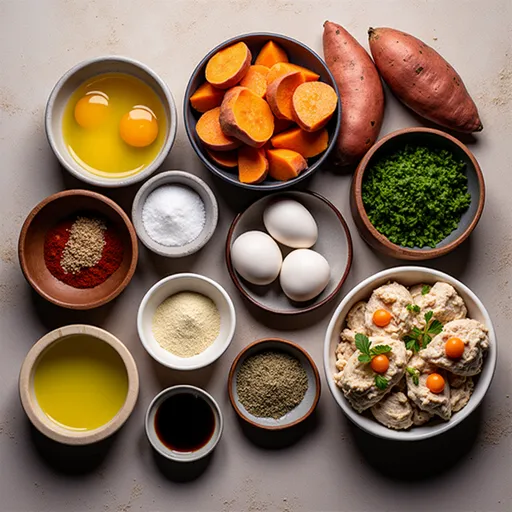
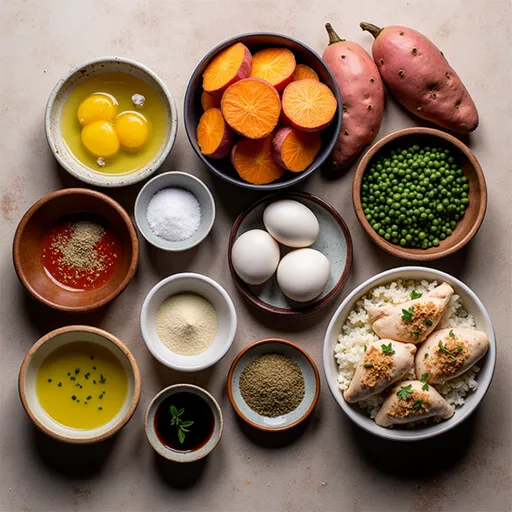
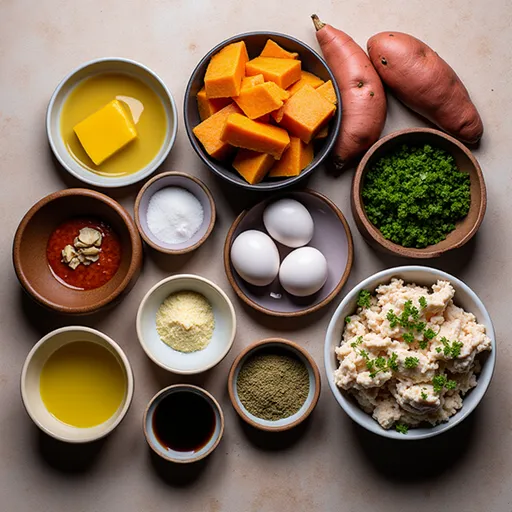
Ingredients You’ll Need
- 2 large boneless, skinless chicken breasts
- 4 cloves garlic, minced
- 2 tablespoons low-sodium soy sauce
- 2 tablespoons honey
- 1 tablespoon olive oil
- Salt and freshly ground black pepper, to taste
Preparation is Key!
Before diving into cooking, let’s set the stage for success. First, ensure your chicken breasts are patted dry. This step is crucial as it allows the seasoning to adhere better and promotes that beautiful golden-brown crust we all crave. Season both sides generously with salt and freshly ground black pepper. This isn’t just a formality; it’s the first layer of flavor that will elevate your dish.
Crafting the Irresistible Honey Garlic Marinade
In a medium bowl, whisk together the soy sauce, honey, and minced garlic. This simple yet powerful marinade is what makes this dish extraordinary. The soy sauce brings umami depth, the honey adds sweetness, and the garlic infuses a robust aroma that will have your taste buds tingling in anticipation. It’s worth taking a moment to enjoy the transformation of these humble ingredients into a culinary masterpiece.
Executing the Sear: Achieving That Golden Crust
Heat the olive oil in an oven-safe skillet over medium-high heat until shimmering. This is where the magic begins! Sear the chicken for about 4-5 minutes on each side until golden brown. Don’t rush this step! The caramelization from the high heat is what gives your chicken that irresistible flavor and texture. Once the chicken is beautifully seared, remove it from the skillet and set it aside. You want to keep those delicious browned bits in the pan; they’ll add extra depth to your sauce.
Simmering the Sauce: Flavor Development
Lower the heat to medium-low and pour your honey garlic mixture into the same skillet. Allow it to simmer for 1-2 minutes, scraping up the browned bits from the bottom of the pan. This is where the real flavor comes from! If you prefer a thicker glaze, consider adding a cornstarch slurry (1 tablespoon cornstarch mixed with 1 tablespoon water) to the sauce as it simmers. This will create a luxurious texture that clings beautifully to your chicken.
Finishing Touches: Oven-Baked Perfection
Return the seared chicken to the skillet, ensuring it’s thoroughly coated in the delicious sauce. Now, it’s time to transfer the skillet to a preheated oven at 400°F (200°C). Bake for 10-15 minutes, or until the chicken reaches an internal temperature of 165°F (74°C). This oven time allows the flavors to meld beautifully, ensuring that every bite is packed with that sweet and savory goodness.
Resting & Serving: The Grand Finale
Once done, remove the skillet from the oven, and transfer the chicken to a cutting board. Tent it with foil and let it rest for 5-10 minutes. Resting is vital as it allows the juices to redistribute, making your chicken even more tender and juicy. Serve the chicken sliced or whole, drizzled with the remaining sauce. For an extra pop of color and flavor, consider garnishing with fresh herbs or sesame seeds. This dish is not just a meal; it’s a celebration of flavors!
Tips for the Best Honey Garlic Chicken Breasts Every Time
- Don’t Skip the Searing: This step is essential for flavor.
- Use Fresh Garlic: Freshly minced garlic provides a stronger flavor than pre-minced options.
- Resting is Key: Always let your chicken rest before slicing to maintain juiciness.
- Adjust Sweetness: Feel free to adjust the amount of honey based on your preference for sweetness.
Variations and Substitutions
This recipe is wonderfully adaptable! If you’re looking to mix things up, consider the following variations:
- Spice It Up: Add a pinch of red pepper flakes to the marinade for a delightful kick.
- Different Proteins: This honey garlic glaze is equally exquisite on chicken thighs, shrimp, or tofu for a vegetarian option.
- Vegetable Add-Ins: Toss in some bell peppers or snap peas during the simmering stage for added nutrition and color.
Essential Equipment
To make this dish, you’ll need:
- An oven-safe skillet (cast iron works wonderfully)
- A whisk for combining the sauce
- A meat thermometer to ensure perfect cooking
- A cutting board and knife for serving
Storage and Freezing Tips
If you find yourself with leftovers (which is rare with this dish), store them in an airtight container in the refrigerator for up to 3-4 days. To reheat, gently warm in the microwave or in a skillet over low heat to prevent the chicken from drying out. You can also freeze the cooked chicken for up to 2 months. Just ensure it’s well-wrapped to avoid freezer burn.
FAQs: Your Questions Answered
Can I use chicken thighs instead of breasts?
Absolutely! Chicken thighs are fantastic with this glaze and tend to be juicier. Just remember that they may require a bit longer to cook through.
What if I don’t have honey?
You can substitute agave nectar or maple syrup for a similar sweetness, although the flavor profile will change slightly.
How do I know when the chicken is fully cooked?
The best way to check for doneness is to use a meat thermometer. The internal temperature should reach 165°F (74°C), and the juices should run clear when pierced.
Troubleshooting Common Issues
If your sauce seems too thin, consider thickening it with a cornstarch slurry as mentioned earlier. If it’s too thick, simply add a splash of water or chicken broth to loosen it up. If the chicken is overcooked and dry, next time, reduce the baking time or use a meat thermometer to monitor doneness.
Conclusion: Your Culinary Adventure Awaits
This Honey Garlic Chicken Breasts recipe is more than just a meal; it’s a journey into the world of flavor. With its perfect blend of sweet and savory, it’s bound to become a staple in your kitchen. So, gather your ingredients, dive into the joy of cooking, and let this dish inspire your inner chef. Remember, cooking is about exploration and creating memories around the table. I can’t wait to hear how your adventure goes! Happy cooking!

Honey Garlic Chicken Breasts
Ingredients
Main Ingredients
- 2 large boneless, skinless chicken breasts
- 4 cloves garlic, minced
- 2 tablespoons low-sodium soy sauce
- 2 tablespoons honey
- 1 tablespoon olive oil
- to taste salt and freshly ground black pepper
Instructions
- Pat chicken dry and season with salt and pepper. Mix soy sauce, honey, and garlic for the sauce.
- Heat oil in a skillet over medium-high heat. Sear chicken 4-5 minutes per side until golden. Remove and set aside.
- Pour sauce into skillet, simmer 1-2 minutes, scraping browned bits.
- Return chicken to skillet, coat with sauce, then transfer to oven at 200°C (400°F) for 10-15 minutes until cooked through.
- Rest chicken 5 minutes, then slice and serve with remaining sauce. Garnish if desired.
Notes
Nutrition
Loved this recipe? Save it to your favorite Pinterest board so you can easily find it later! It’s the perfect way to keep all your sweet ideas in one place. ✨