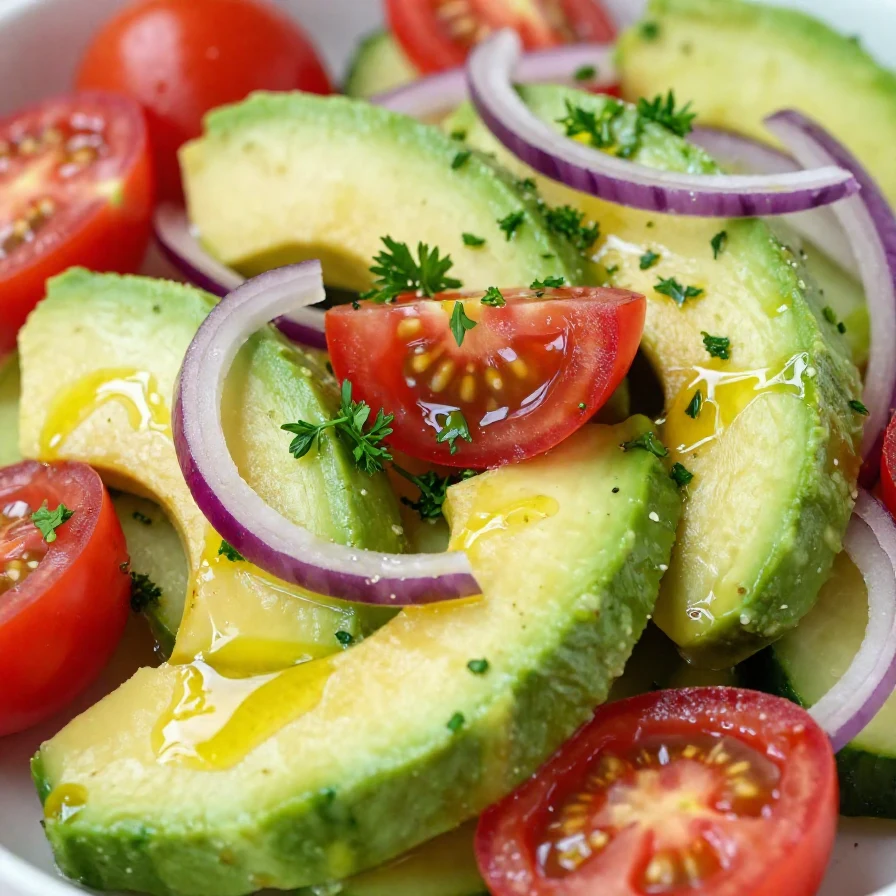
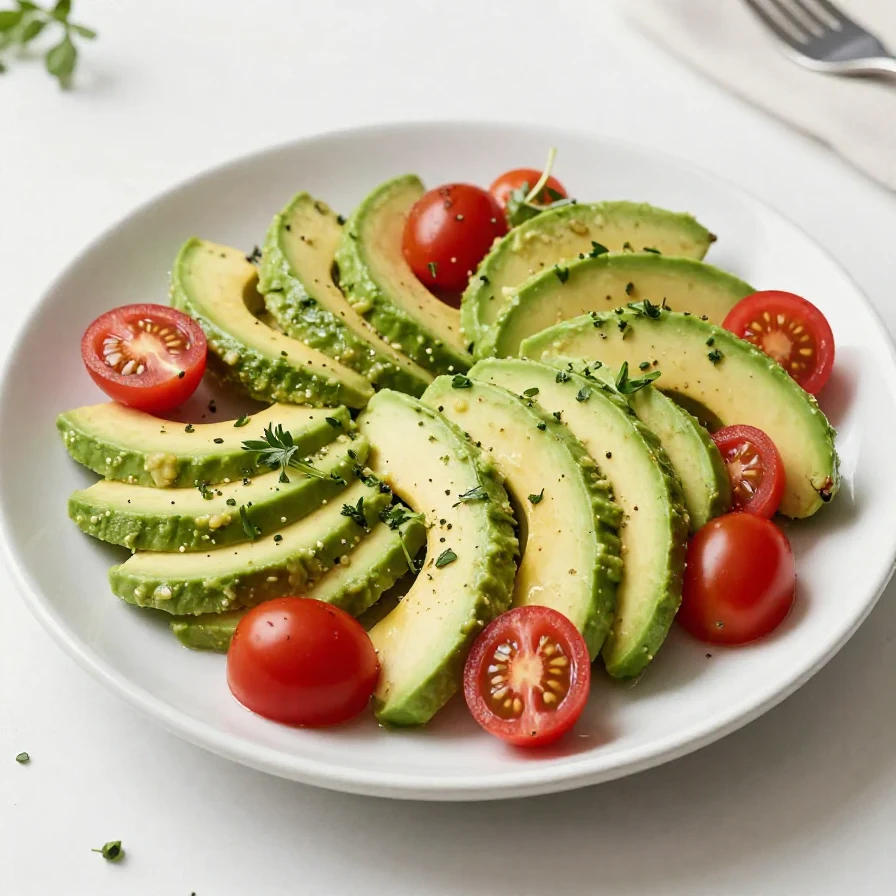
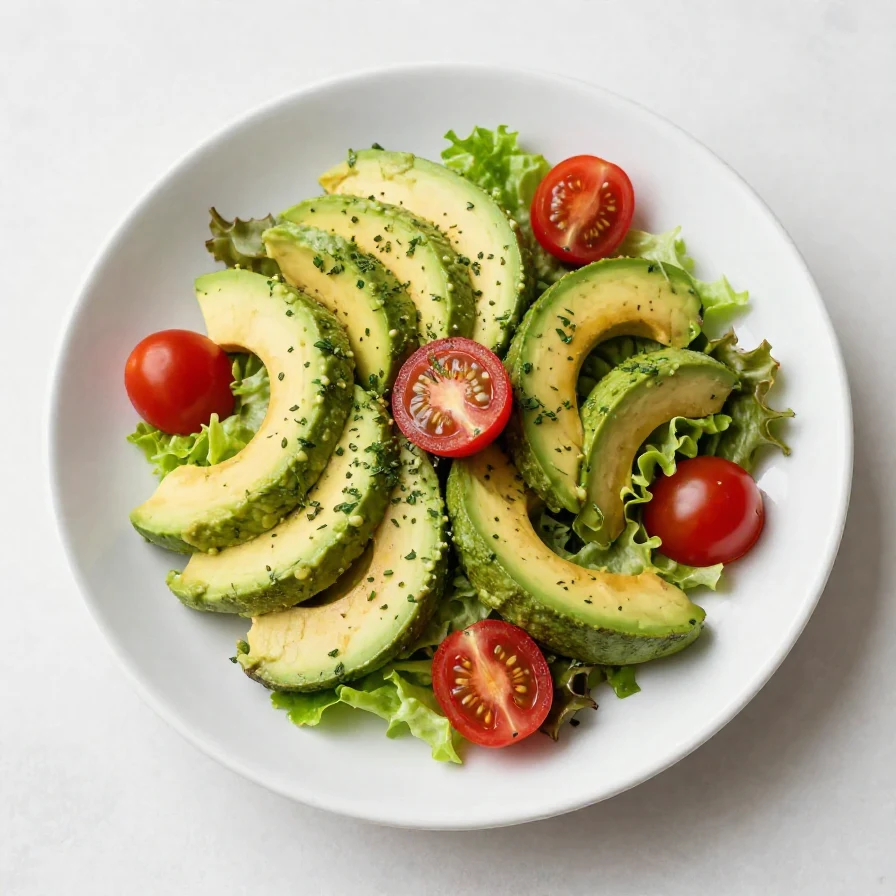
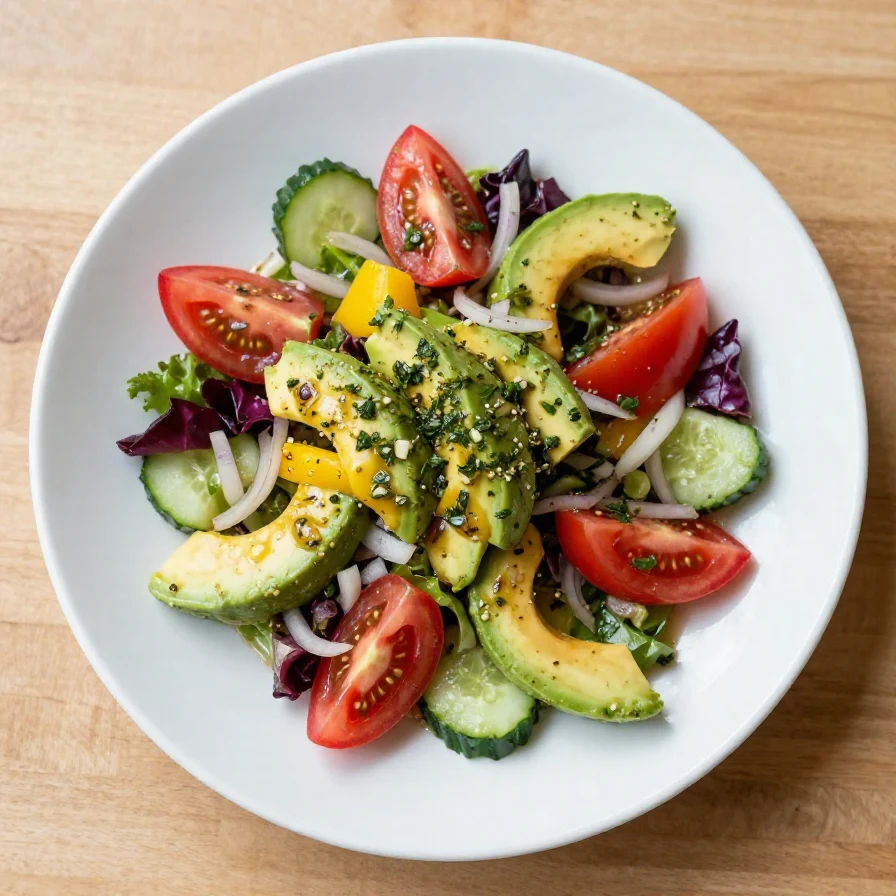
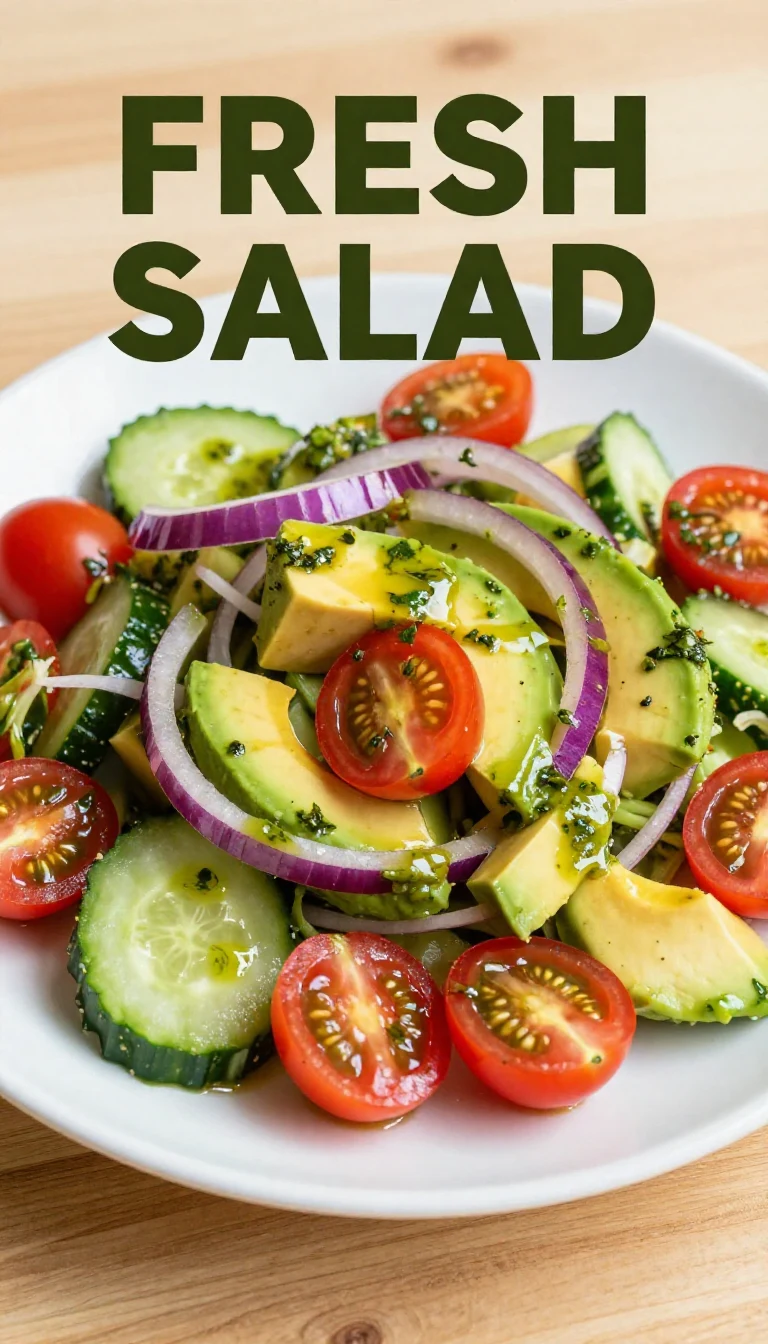
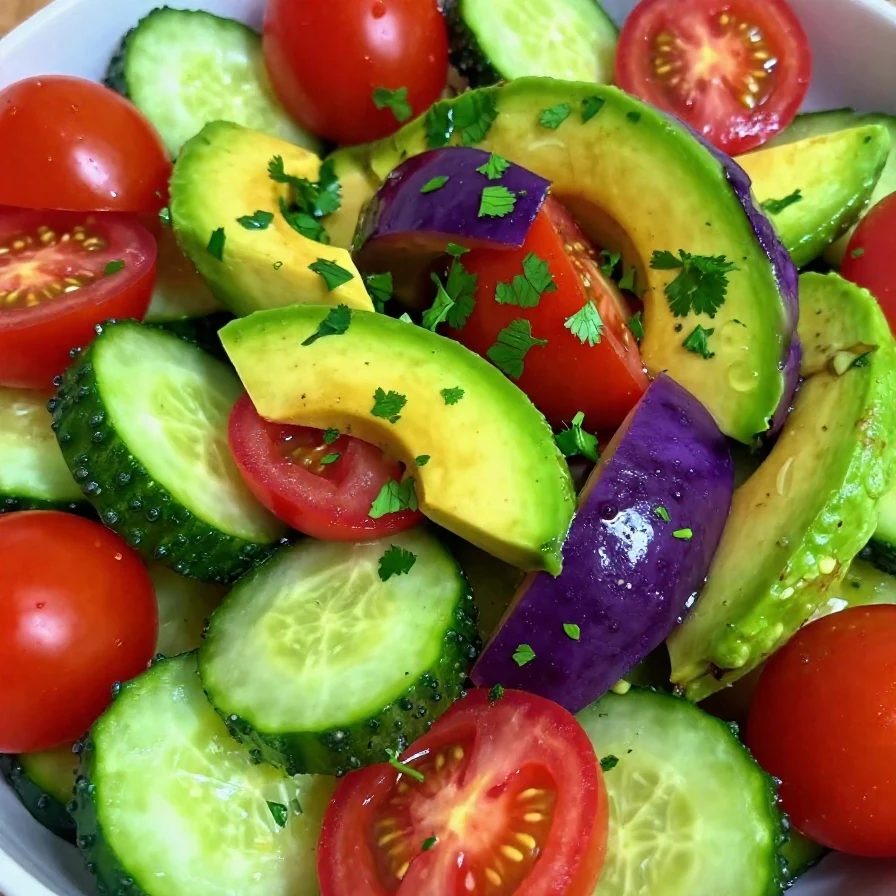
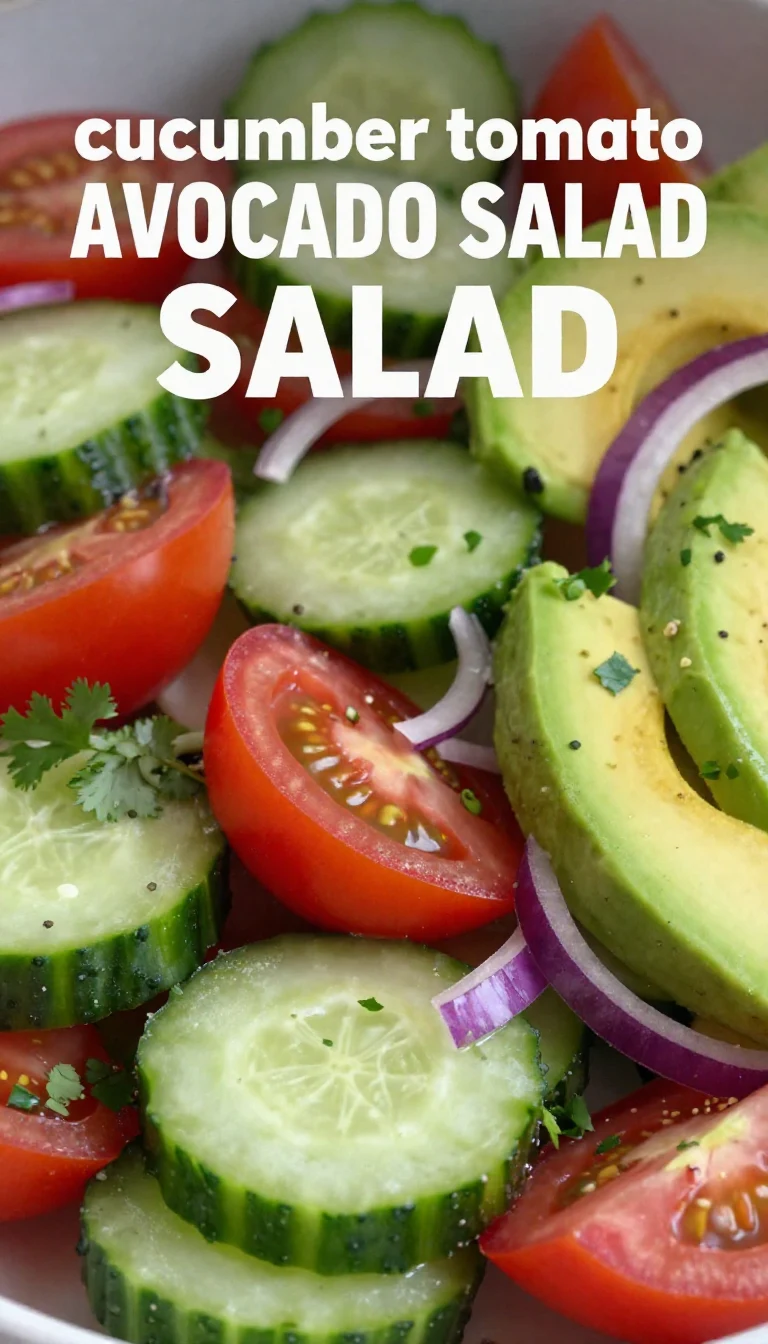
This Tomato Cucumber Salad with Avocado, Mozzarella, and Basil Pesto is a celebration of fresh, vibrant flavors and contrasting textures. The juicy sweetness of ripe tomatoes complements the crunch of cucumber, while creamy avocado and soft mozzarella are elevated by the herbaceous aroma of fresh basil pesto. It’s a dish that effortlessly transforms simple ingredients into a harmonious and satisfying delight.
Table of Contents
- Why You’ll Love This Salad
- Everything You Need for Tomato Cucumber Salad with Avocado, Mozzarella, and Basil Pesto
- How To Make Tomato Cucumber Salad with Avocado, Mozzarella, and Basil Pesto Step by Step
- Common Mistakes to Avoid
- Easy Ingredient Swaps
- How to Keep Your Salad Fresh
Why You’ll Love This Salad
- This Tomato Cucumber Salad with Avocado, Mozzarella, and Basil Pesto is ready in just 10 minutes, making it perfect for busy days when you need something quick, healthy, and satisfying. Its simplicity doesn’t compromise on flavor, delivering a balanced and refreshing bite every time.
- The combination of creamy avocado, soft mozzarella, and crisp vegetables creates a textural harmony that feels both indulgent and light. Tossed in vibrant basil pesto, this salad is a nutrient-packed side dish that doesn’t sacrifice taste.
- With its naturally gluten-free ingredients, this salad is versatile and suitable for a variety of dietary preferences. Serve it as an appetizer, a side dish, or a stand-alone snack to keep you energized throughout the day.
- This dish highlights the beauty of seasonal produce, making it an excellent choice for summer gatherings, potlucks, or midweek meals. Its vibrant flavors and striking presentation make it a centerpiece-worthy addition to any table.
Everything You Need for Tomato Cucumber Salad with Avocado, Mozzarella, and Basil Pesto
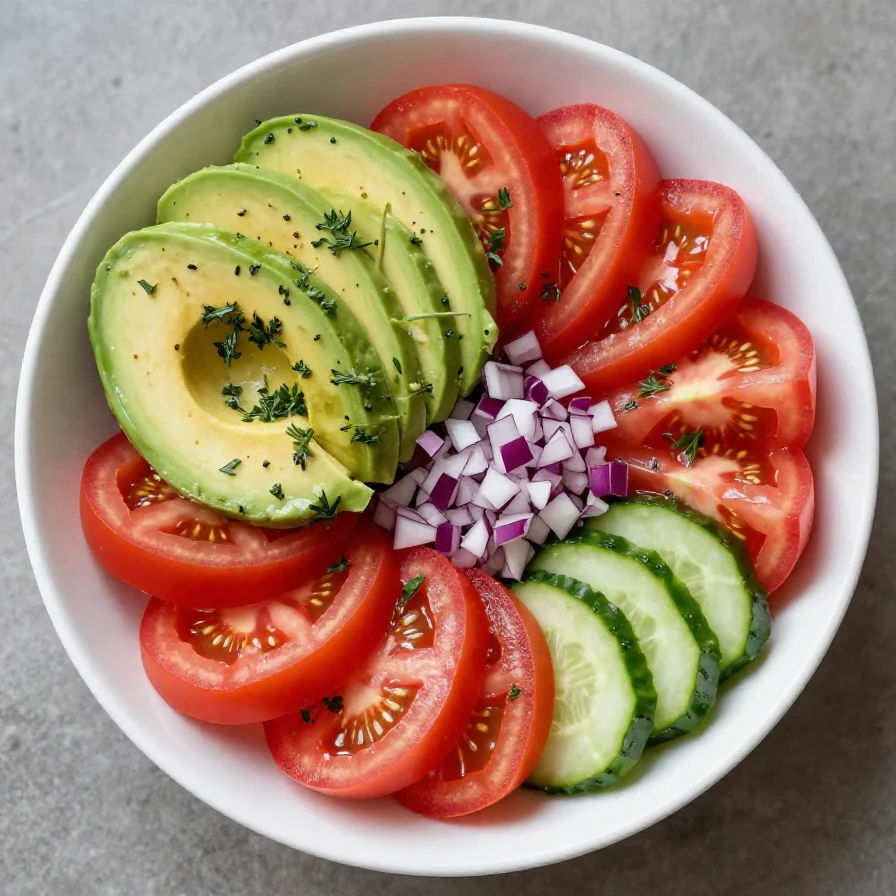
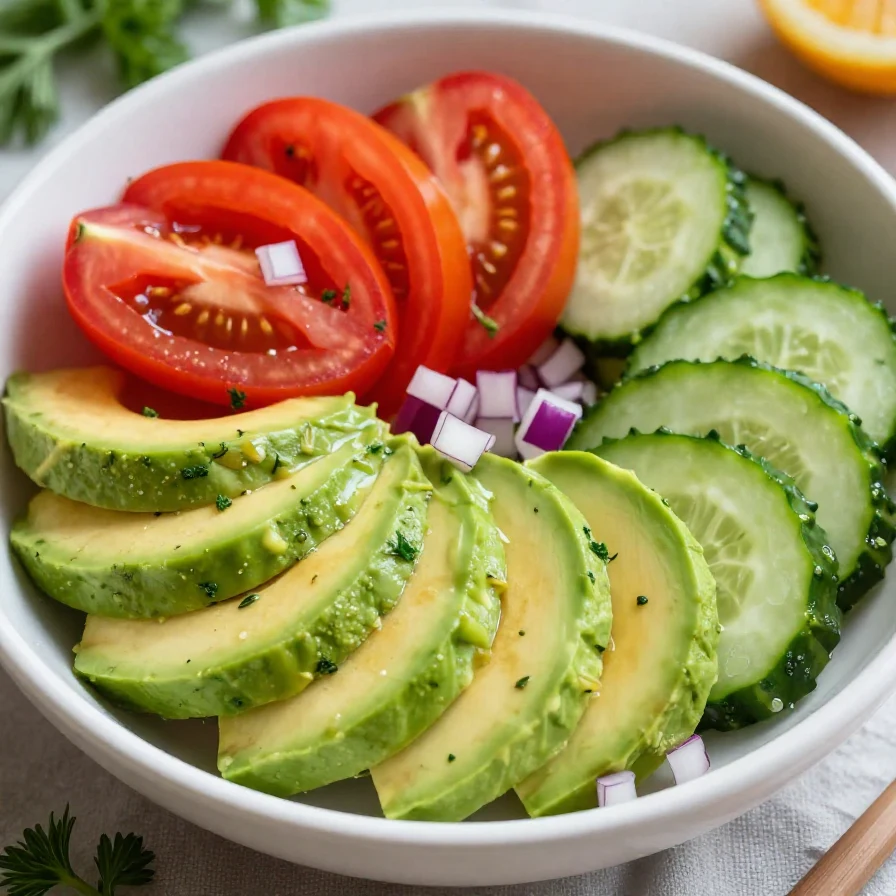
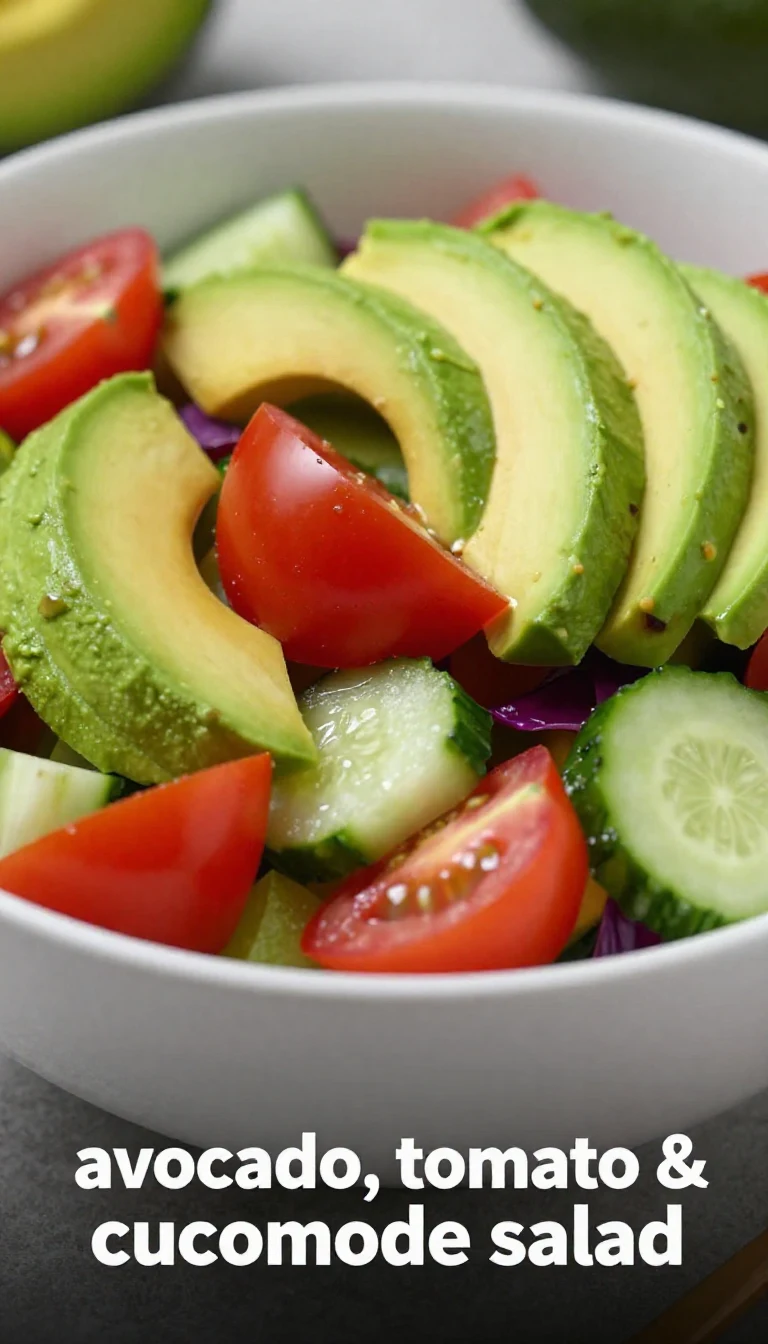
- 2 large ripe tomatoes, diced
- 1 large cucumber, diced
- 1 ripe avocado, diced
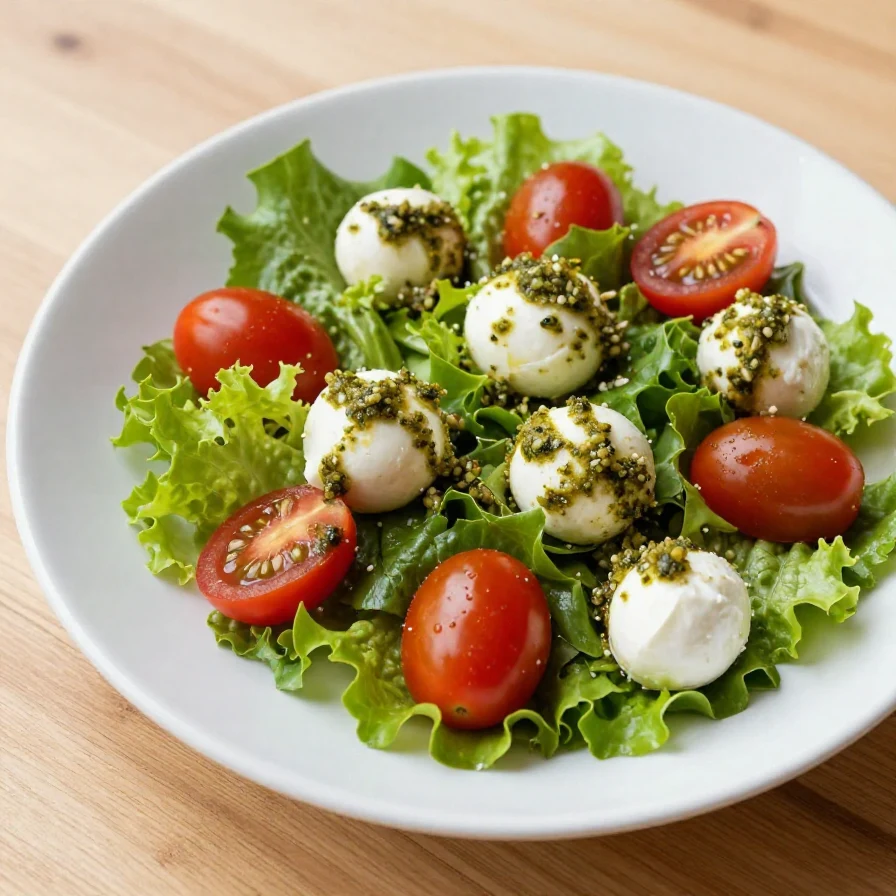
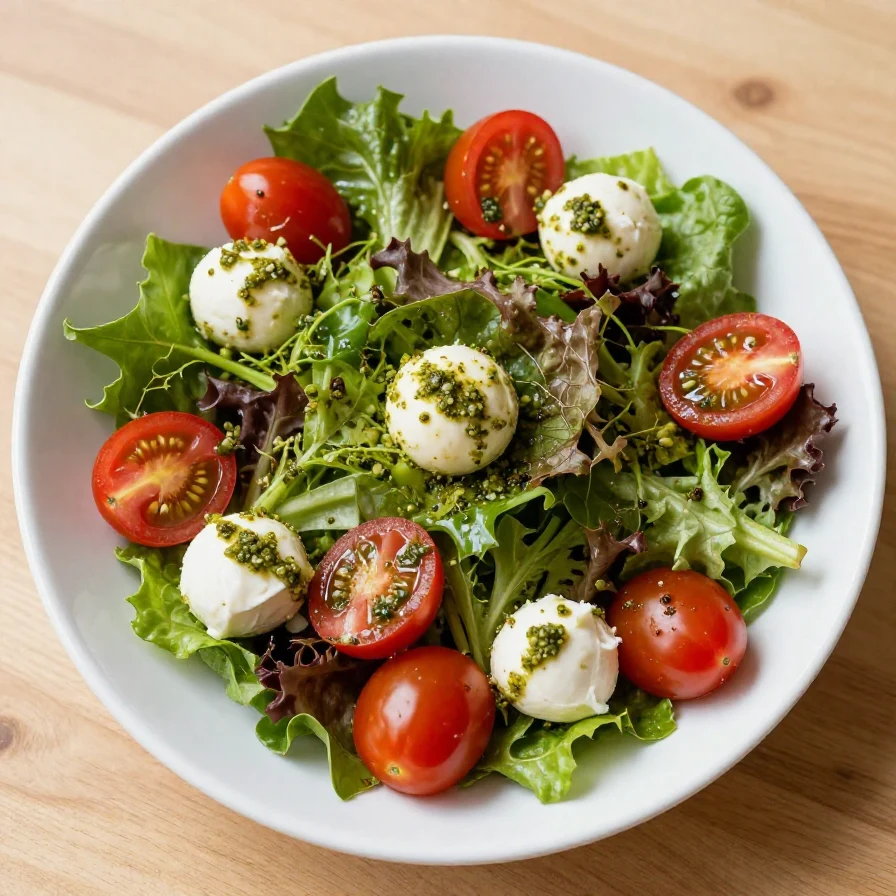
- 8 ounces fresh mozzarella balls, halved
- 1/4 cup fresh basil pesto
- Salt and pepper to taste
- Fresh basil leaves for garnish
The fresh basil pesto is the star of this recipe, adding a bold and aromatic punch of flavor. Paired with creamy mozzarella and ripe avocado, the balance of textures and tastes makes each bite feel indulgent yet wholesome.
How To Make Tomato Cucumber Salad with Avocado, Mozzarella, and Basil Pesto Step by Step
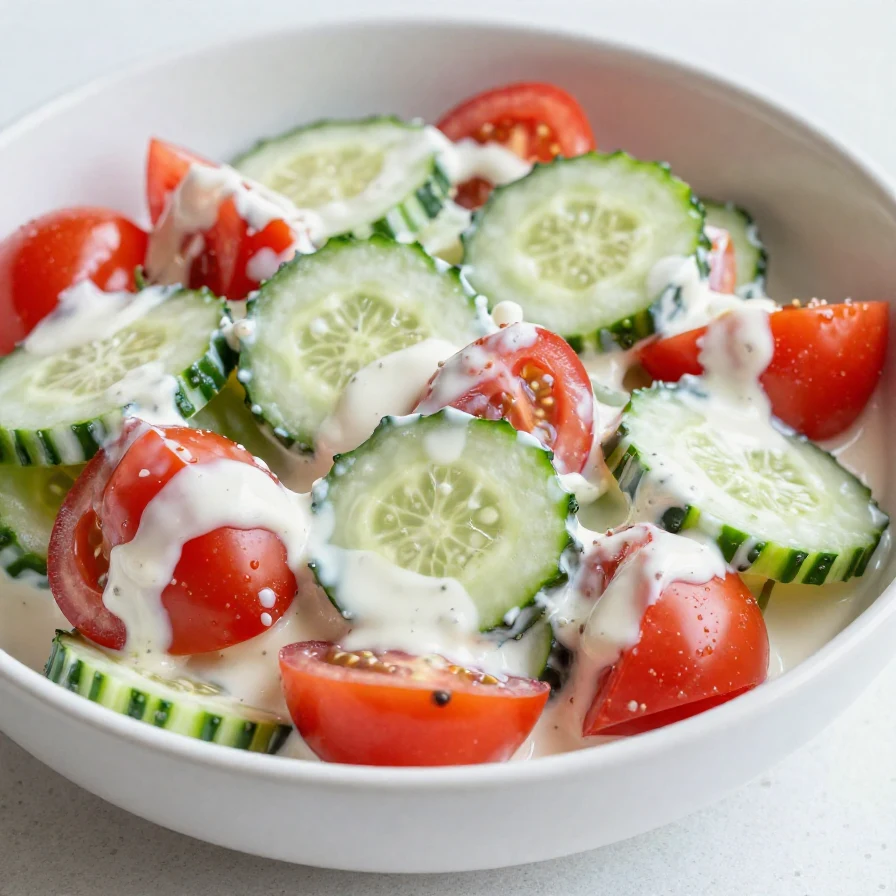
- In a large mixing bowl, combine the diced tomatoes and cucumbers, ensuring an even distribution of both ingredients.
- Add the diced avocado and halved mozzarella balls to the bowl, keeping the pieces as uniform as possible for even flavor in every bite.
- Drizzle the fresh basil pesto over the salad mixture, ensuring all key ingredients are coated in the flavorful sauce.
- Gently toss all the ingredients together using a large spoon or salad tongs until everything is well combined and evenly coated.
- Season the salad with salt and pepper to taste, starting with a small amount and adjusting based on your preferences.
- Transfer the salad to a serving dish and garnish with fresh basil leaves for a vibrant and aromatic finish.
- Serve immediately to enjoy the crisp textures and fresh flavors at their peak.
Common Mistakes to Avoid
- Don’t overdress the salad with basil pesto as the bold flavors can overpower the delicate avocado and mozzarella. Start with a smaller amount and add more as needed.
- Cut the ingredients into evenly-sized pieces to ensure a balanced bite and a visually appealing presentation. Uneven chopping can result in an uneven taste experience.
- Avoid making this salad too far in advance, as the avocado can brown and the vegetables may lose their crispness. Prepare it fresh for the best results.
Easy Ingredient Swaps
- For a dairy-free version, substitute the mozzarella balls with a dairy-free cheese alternative or omit them altogether. The avocado will still provide plenty of creaminess.
- If you’re allergic to nuts, choose a nut-free basil pesto or make your own by replacing nuts with sunflower seeds. This maintains the pesto’s flavor while accommodating dietary needs.
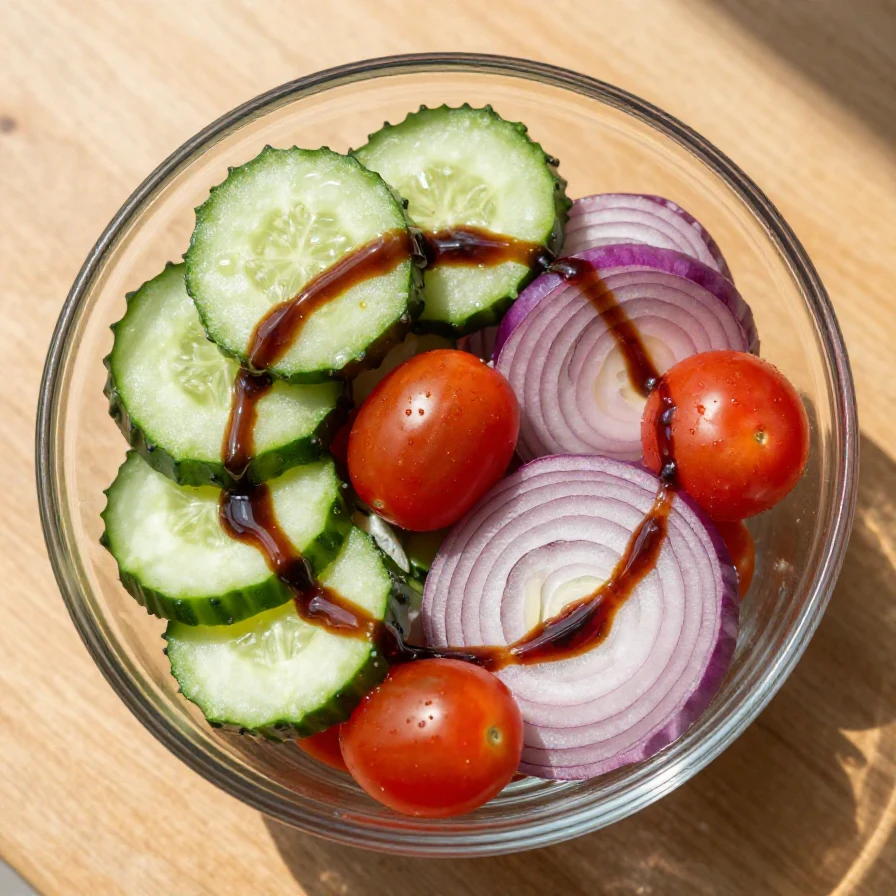
- Feel free to swap the cucumber with zucchini for a slightly different crunch. Pick a young zucchini for a mild flavor that complements the other ingredients.
How to Keep Your Salad Fresh
This Tomato Cucumber Salad with Avocado, Mozzarella, and Basil Pesto is best served fresh, but you can store any leftovers in an airtight container in the refrigerator for up to 24 hours. To prevent the avocado from browning, toss it with a small amount of lemon juice before adding it to the salad.
If you need to prepare the salad in advance, store the tomatoes, cucumber, avocado, and mozzarella separately in sealed containers. Add the basil pesto and toss everything together just before serving to maintain the freshness and texture of the ingredients.
You might also enjoy our green goddess salad: cucumber &.
Consider refrigerating the salad bowl before serving to keep the dish chilled and refreshing, especially during hot summer days. Avoid freezing this salad as the textures of the fresh vegetables and avocado will not hold up well to freezing and thawing.
Looking for something similar? Try our green goddess avocado salad: a.
For more ideas, check out our lemon basil pasta salad –.
Tomato Cucumber Salad with Avocado, Mozzarella, and Basil Pesto
Ingredients
- 2 large ripe tomatoes, diced
- 1 large cucumber, diced
- 1 ripe avocado, diced
- 8 ounces fresh mozzarella balls, halved
- 1/4 cup fresh basil pesto
- salt (to taste)
- pepper (to taste)
- fresh basil leaves (for garnish)
Instructions
- In a large mixing bowl, combine the diced tomatoes and cucumbers.
- Add the diced avocado and halved mozzarella balls to the bowl.
- Drizzle the fresh basil pesto over the salad mixture.
- Gently toss all the ingredients together until well combined.
- Season with salt and pepper to taste.
- Transfer the salad to a serving dish and garnish with fresh basil leaves.
- Serve immediately as a refreshing appetizer or side dish.
Notes
Nutrition

Loved this recipe? Save it to your favorite Pinterest board so you can easily find it later! ✨