Why You’ll Love This Dish
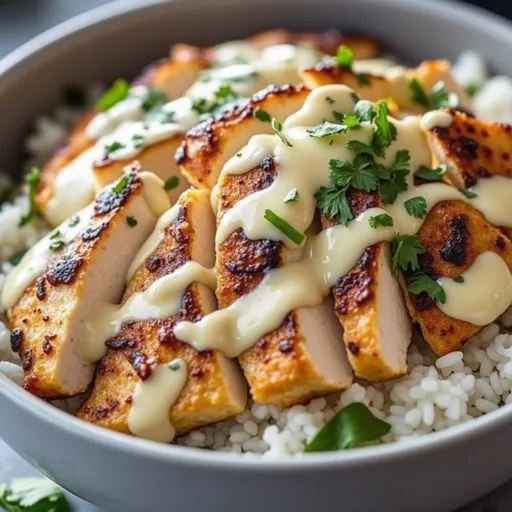
When it comes to comfort food, few dishes can rival the allure of a Chicken & Rice Bowl drizzled in creamy garlic sauce. This recipe is more than just a meal; it’s a culinary embrace that warms your heart and lifts your spirit. With hearty ingredients and a rich, flavorful sauce, this dish is designed to bring people together around the table, sharing stories and laughter over every delicious bite.
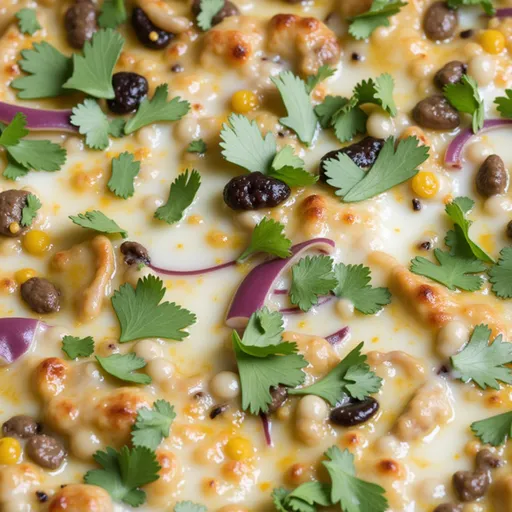
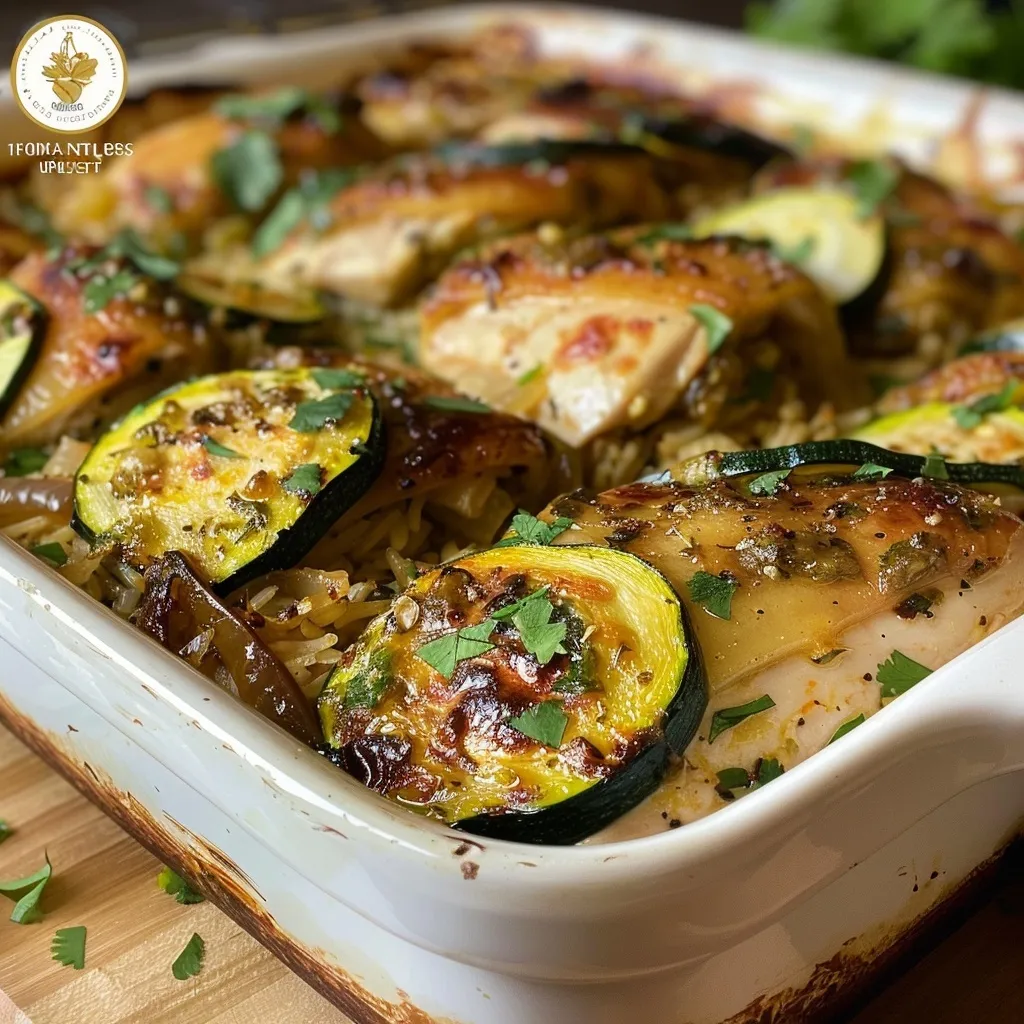
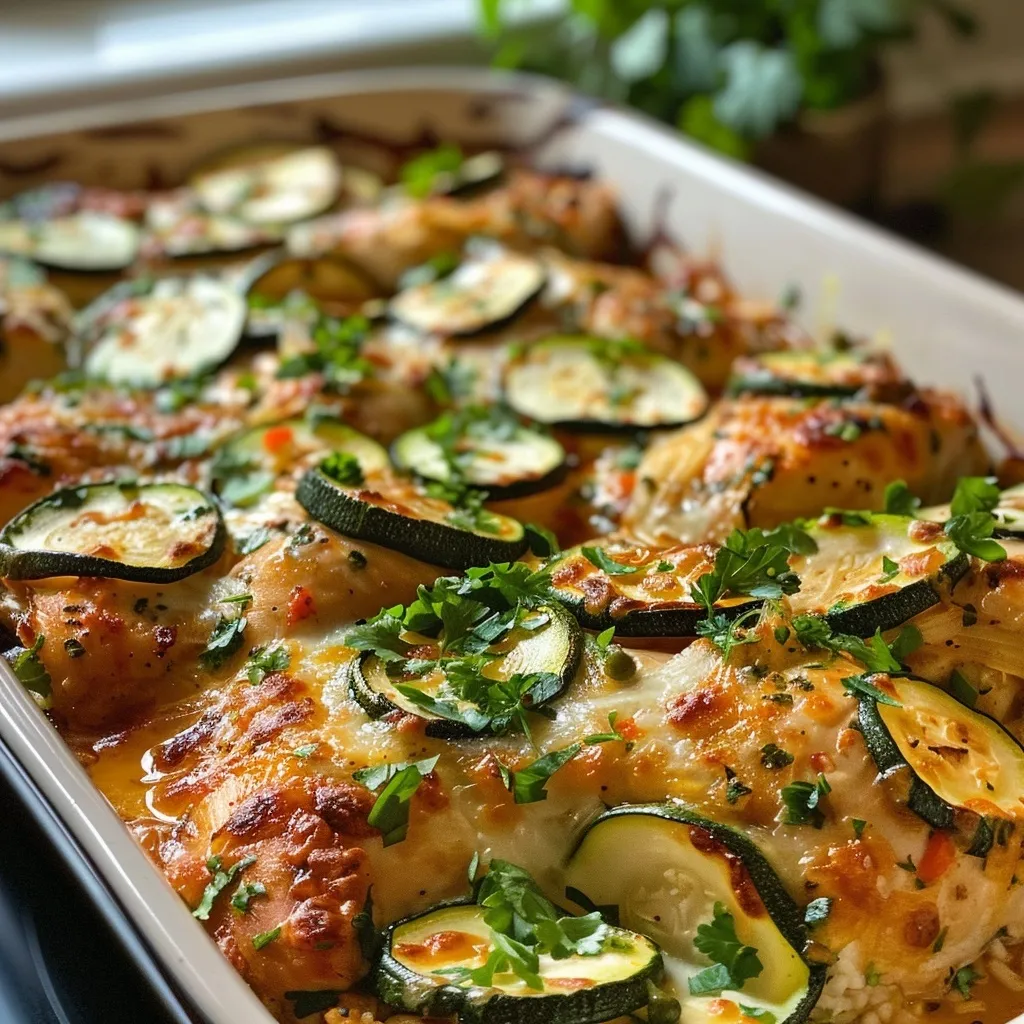
Imagine diving into a bowl filled with fluffy, perfectly cooked rice, topped with juicy slices of chicken that have been kissed by a touch of seasoning and the unmistakable aroma of garlic. Then, there’s the sauce—a creamy, garlicky concoction that coats everything in its velvety embrace, elevating the entire experience to something extraordinary. Whether you’re cooking for yourself, your family, or hosting friends, this dish is a guaranteed crowd-pleaser.
Perfect for busy weeknights or a cozy weekend dinner, these Chicken & Rice Bowls are quick to prepare and offer a delightful twist on the classic chicken and rice combo. Did I mention it’s also incredibly easy to customize? Add your favorite veggies, swap out proteins, or play with spices to create your own signature version. Let’s dive deeper into this flavor-packed journey and discover how to whip up this fantastic meal!
Ingredients You’ll Need
Here’s what you’ll need to create these mouthwatering bowls:
- 2 cups cooked rice
- 2 boneless, skinless chicken breasts
- 1 tablespoon olive oil
- 4 cloves garlic, minced
- 1 cup heavy cream
- 1/2 cup chicken broth
- 1 teaspoon garlic powder
- 1 teaspoon onion powder
- Salt and pepper to taste
- Fresh parsley for garnish
How to Make Chicken & Rice Bowls with Creamy Garlic Sauce
Making these Chicken & Rice Bowls is a straightforward process that will result in a dish so flavorful, you’ll want to make it every week. Let’s break it down step by step:
Step 1: Prepare the Rice
Start by cooking the rice according to the package instructions. This can be white rice, brown rice, or any variety you prefer. Once cooked, set it aside. The rice serves as a fluffy base that will soak up all that delicious sauce, so make sure to cook it well!
Step 2: Season the Chicken
While the rice is cooking, take your chicken breasts and season them generously with salt, pepper, garlic powder, and onion powder. This is where the flavor begins, so don’t be shy! Allow the chicken to rest for a few minutes to let the seasonings penetrate the meat.
Step 3: Sear the Chicken
Heat the olive oil in a skillet over medium heat. Once the oil is shimmering, add the seasoned chicken breasts. Cook for about 6-7 minutes on each side, or until the chicken is golden brown and cooked through. You want that beautiful sear to lock in the juices. Once cooked, remove the chicken from the skillet and let it rest on a cutting board before slicing it into bite-sized pieces.
Step 4: Create the Creamy Garlic Sauce
In the same skillet (don’t wipe it out—those tasty bits are flavor gold!), add the minced garlic. Sauté for 1-2 minutes until the garlic is fragrant but not browned. Next, pour in the chicken broth and heavy cream, stirring to combine. Allow the sauce to simmer for about 3-5 minutes until it thickens slightly. This is where the magic happens—watch that sauce come together into a luscious, creamy delight!
Step 5: Combine and Serve
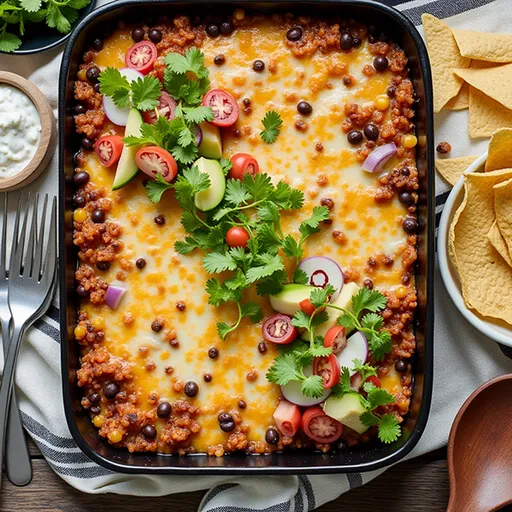
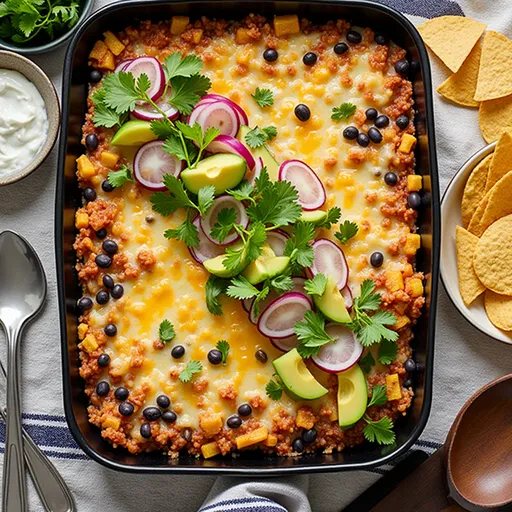
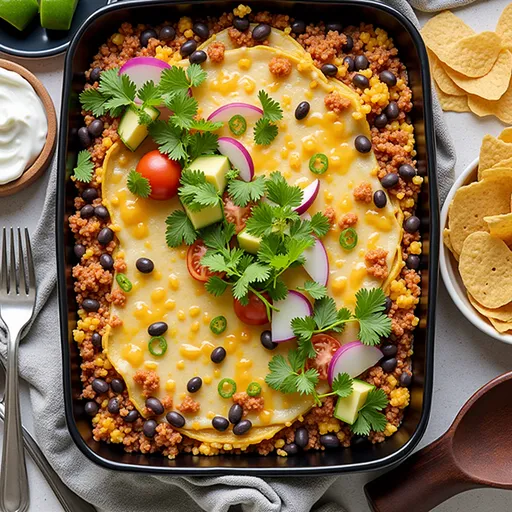
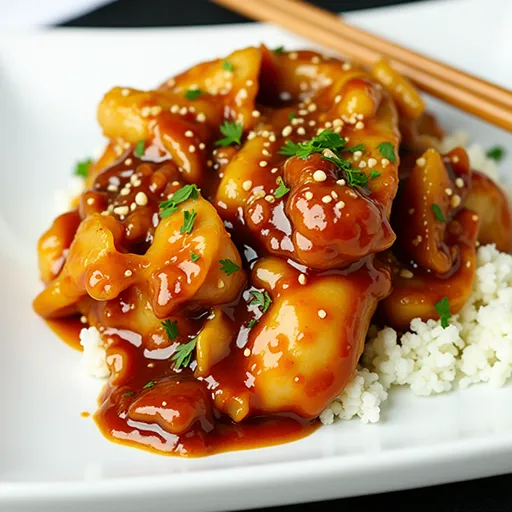
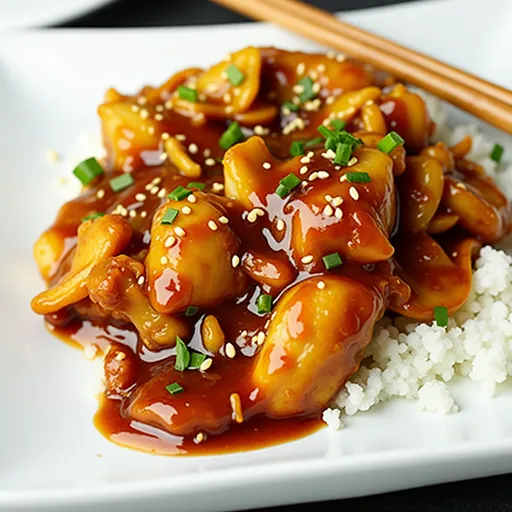
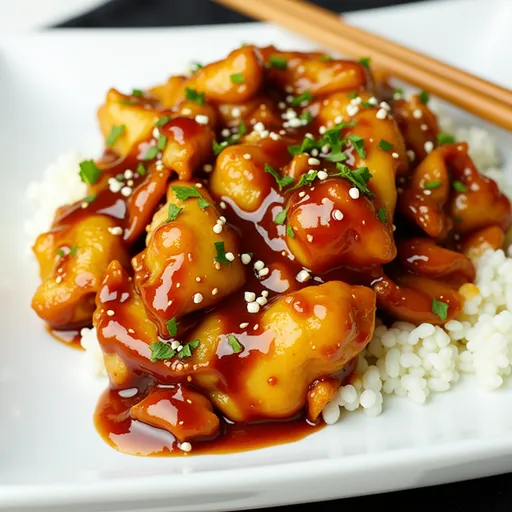
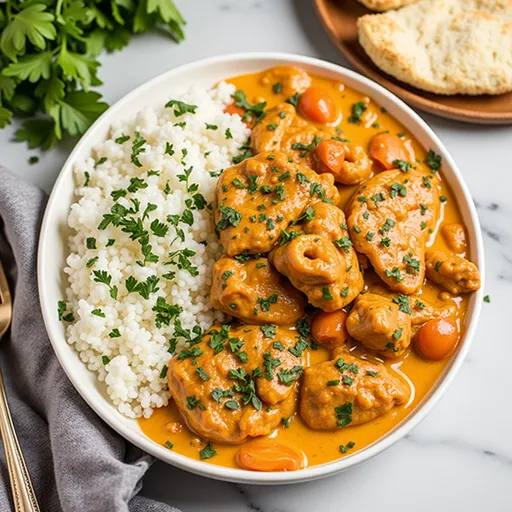
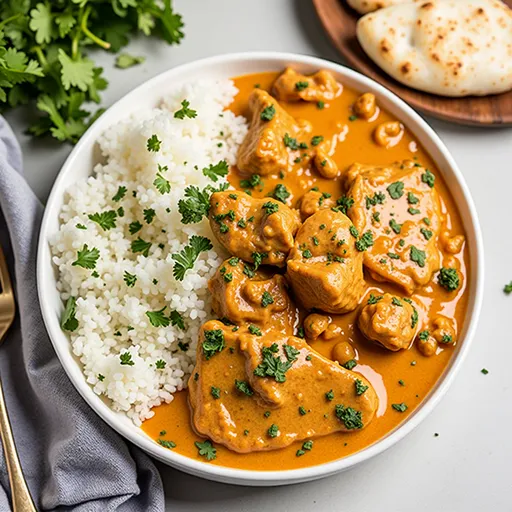
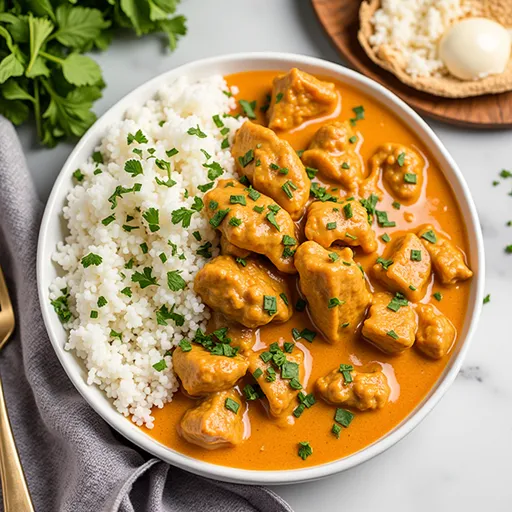
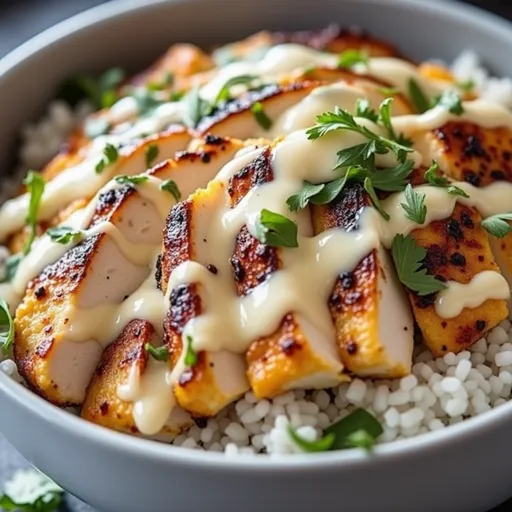
Once your sauce has thickened, return the sliced chicken to the skillet, coating it in the creamy garlic sauce. Now, it’s time to serve! In a bowl, add a generous scoop of your cooked rice, then top it with the sliced chicken and a heavenly drizzle of the creamy garlic sauce. Finish it off with a sprinkle of fresh parsley to add a pop of color and freshness.
Helpful Tips for the Perfect Bowl
- Don’t Rush the Garlic: Be careful not to burn the garlic while sautéing. If it turns too brown, it can become bitter, ruining your sauce.
- Adjust the Thickness: If your sauce thickens too much, simply thin it out with a splash of additional chicken broth or milk.
- Experiment with Veggies: Add sautéed mushrooms, steamed broccoli, or even peas for extra nutrition and color.
- Make it Dairy-Free: For a dairy-free version, substitute the heavy cream with coconut cream and use a non-dairy milk for the broth.
Variations to Try
This recipe is incredibly versatile, allowing you to mix and match ingredients based on your preferences and what you have on hand. Here are a few ideas:
- Herb Infusion: Add fresh herbs like thyme or rosemary to the chicken as it cooks for a fragrant twist.
- Spicy Kick: If you’re feeling adventurous, sprinkle in some red pepper flakes or a dash of hot sauce into the creamy garlic sauce for a little heat.
- Protein Swaps: Swap the chicken for shrimp or tofu for a different protein option. Just adjust the cooking time accordingly!
Equipment You’ll Need
To make this dish, you’ll need a few basic kitchen tools:
- A large skillet for cooking the chicken and making the sauce
- A saucepan for cooking the rice
- A cutting board and knife for slicing the chicken
- A set of measuring spoons for accurate ingredient amounts
Storage and Freezing Instructions
If you have leftovers (which I doubt, but just in case!), store them in an airtight container in the refrigerator for up to 3 days. To reheat, simply warm in a skillet over medium heat, adding a splash of water or broth to loosen the sauce as needed.
For longer storage, you can freeze the components separately. Freeze the cooked chicken, rice, and sauce in airtight containers for up to 1 month. Thaw overnight in the fridge and reheat on the stovetop for the best texture.
Frequently Asked Questions
Can I use brown rice instead of white rice?
Absolutely! Brown rice is a great option and adds a nutty flavor along with extra fiber. Just be sure to adjust the cooking time as brown rice typically takes longer to cook.
How can I add more vegetables to this dish?
Feel free to stir in some sautéed bell peppers, zucchini, or even spinach into the creamy garlic sauce for an extra burst of color and nutrition.
What should I serve with this dish?
This Chicken & Rice Bowl pairs beautifully with a side salad or steamed vegetables for a complete meal. You could also serve it with crusty bread to soak up any leftover sauce!
Troubleshooting Common Issues
My sauce is too thin; how can I thicken it?
If your sauce doesn’t thicken as desired, consider adding a cornstarch slurry (1 tablespoon of cornstarch mixed with 1 tablespoon of cold water) and stir it into the sauce, letting it simmer until thickened.
The chicken turned out dry; what went wrong?
Dry chicken often results from overcooking. Ensure you’re checking for doneness with a meat thermometer (165°F is the magic number) and remove the chicken from the heat as soon as it’s cooked through.
Conclusion
There you have it—a deliciously creamy, flavorful Chicken & Rice Bowl that’s easy to prepare and even easier to love! This recipe is a fantastic way to turn simple ingredients into a comforting meal that brings everyone to the table. Whether you’re seeking a quick weeknight dinner or a dish to impress your guests, this bowl of goodness is sure to satisfy. So grab your skillet, embrace the heat, and let this Chicken & Rice Bowl warm your home and heart. Happy cooking!
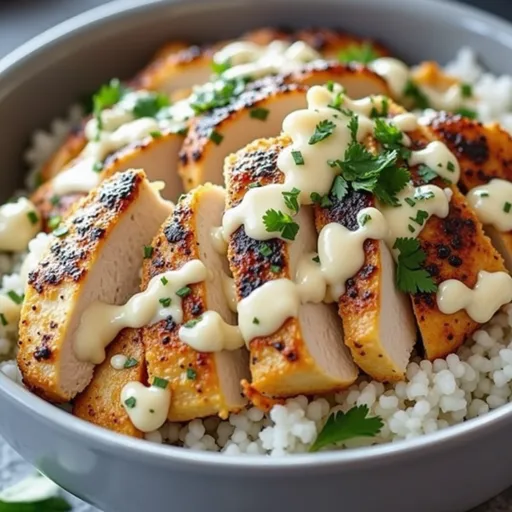
Chicken & Rice Bowls with Creamy Garlic Sauce
Ingredients
Rice
- 2 cups cooked rice
Chicken
- 2 pieces boneless, skinless chicken breasts
Oil
- 1 tablespoon olive oil
Garlic
- 4 cloves garlic, minced
Heavy Cream
- 1 cup heavy cream
Chicken Broth
- 1/2 cup chicken broth
Spices
- 1 teaspoon garlic powder
- 1 teaspoon onion powder
Salt and Pepper
- to taste salt and pepper
Garnish
- for garnish fresh parsley
Instructions
- Cook rice according to package instructions.
- Season chicken with salt, pepper, garlic powder, and onion powder. Cook in a skillet over medium heat for 6-7 minutes per side, then slice.
- Sauté minced garlic in the same skillet for 1-2 minutes. Add chicken broth and heavy cream, simmer until slightly thickened.
- Return sliced chicken to the skillet, coat with sauce. Serve over rice, garnished with parsley.
Notes
Nutrition
Loved this recipe? Save it to your favorite Pinterest board so you can easily find it later! It’s the perfect way to keep all your sweet ideas in one place. ✨